My woodworking and leather projects. I hope you find useful information here.
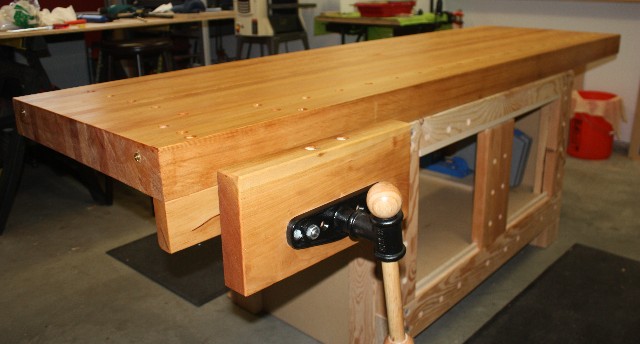
Ding dong! The Workbench is done!
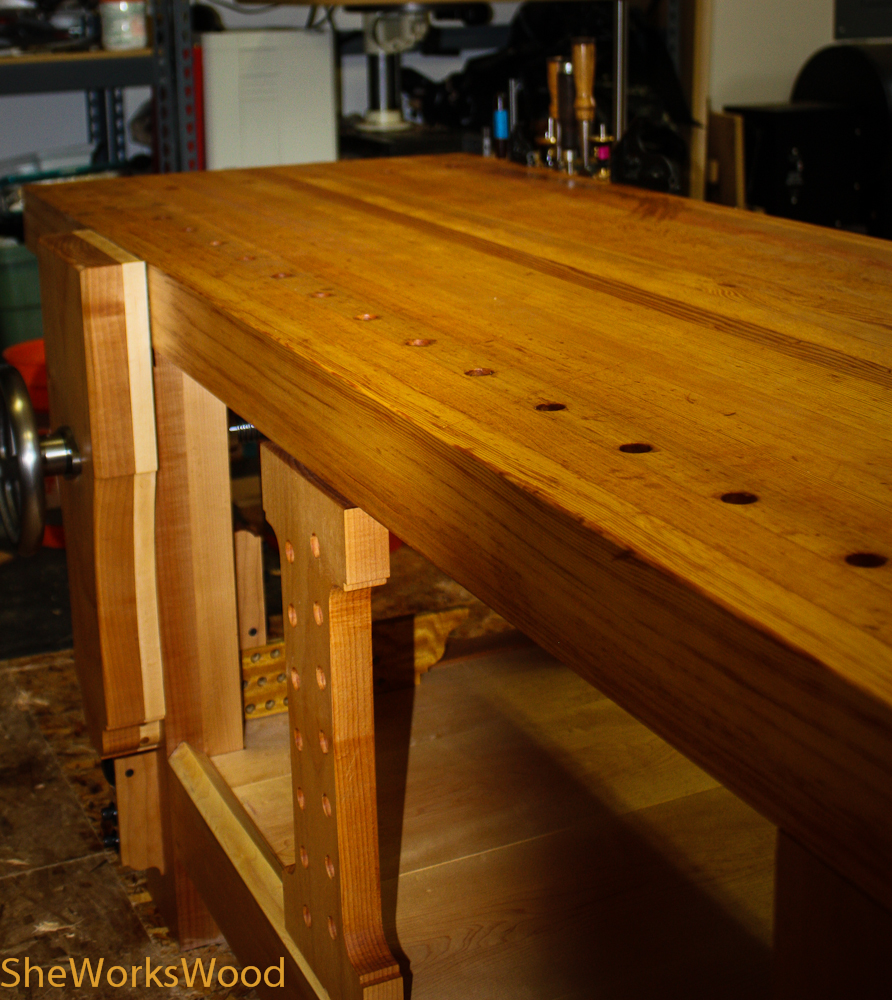
Here’s the final picture and the gallery to go with it.
All post can be found here:
My Workbench Journey
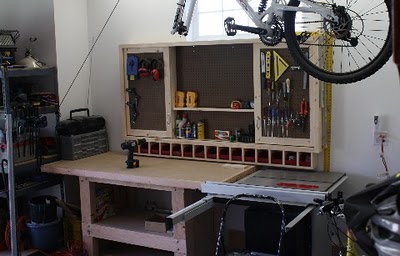
This is my original MDF topped workbench that I made before I started using hand tools.
Once I started using handplanes, I decided to shorten the legs on the workbench so that I could plane more easily.
Here’s the new shorter bench still with the MDF top.
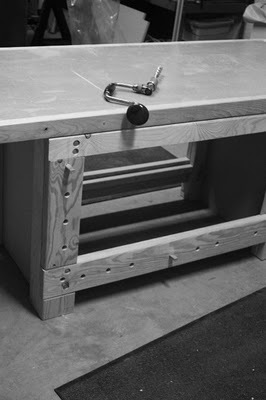
Then I replaced the MDF top with a laminated 3 1/2″ fir top that I flattened with my handplanes.
When Marc started his Robou workbench in the guild, I decided to rebuild the base and add a leg vise. So off to the lumber store to pick up some maple.
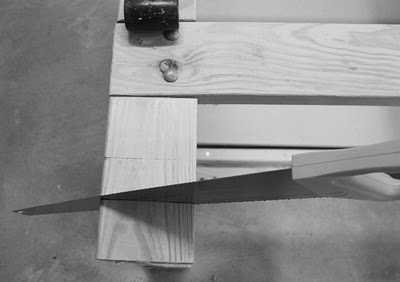
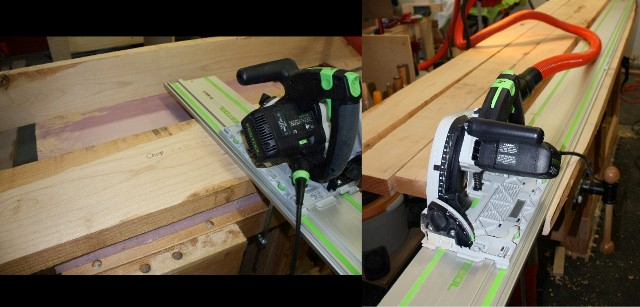
I rough cut the lunber with my Festool track saw.
First the legs.
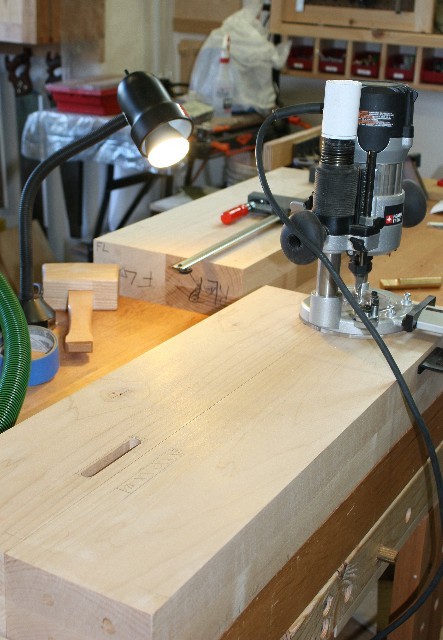
Mortises in the legs were made with my router.
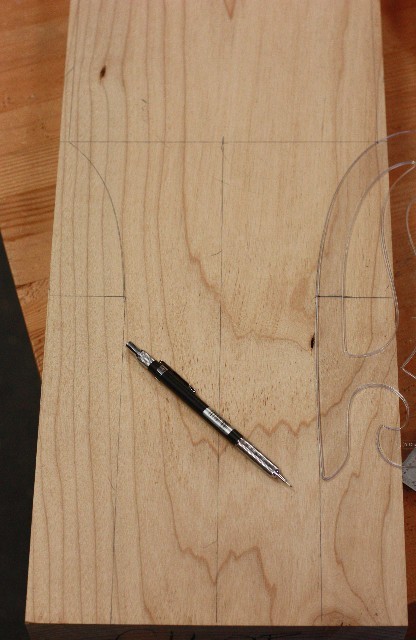
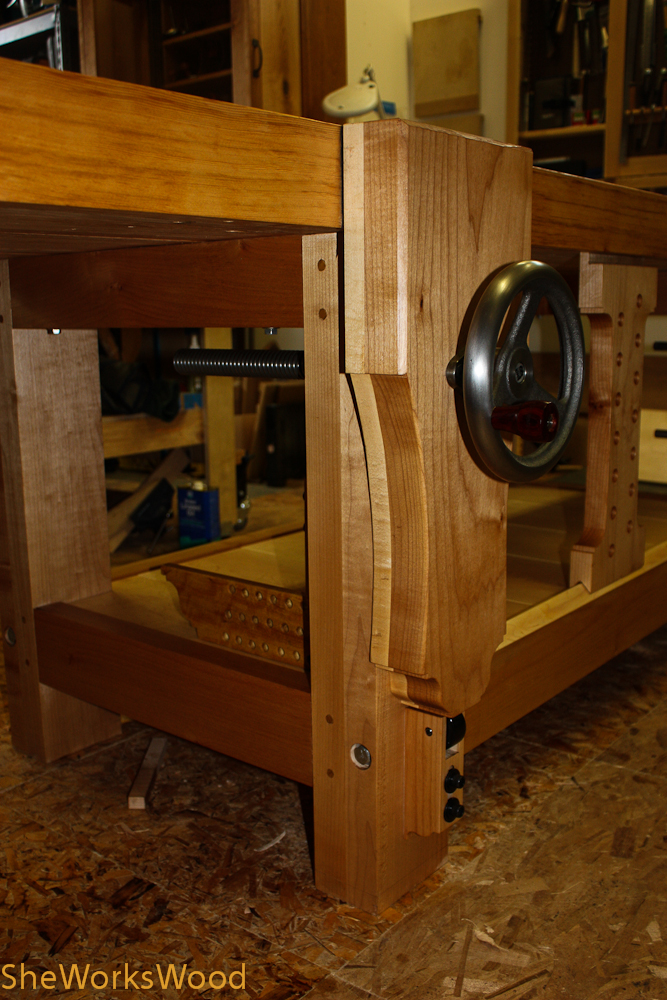
This is the layout for the new leg vise, the most important addtion to the new bench.
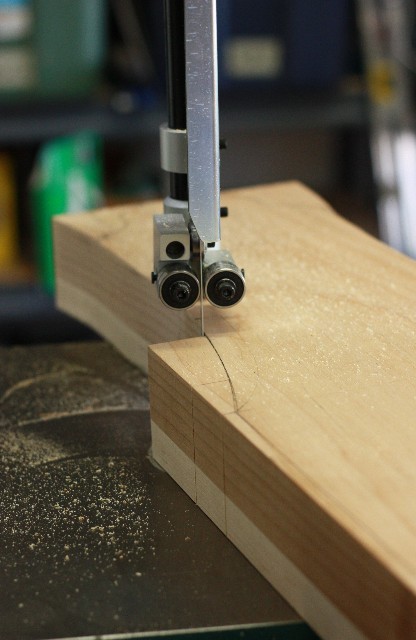
The shape of the vise was then cut out on the bandsaw.
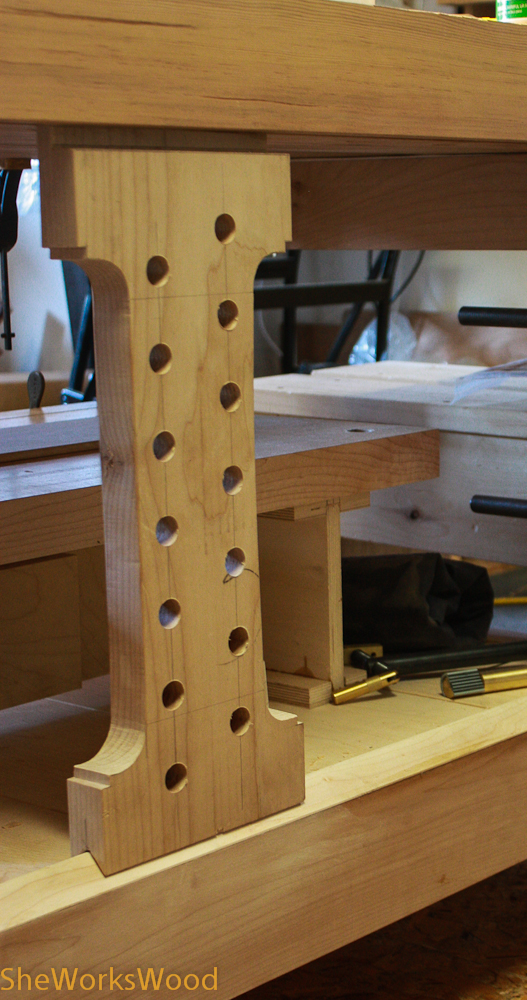
The leg vise guide is made of Movingui mahogany and drilled to allow for the pin.
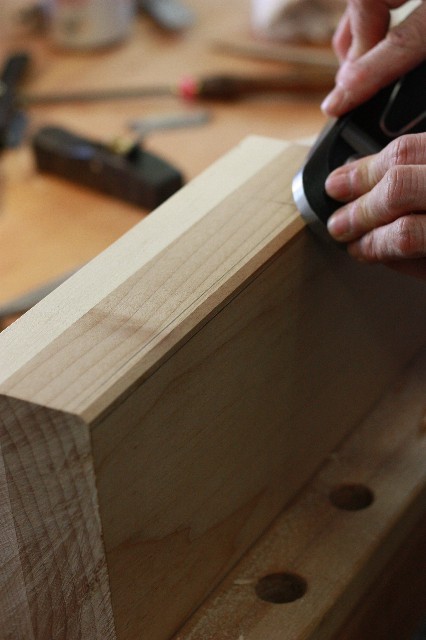
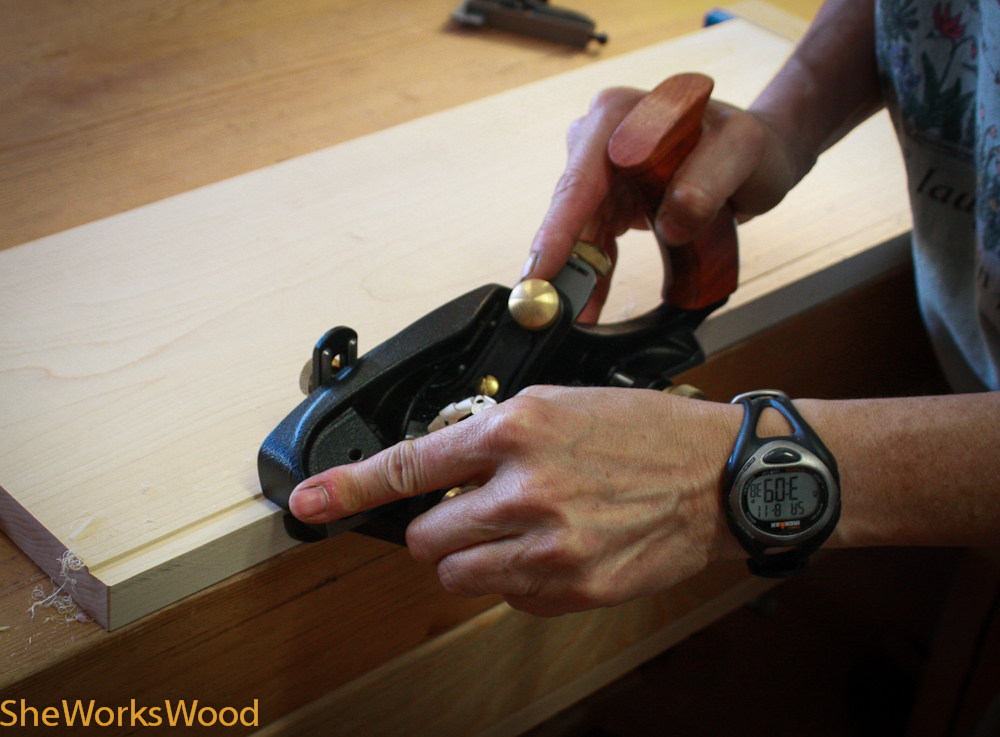
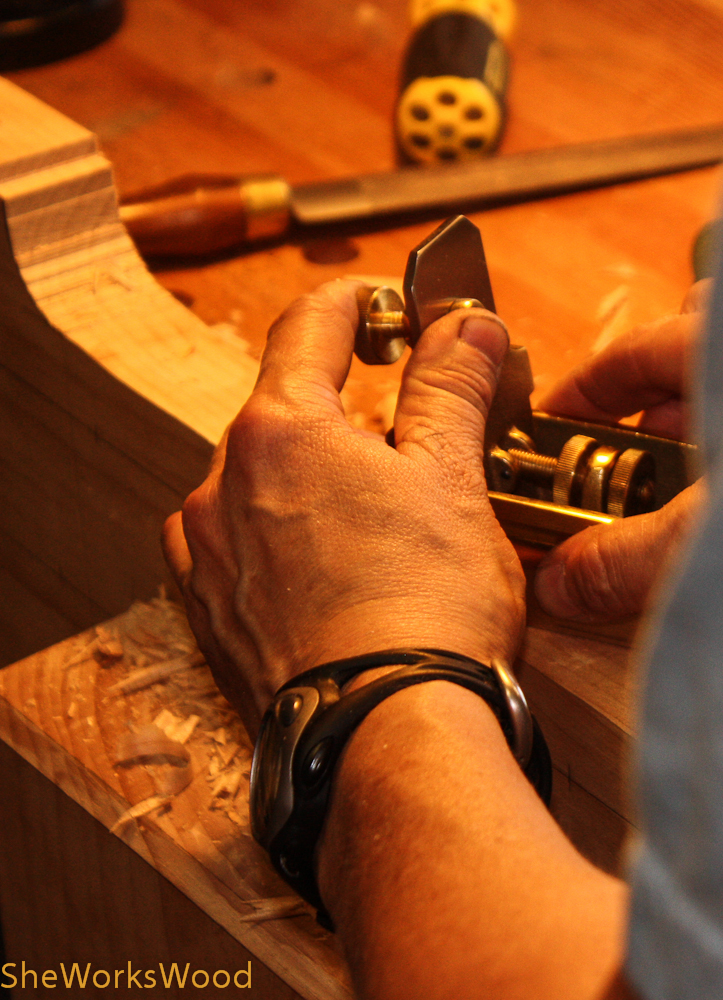
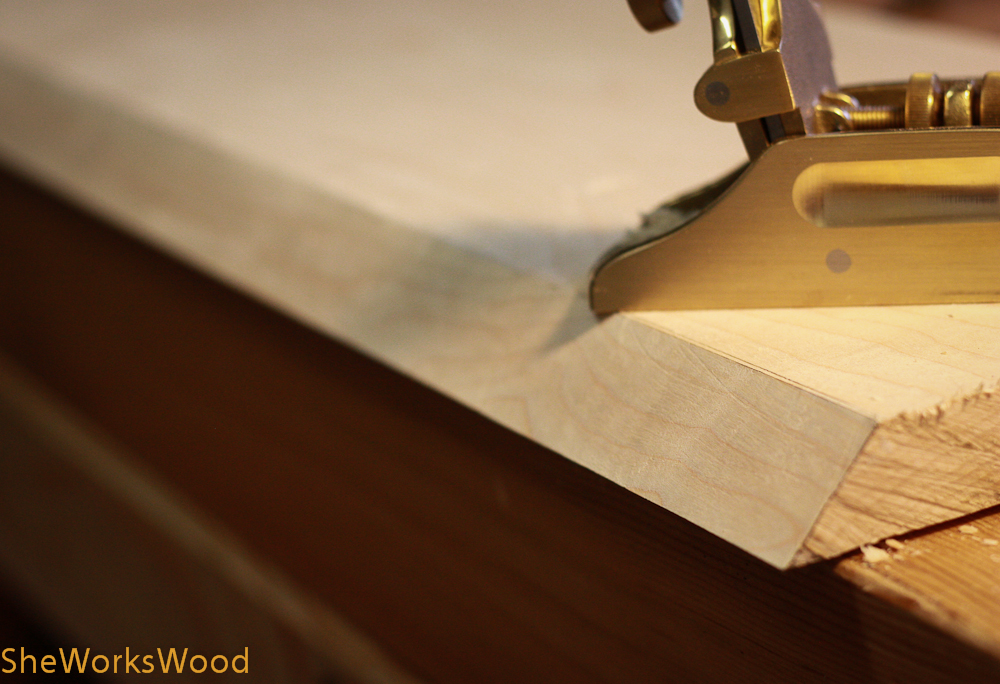
Then the sides of the chop were cleaned up with a block plane.
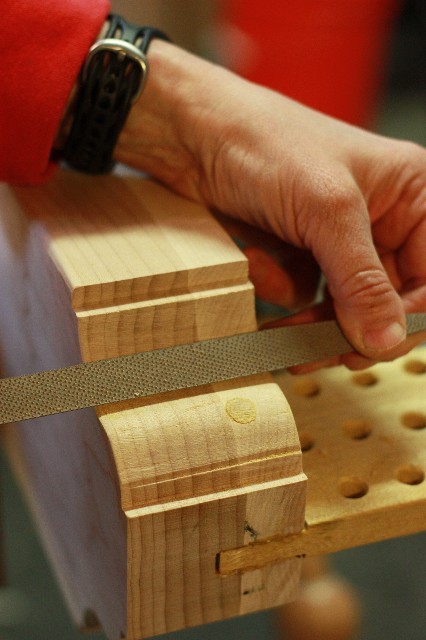
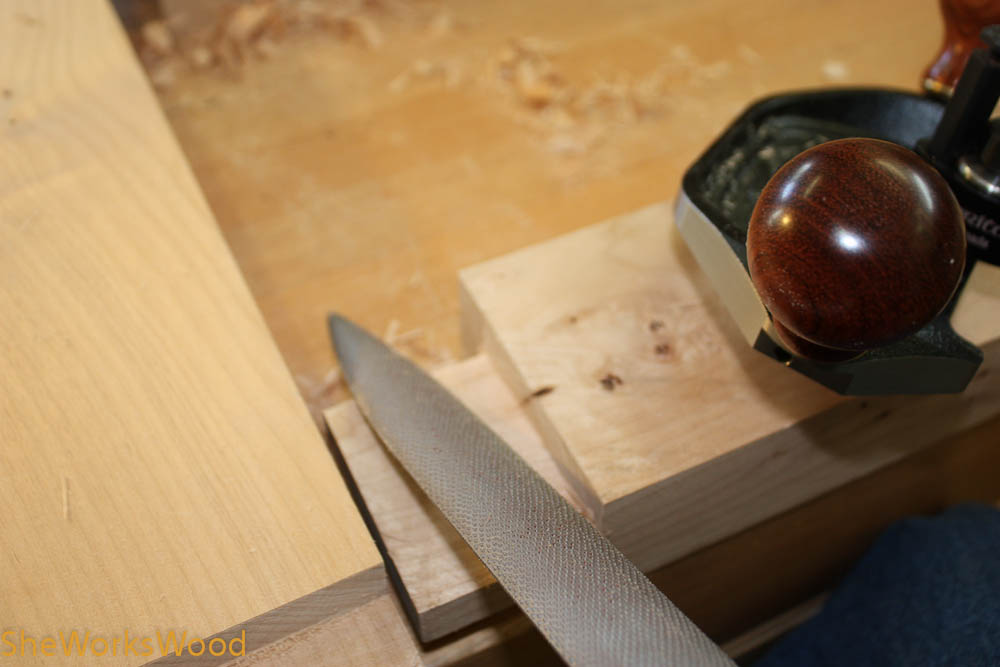
A rasp was used to shape the bottom of the leg vise and finish out the shape.
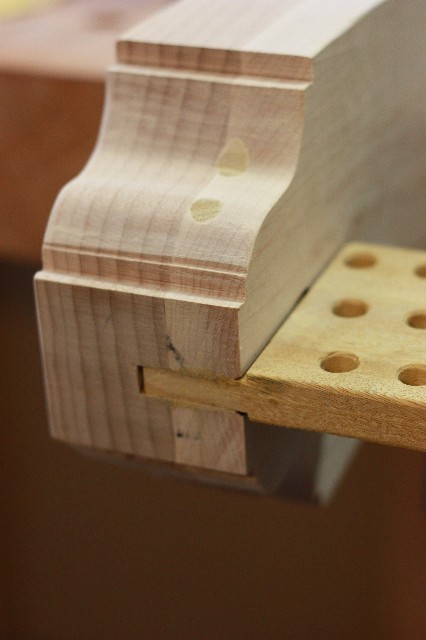
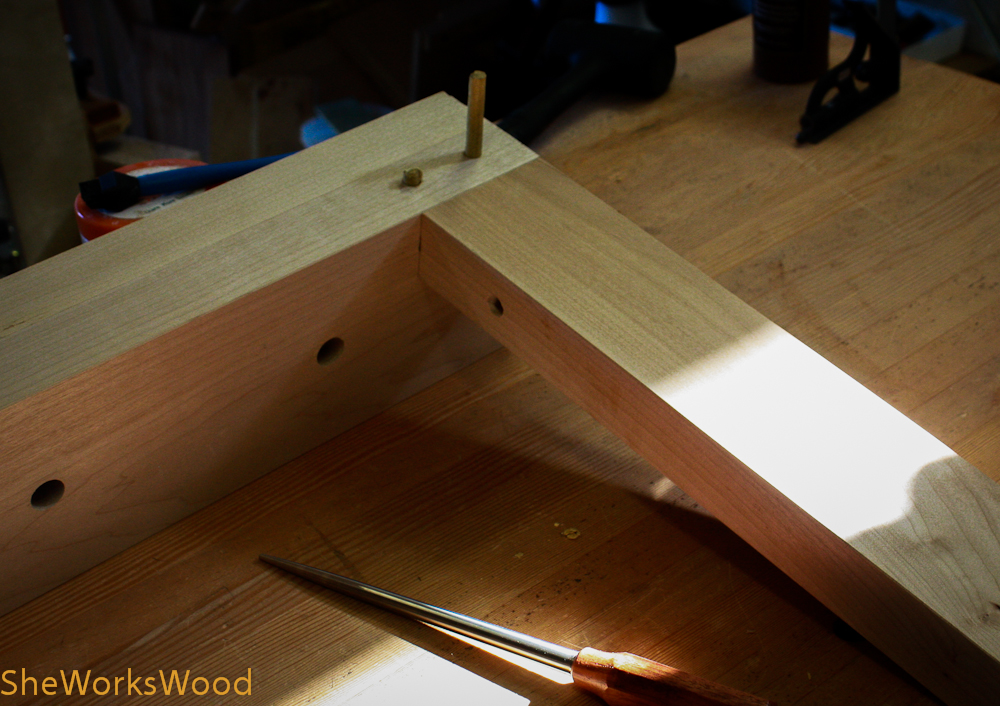
And then the parallel guide was attached with drawbord pegs.
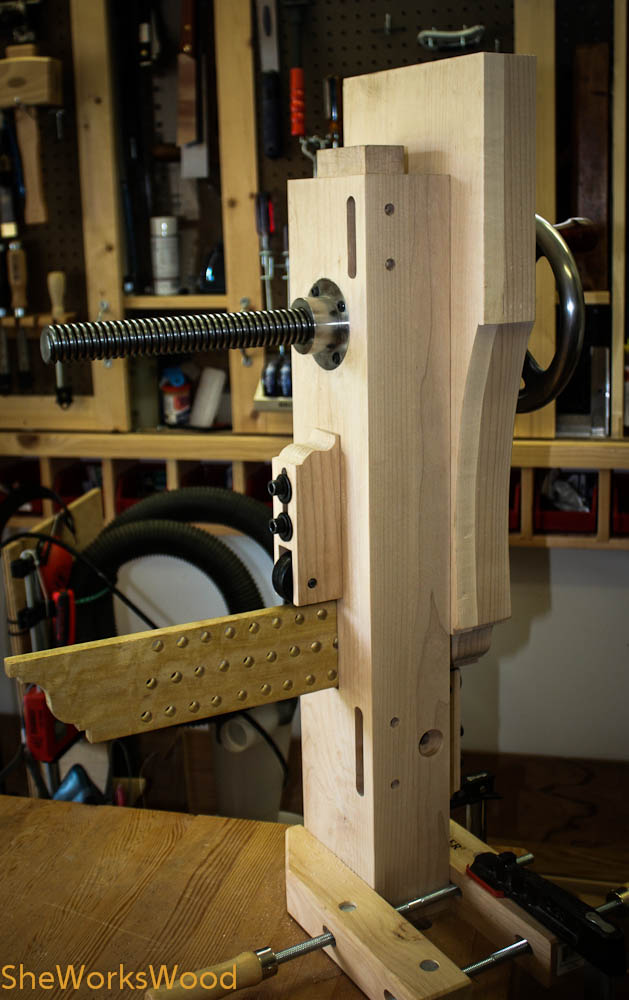
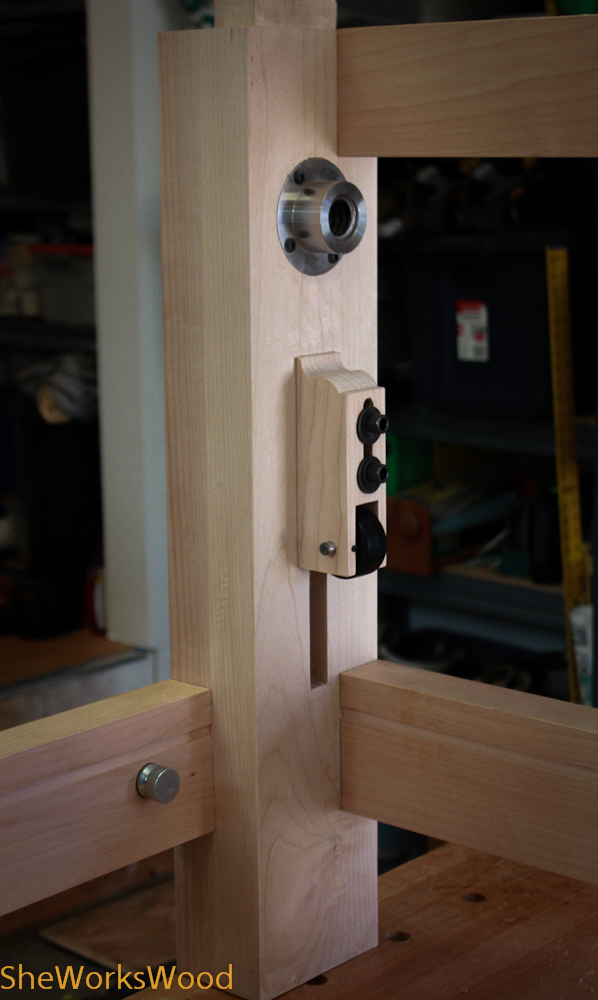
A shot of the completed leg vise.
The tenons were cut to fit the mortise. Chalk worked well to help with the fitting.
Side legs are completed with drawbore pegs.
Long stretchers were attached with breakdown bolts.
Then the top was flippled to located the mortises for the base.
Rabbets were then cut to make ship lapped shelf pieces.
45 degree deadman track cleaned up with the small scraper.
The same scrapper was used to cleanup the bench and deadman.
A close up of the completed deadman.
Filled in the holes from the old vise with epoxy and saw dust.
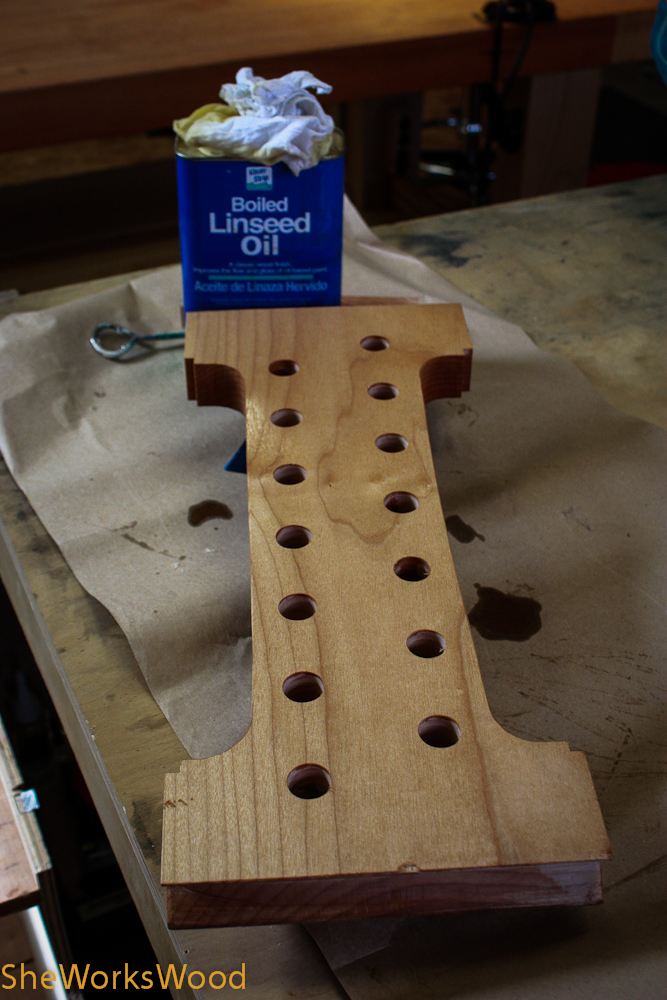
Finishing with boiled linseed oil.
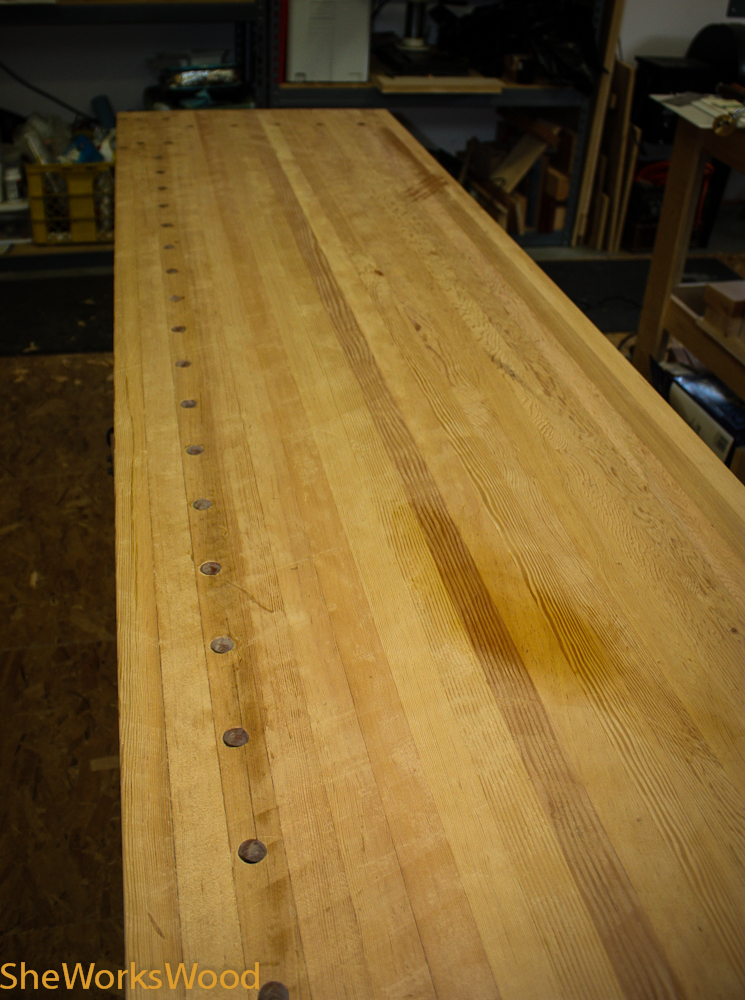
The top after re-flattening and removing the old finish
Thanks!! 🙂 No glue on the tenons. I attached the top with 6″ spax bolts (lag bolts essentially). Having a removal top and break down bolts in the long stretchers will allow me to move it easily and hopefully without damaging it.
")


Looks great. You’ve really transformed that bench into a well funcitoning beauty. Have a great time with it.
Thanks! I will, I’m certain of that!
Great job! I really like the photo story board in the post too. I can’t wait to get my bench to the same state.
Thanks and thanks for the feedback. I was wondering if the photo story board would work. Hopefully its better than clicking on a bunch of links.
Great Job Marilyn! Crisp details and nice photography. Enjoy….
The Storyboard works Great. It’s nice to see it all together. It’s a beautiful bench, Marilyn. You must be so proud!
Thanks ya’ll! I’ll be using the storyboard (I like that term) for future projects!
Outstanding, Marilyn! Function married to beauty. Doesn’t get any better than that. :o)
Thanks so much!
Wow Marilyn, your bench looks awesome! Really, really great – I jealous 🙂
Did you glue the leg tenons into the mortises on the benchtop?
Thanks!! 🙂 No glue on the tenons. I attached the top with 6″ spax bolts (lag bolts essentially). Having a removal top and break down bolts in the long stretchers will allow me to move it easily and hopefully without damaging it.