


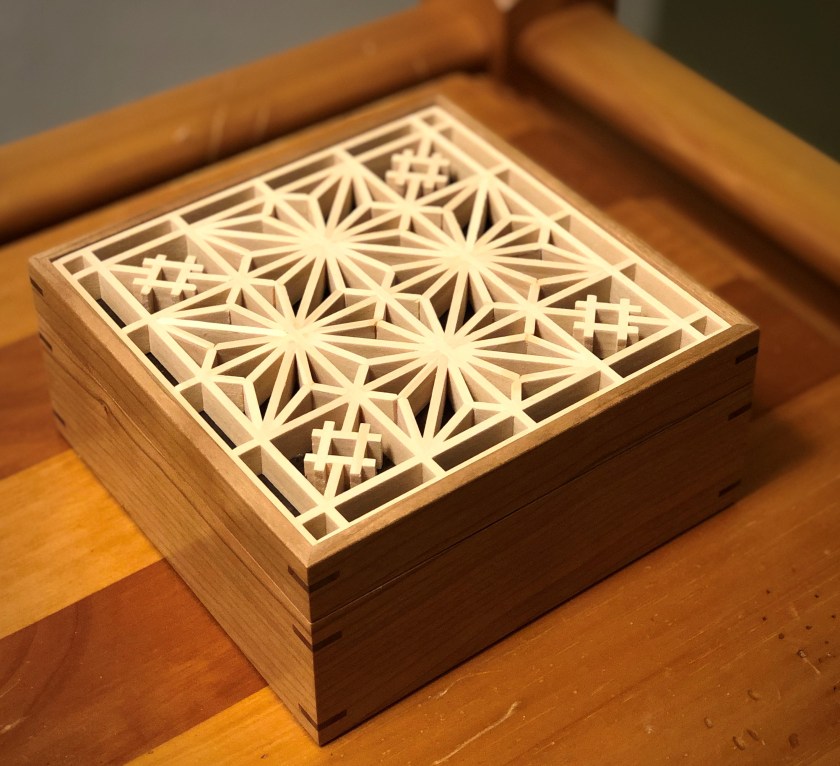


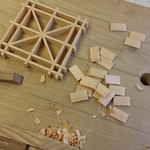
We started with beautiful strips of cherry that had dadoed grooves for the bottom, lip of the box and a groove for kumiko (the largest groove in the picture). Spray glue was used to attach the paper to the bottom and edges eased. Shellac was applied to the grooved side of the cherry board.
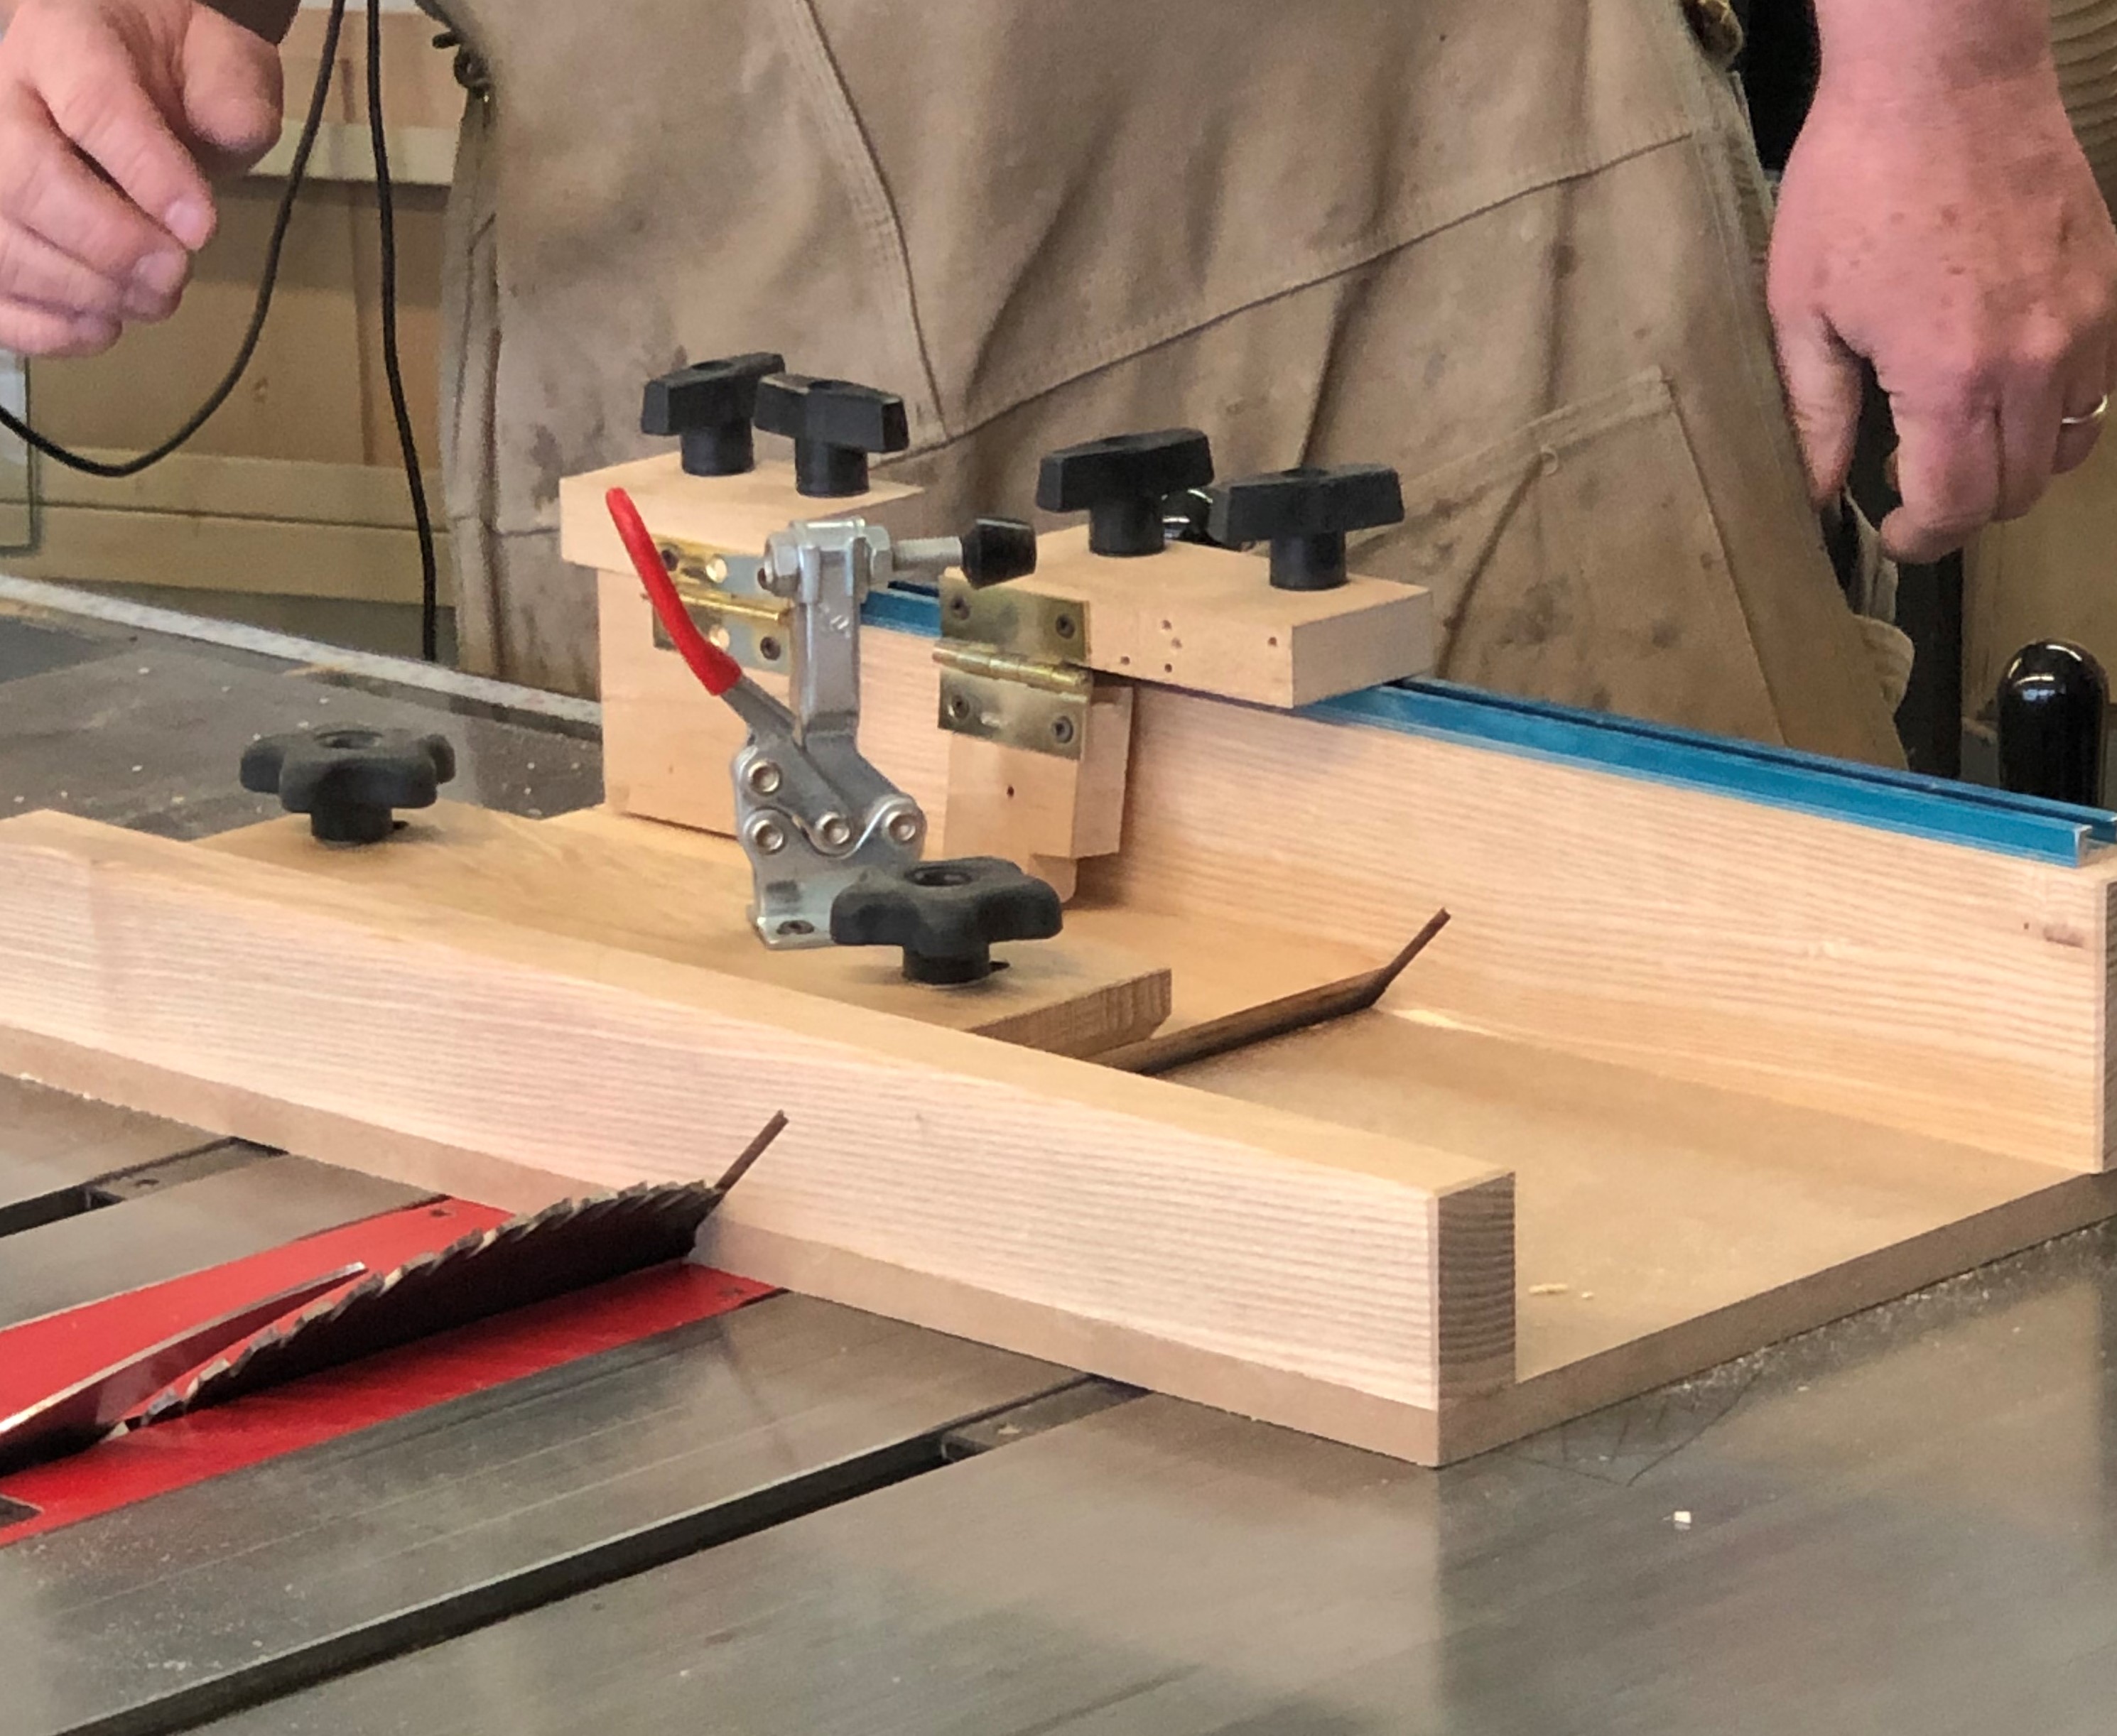
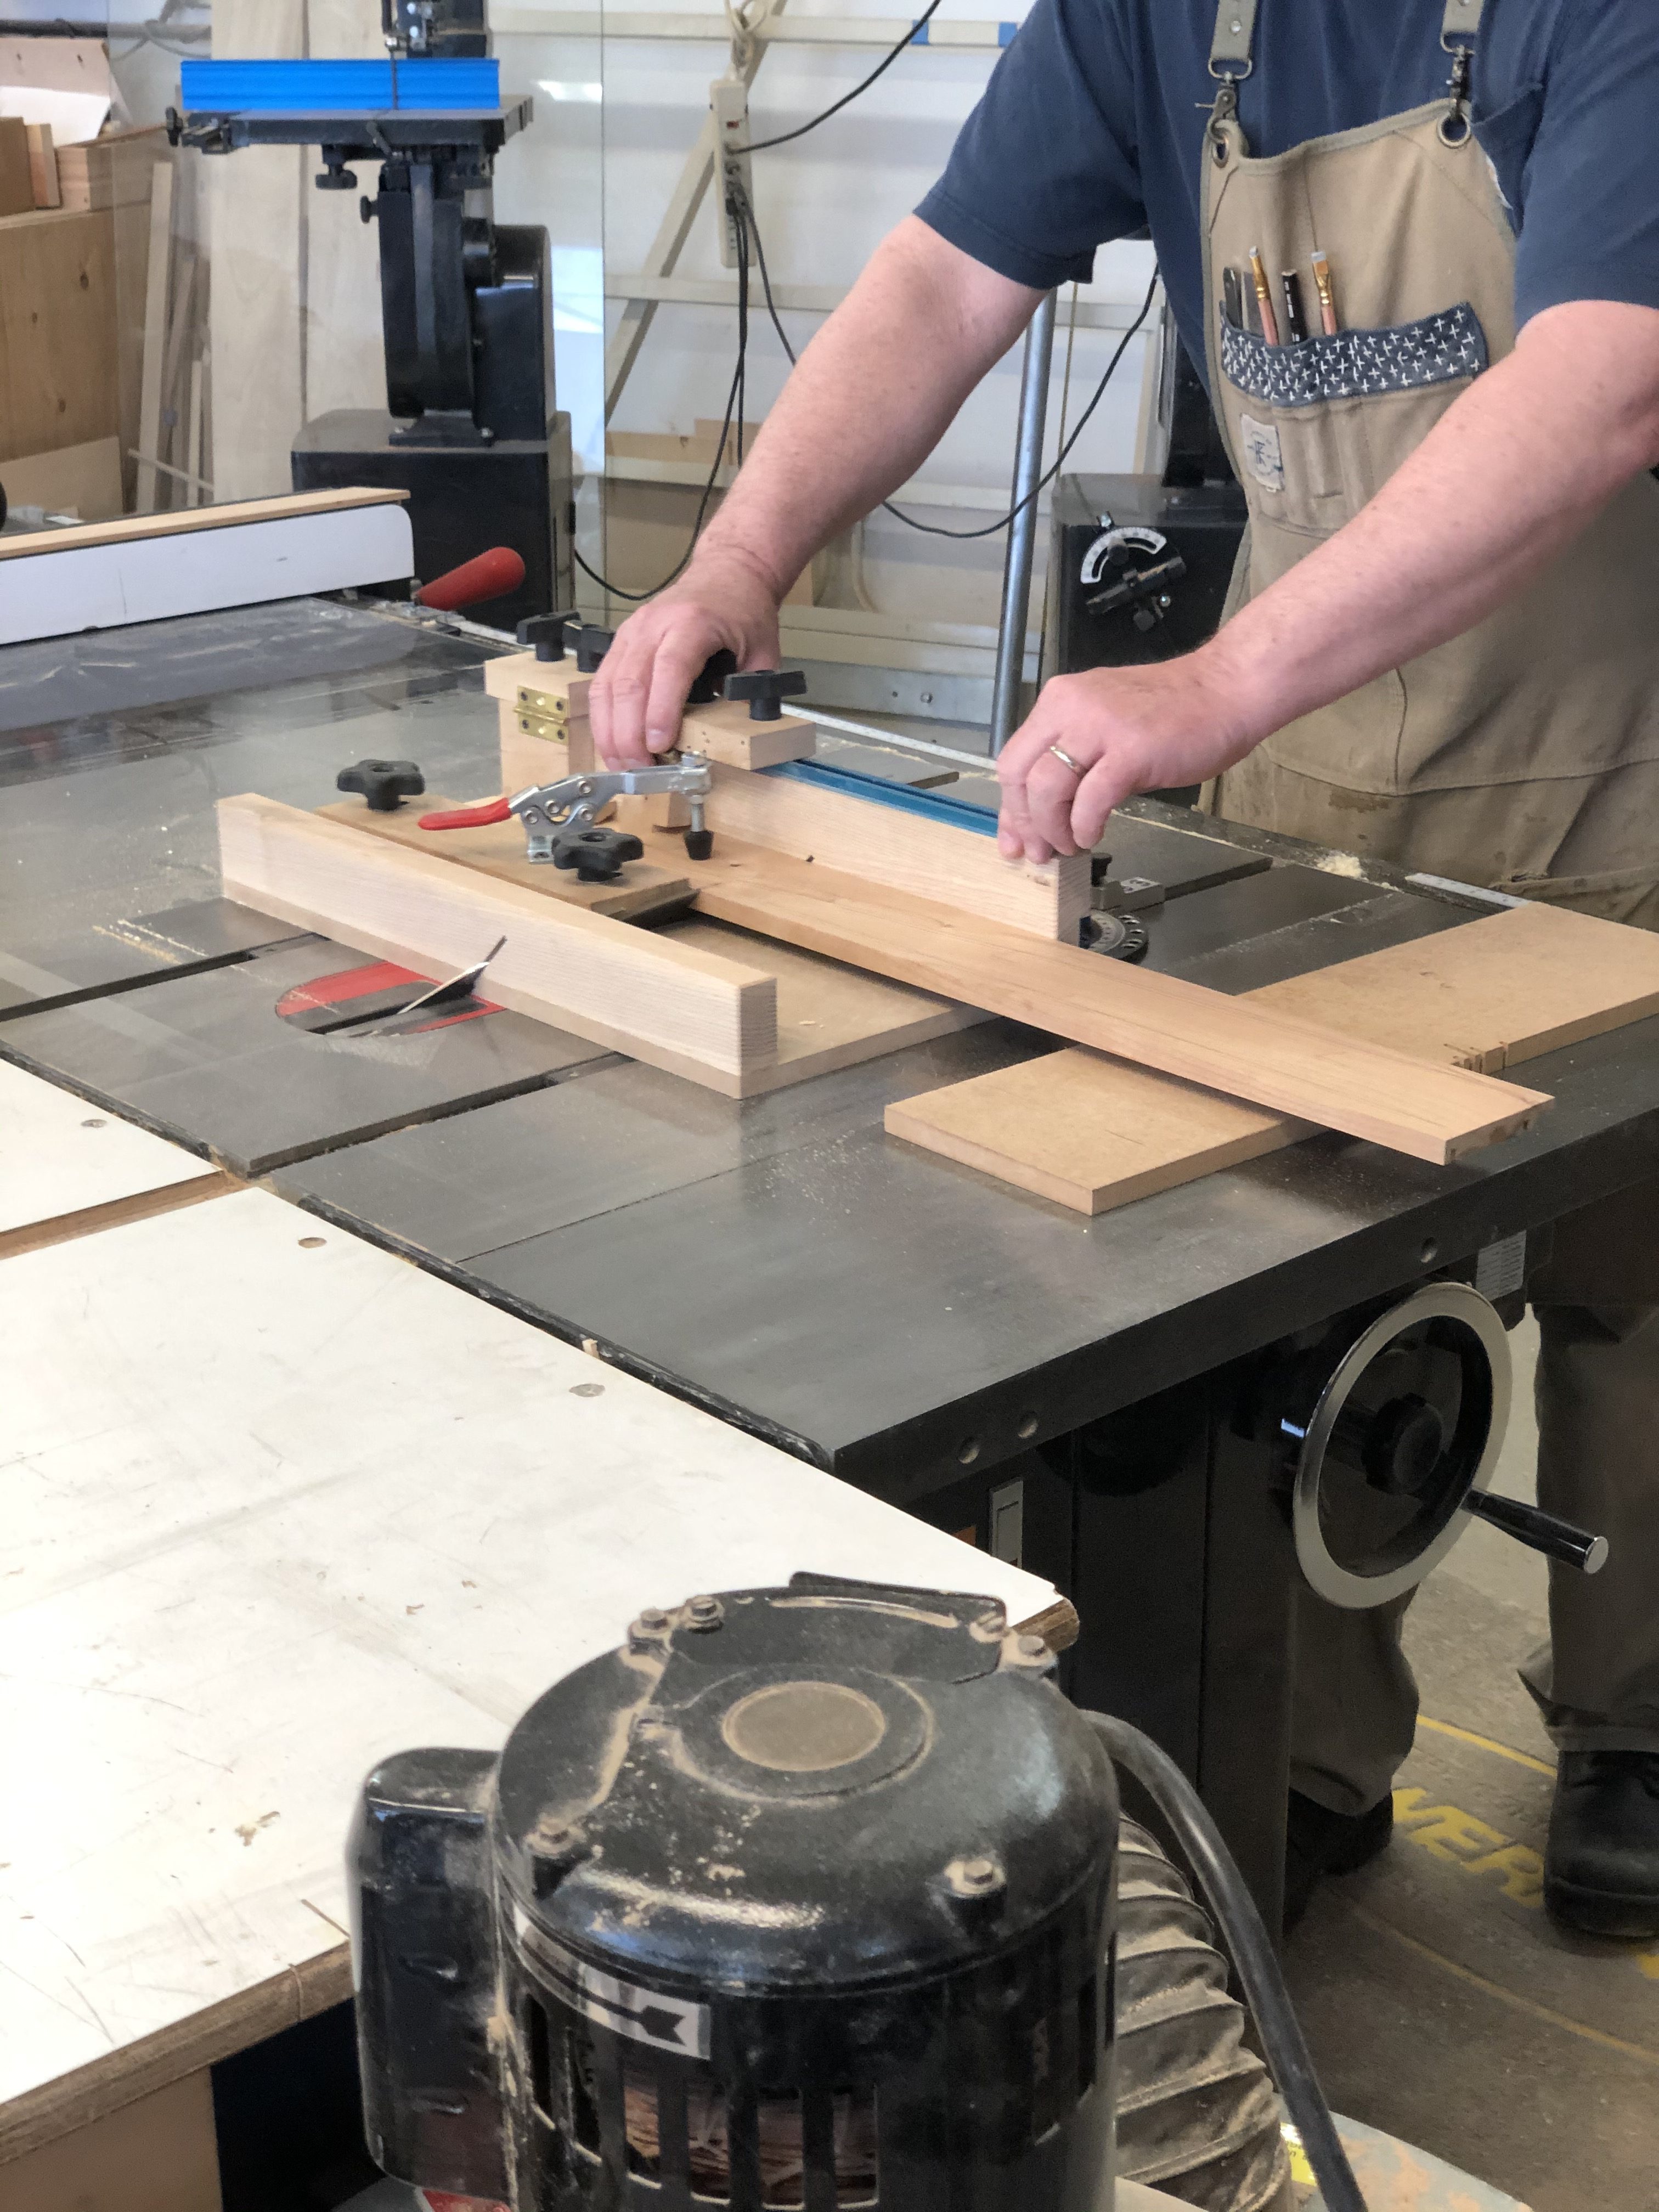

Then we used Mike’s clever jig shown here to cut the miters on the box sides.


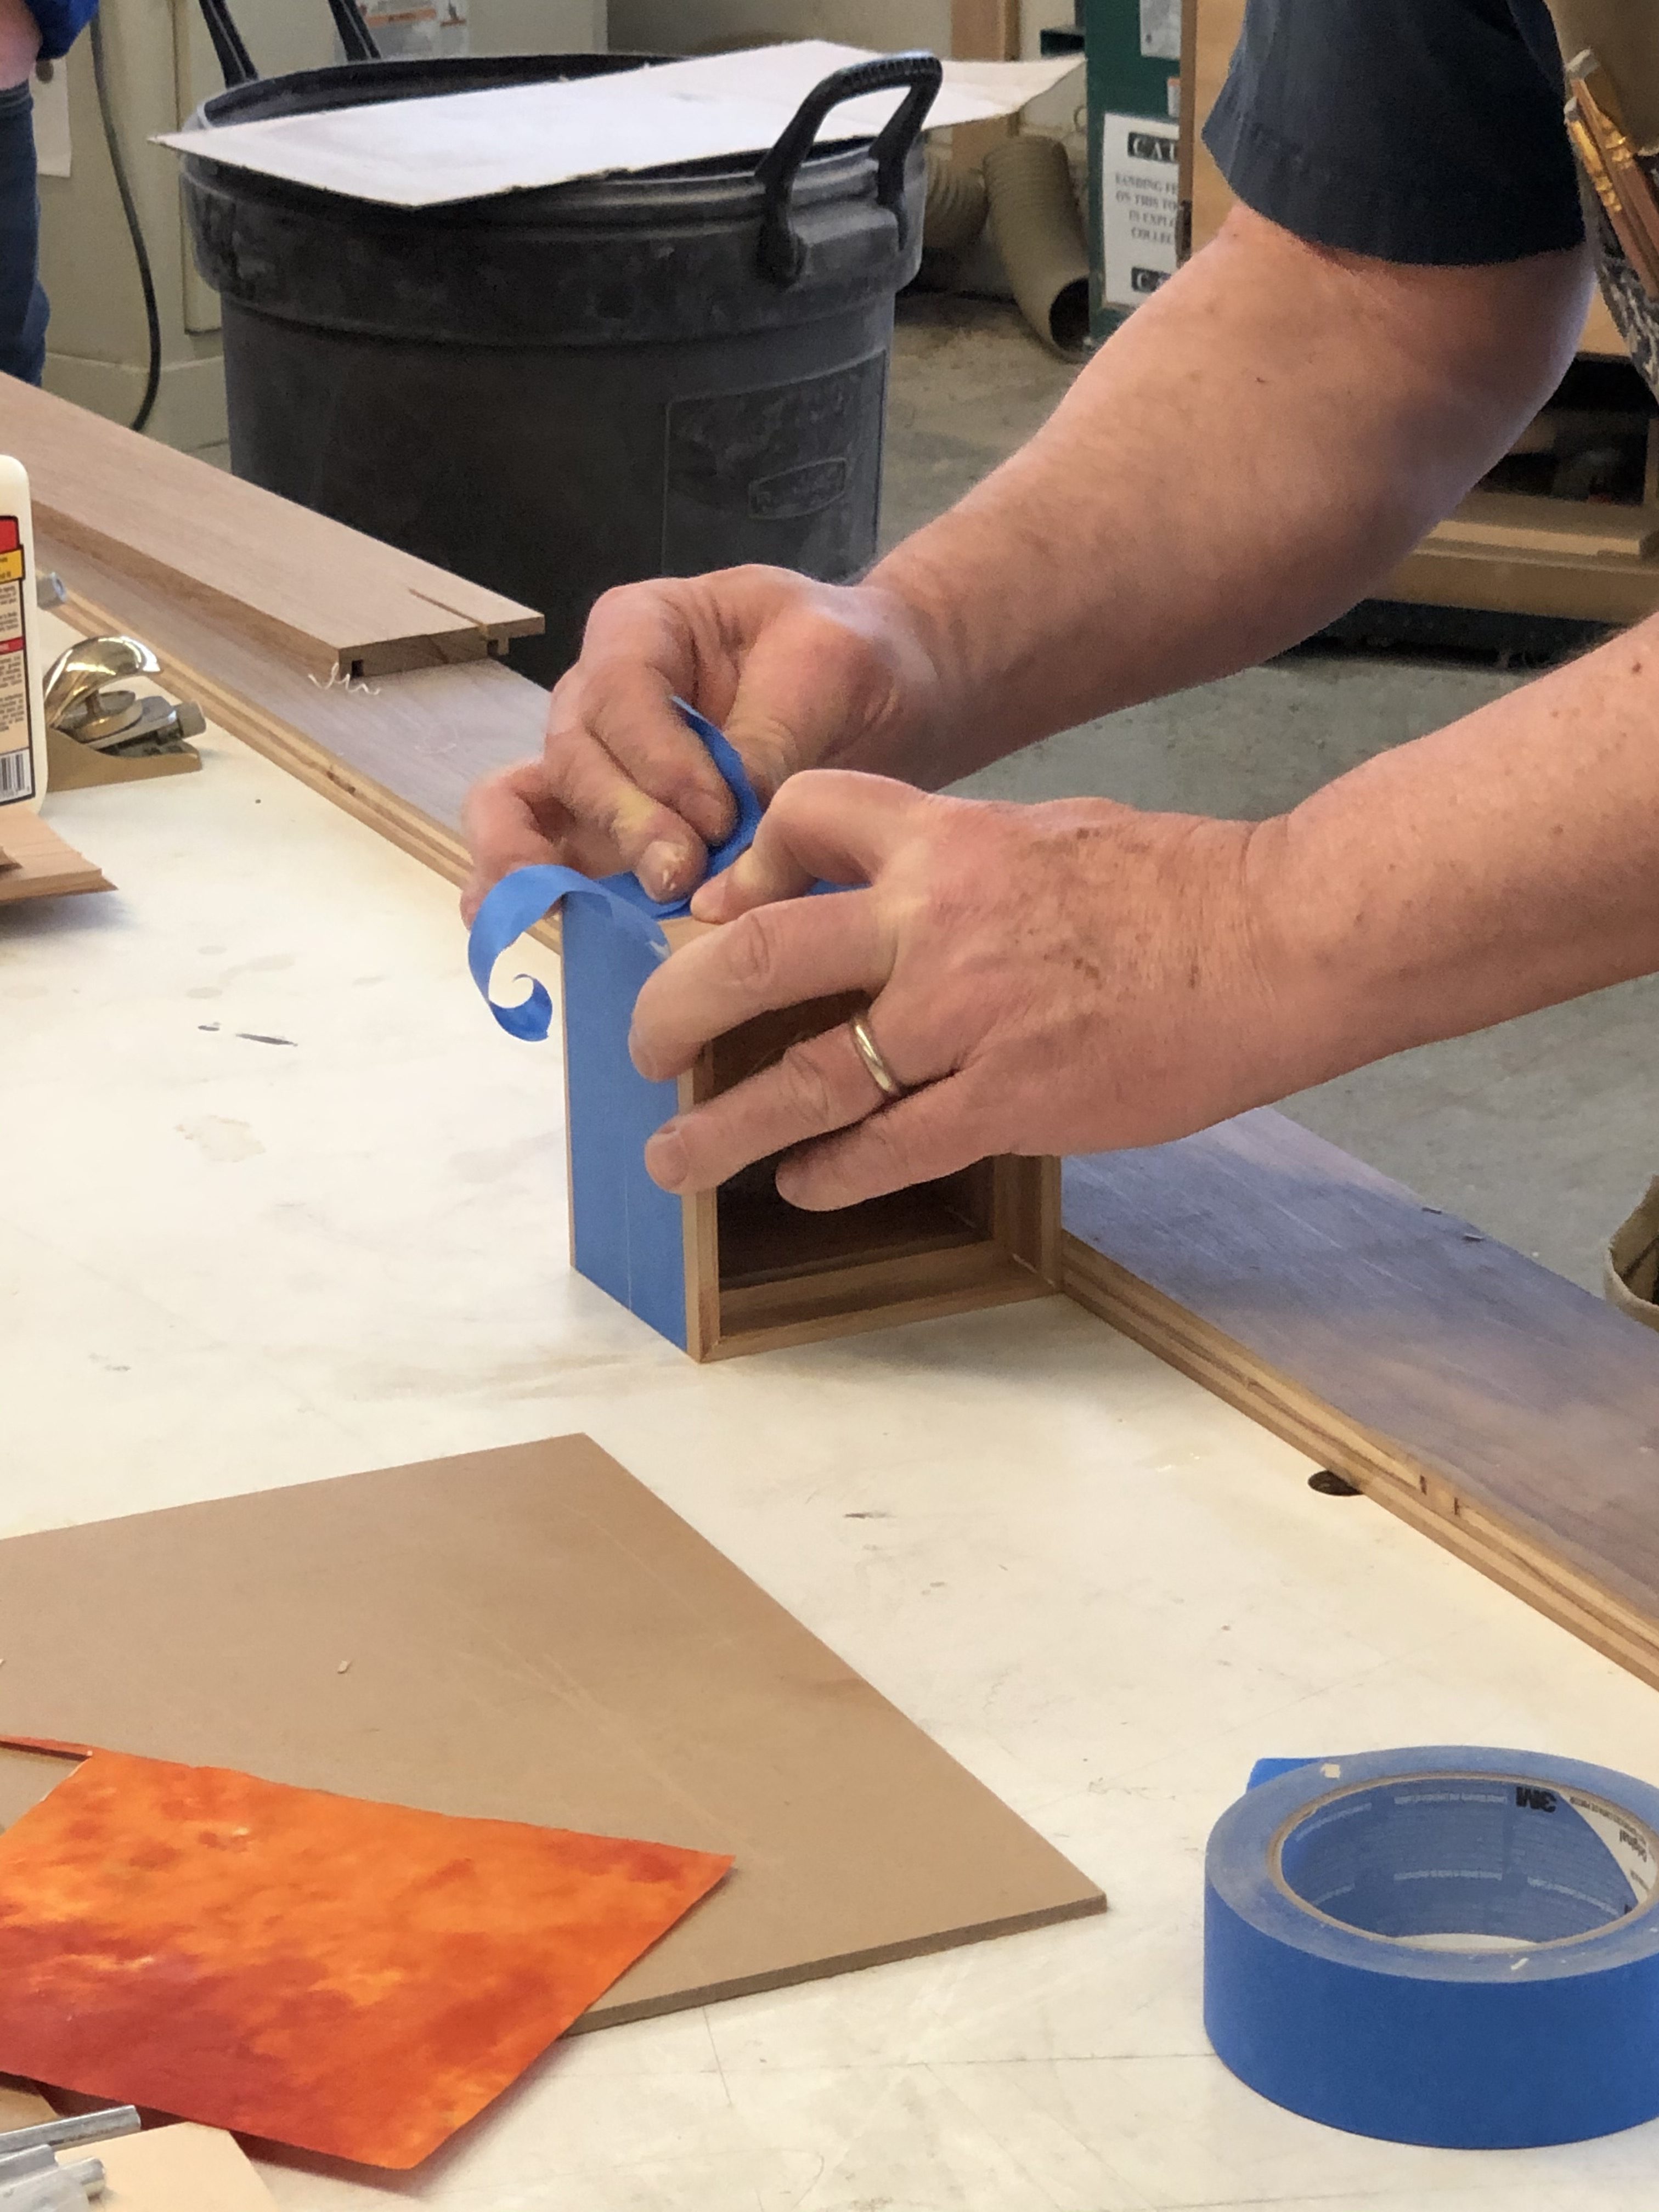
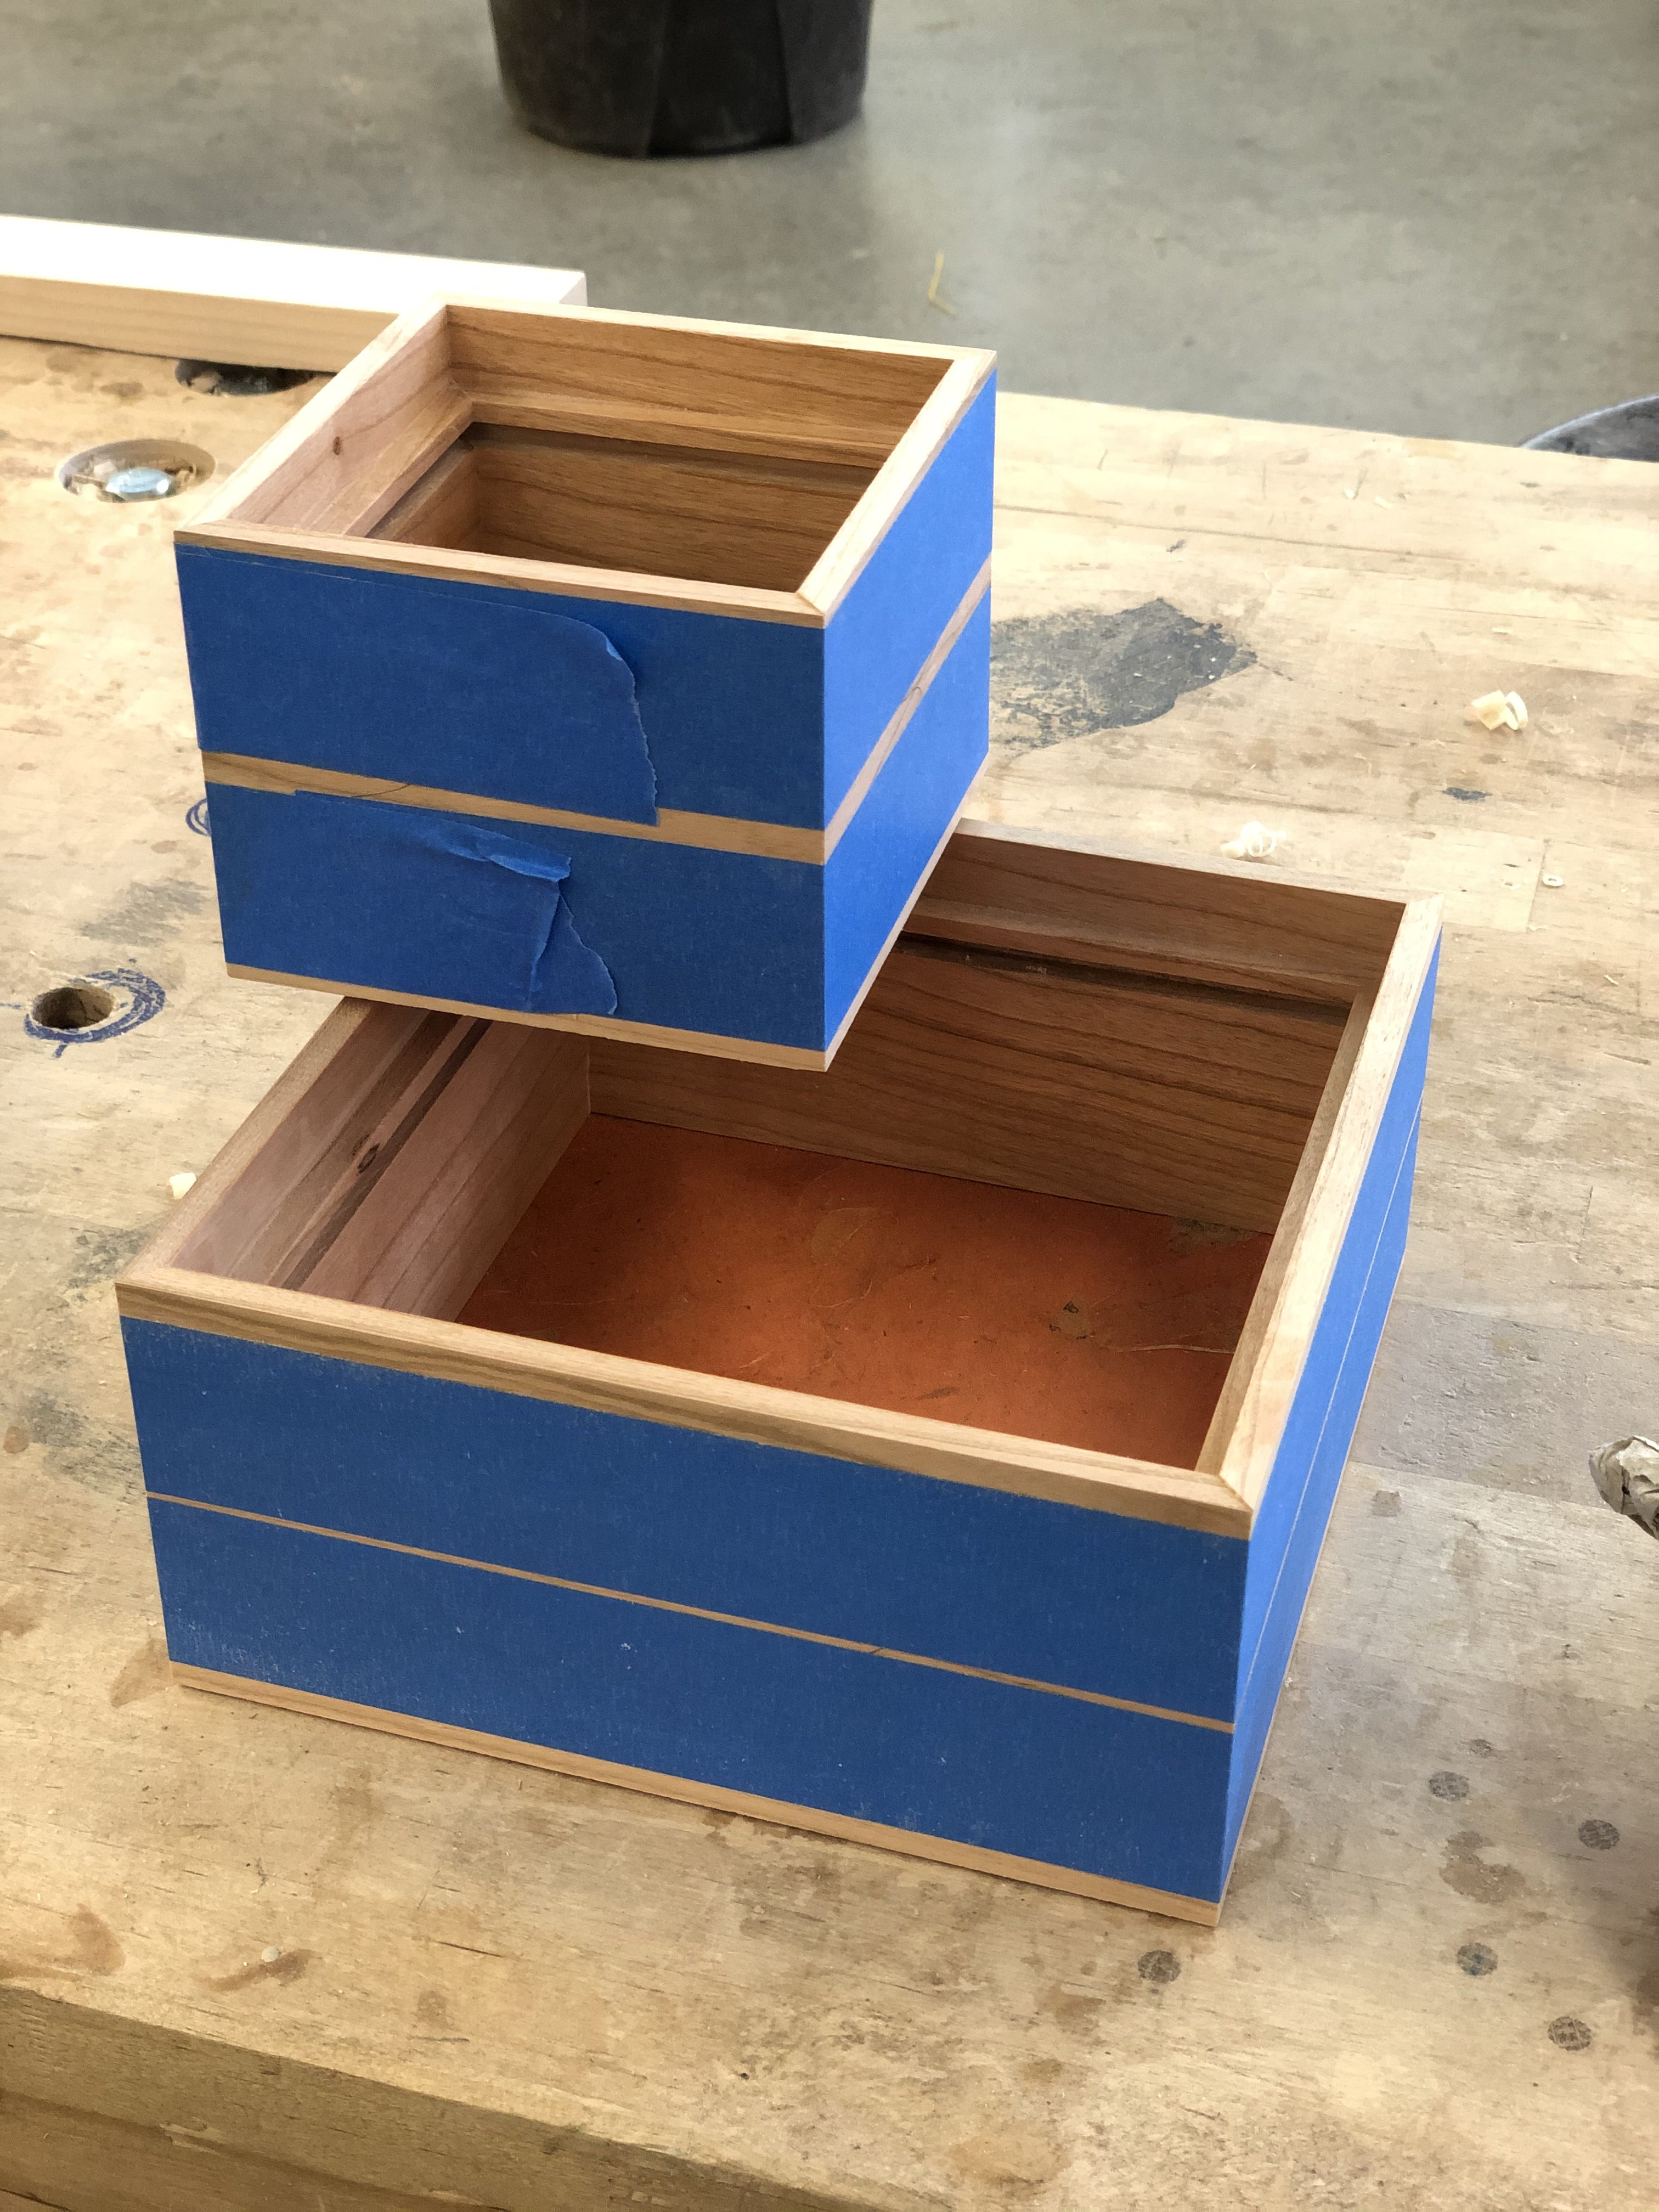
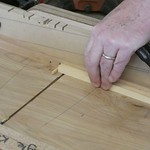
Box sides were lined up against a straight edge, glued and clamped using blue tape.
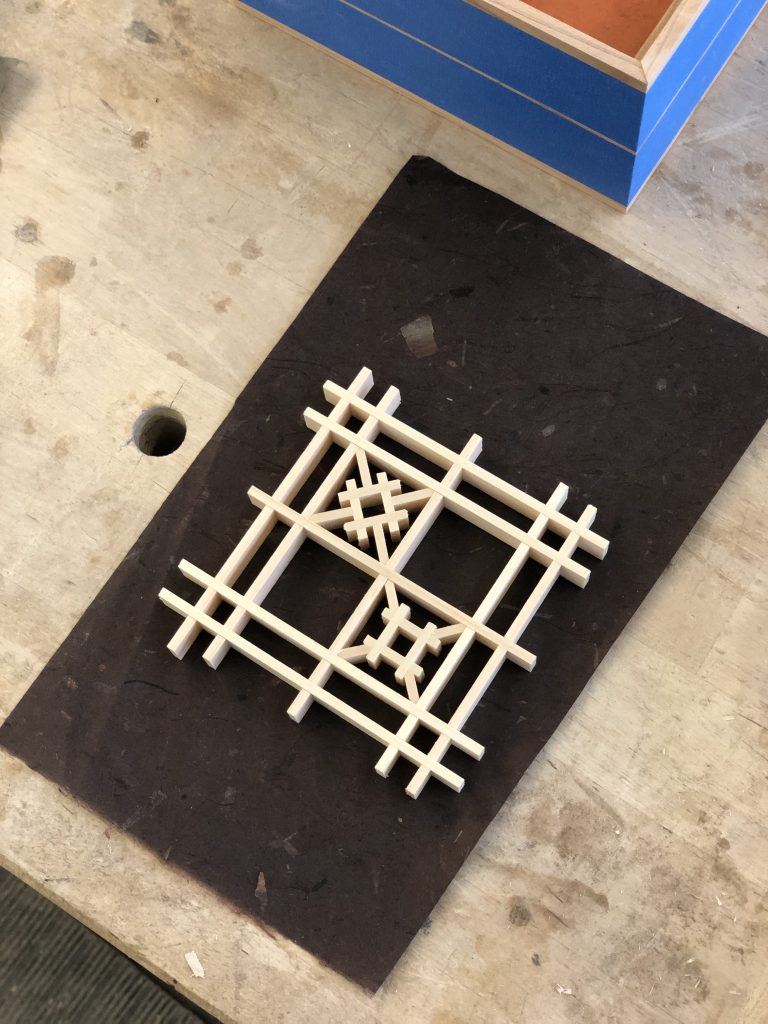

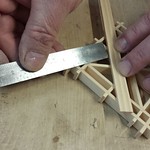
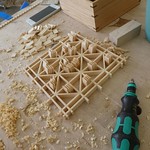


Above are a few photos of the kumiko process and some inspirational photos – all these photos were taken by Daniel Pittsford
Hope you enjoyed the post.
The End

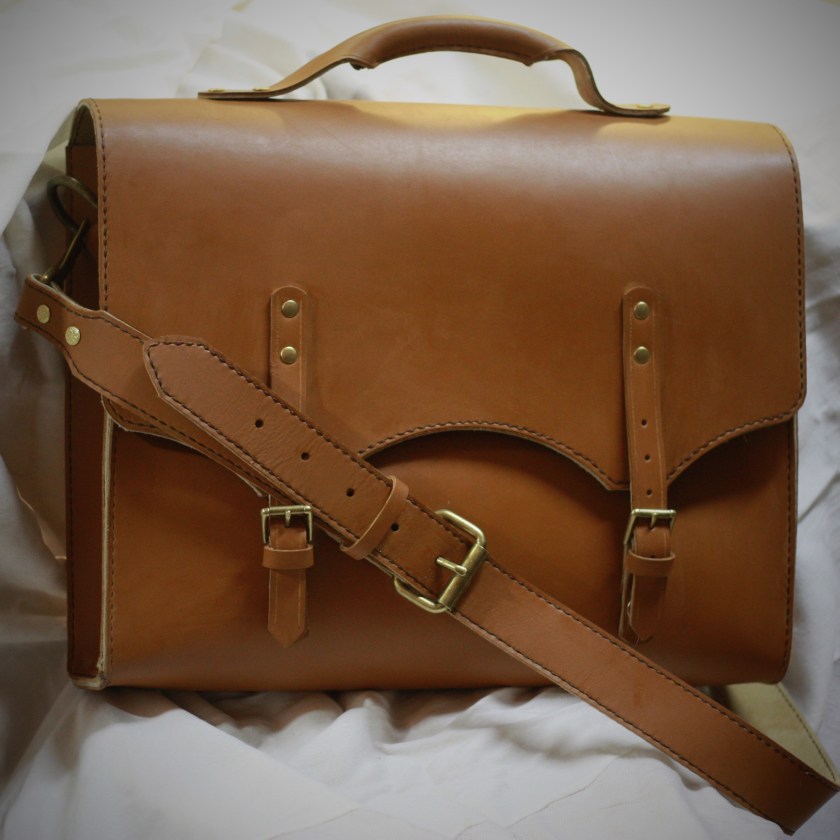


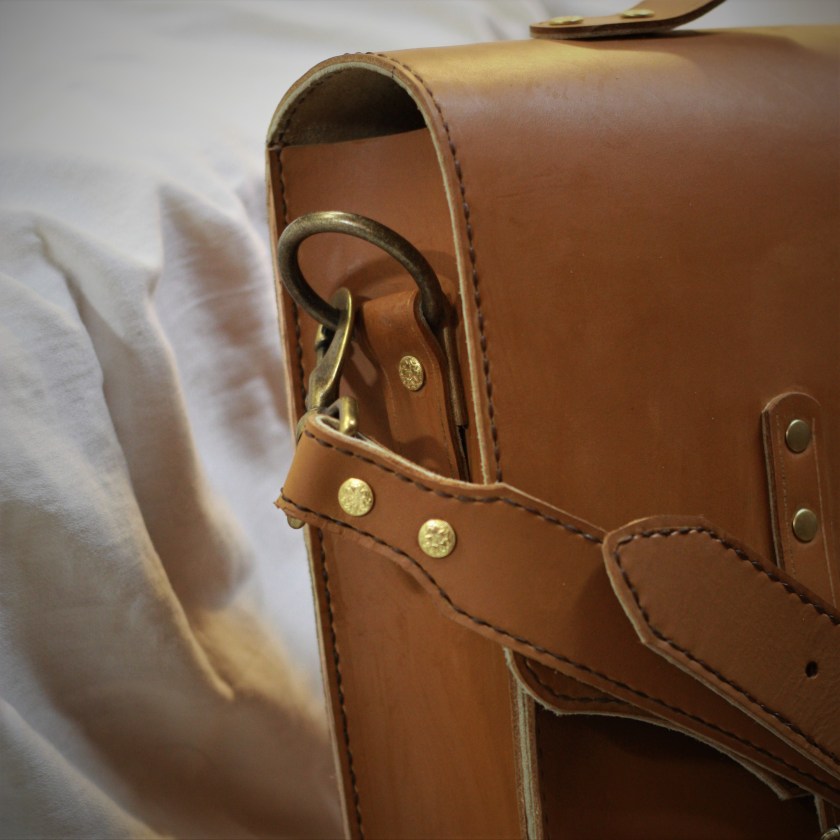
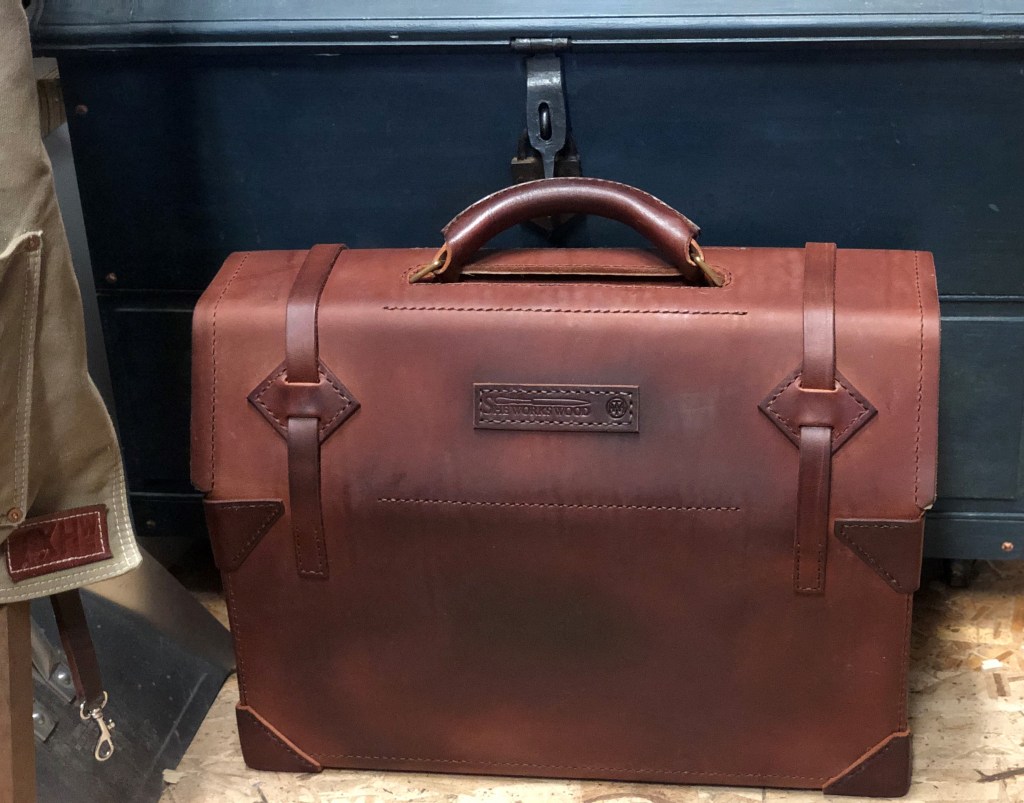
Here is my first major leather working project. I made this with the careful instruction from @weaverleather. You can view the project here: https://www.youtube.com/watch?v=PmBCD-ijoSQ


I used the formula of white oak, walnut stain, ebonizing vinegar / steel wool solution (thanks @fine_woodworking March 2019 edition), ting oil and a final coat of shellac!
Why ebonize? It allows more of the wood show through.
Here are a few links for learning about how to make Shrink Pots.
How to make a Shrink Pot – Woodworkers Journal
