Workin’ on the Wall Cabinet

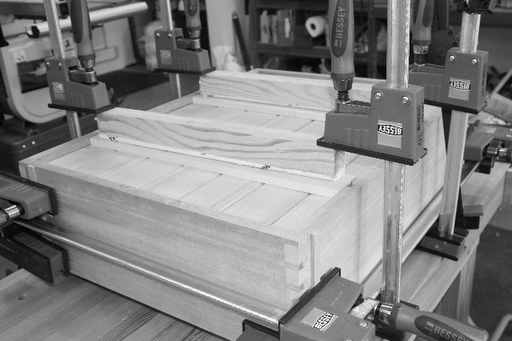
I spent some time workin’ on the wall cabinet yesterday and I almost forgot to take pictures.

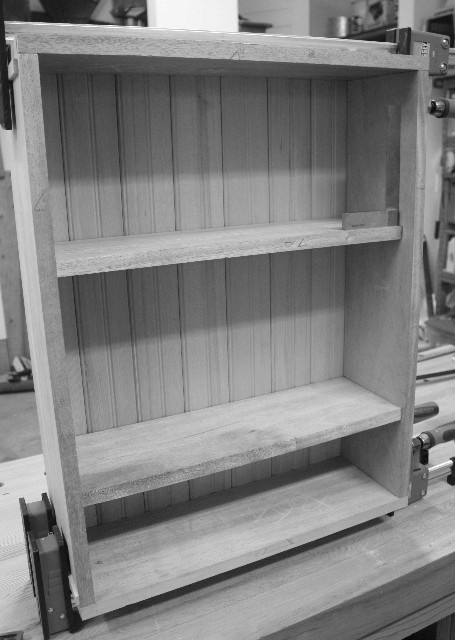
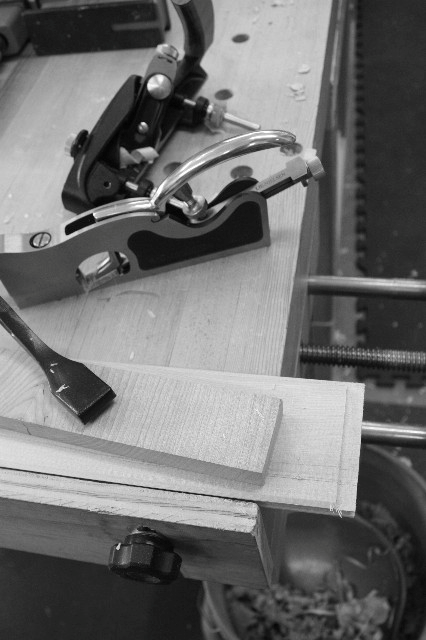
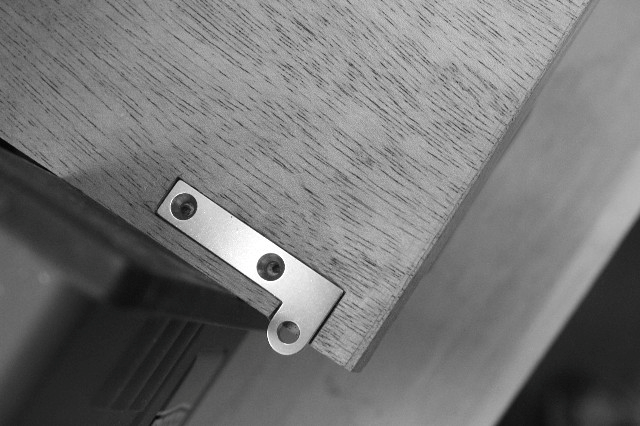
I worked on installing the bottom 1/2 of the knife hinges and I think they turned out pretty well.  I used a router to remove the center material and then chiseled out the rest.  Always remember to do the stop grain end first (cross gain).

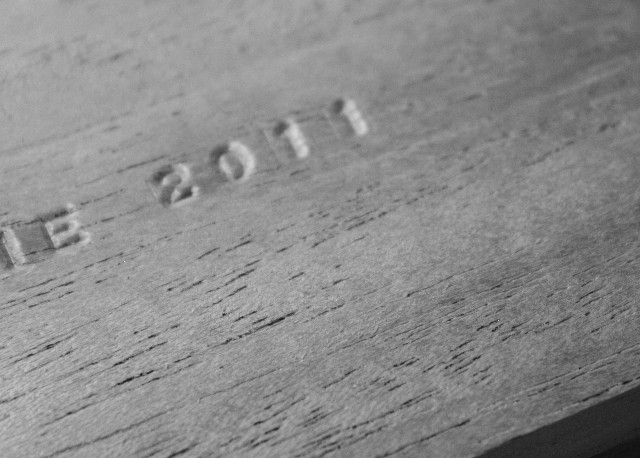
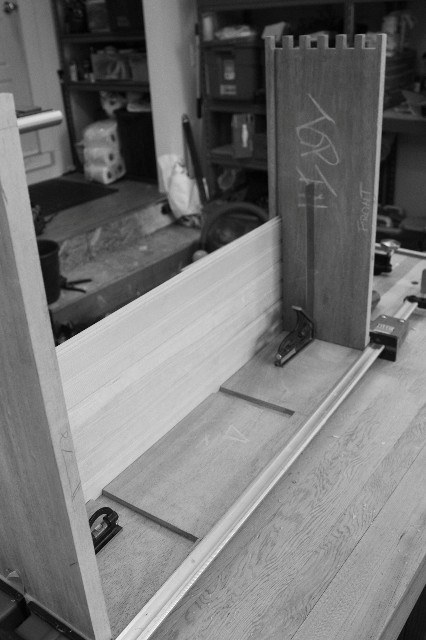
Do you sign your work?  Fortunately I remember to sign on the inside of the case under the drawer before I glued it together.

Dovetail saw making class

This weekend I got the opportunity to go over to the Port Townsend School of Wood Working to make a dovetail saw with Mr. Wenzloff.  It was great fun.

Our kits came with all the parts.  Pre-cut handle, saw blade with teeth cut, saw nuts and the file to sharpen with.

The first task was to shape the handle with rasps after drawing on the desired shape.

Mine turned out pretty well, but you’ll probably notice what I call the “birth mark”.  Yes, Marilyn dropped her handle on the concrete right on the horn causing a crack in it.  When Mike and I tried to repair it, we pulled the fracture piece right out .. drat! 

Birth mark can be seen on the top horn here.

So now I have a birth mark on my pretty little dove tail saw and lots of fun memories.

More on sharpening in another post.

All Planes on deck

Well almost any way.  Today I was fitting the doug fir tongue and groove paneling into the back of the case.

I needed a tight fit, so I slightly undersized the grooves.  Used my shooting board to size the length perfectly.  Evenfalls – Picture Frame Shooter shown.

Then trimmed the tongue and groove for a perfect fit using the skewed rabbet plane and 3/4″ shoulder plane.

Since I was dealing with individual pieces and not a single panel, I asked Marc (Wood Whisperer) for ideas about how to handle glue up.   His suggestion was to do a dry assembly, attach a backer board and glue in the middle to allow wood movement.

I think it turned out fabulously .. and its starting to look like a real case!

Workin’ on the Dado

Yesterday, I cut the lines, chiseled them out and then sawed out the sides.
 The hardest part of this whole endeavor was getting the saw started.

After some chiseling, the dados for the shelf, case divider and back panel were done.  The Mahogany didn’t give me any trouble to day.

So here are the steps:
1. Mark out the lines based on the center line of the shelf/divider and using the piece to size.
2. Chisel out a valley for the saw to fit.
3. Drill out the end so the saw will have an opening.
4. Saw the side walls.  I ended up using a block as a guide to get the saw started.
5. Chisel out the waste.
6. Finish up with a router.