All fantasy should have a solid base in reality

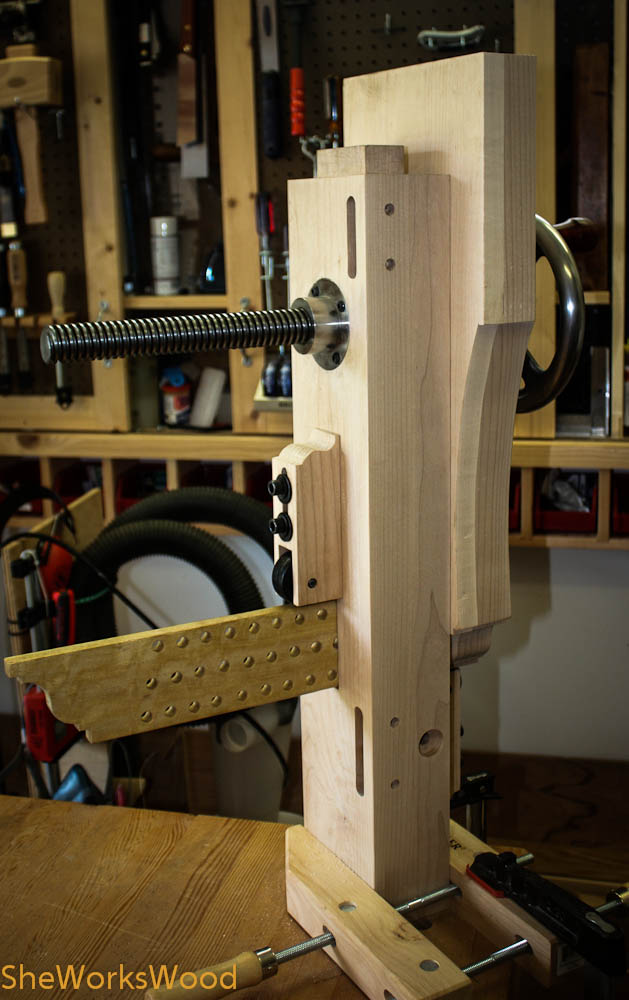
I did manage to get all my workbench base pieces fitted and dry assembled.

One trick I used was chalk on my tenons for fitting.  I chalked the tenons once they start to fit but get stuck.  When I slide the tenon in, the areas that are sticking rub the chalk off.

And that’s .. where I focus my trimming for the perfect fit.

No assembly required!

These arrived yesterday at our port.  They come across the ocean fully assembled (yes from China).  As some of the largest container handling cranes in the world, they are 267 feet high.  I know it doesn’t look like it, but they’re big!

So what does that have to do with woodworking.  Well, nothing really.  Except that this woodworker works at the port and had a great opportunity to take the picture.

Helicopter shots here.

But good news, I’m still working on my workbench.  Hopefully, by the weekend, I’ll have the base assembled.

Leg Vise and Parallel Guide

I got to work on the leg vise today and started by laying out the holes in the parallel guide.   The parallel guide will sit at the bottom of the leg vise chop and keep the chop parallel to the left front leg of the vise.

The hole lay out was done using the template from Benchcraft and the tip of my brad point drill bit.

Once the holes were drilled, I chamfered the hole edges.

Then I cut out the shape of the parallel guide tail shape on the band saw.

The final guide after inserting into the chop.

Now I need to shape the chop.