I practiced with several nails before attempting to install the battens.
So it was time to attach the battens to the lid using the clinched nail technique.
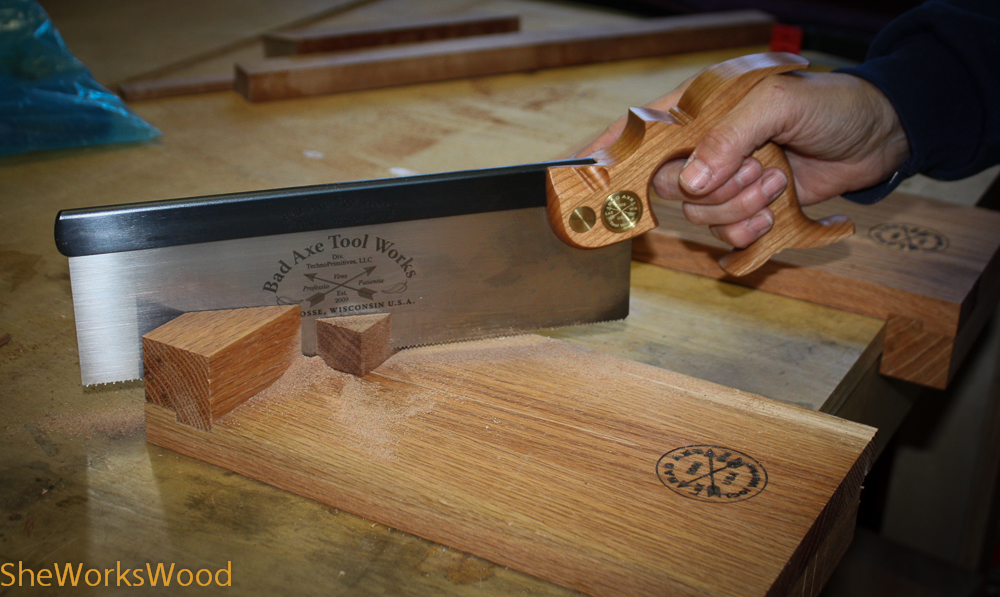
My Bad Axe saw, size small handle. This is the first saw I’ve owned that actually fits my hand.
Cleaning up the batten.
Drilled pilot holes and clamped in place.
So I cleaned up the battens, drilled the pilot holes and clamped it in place. I also ground the nail tips on the bench grinder as described below. All good to go, right?
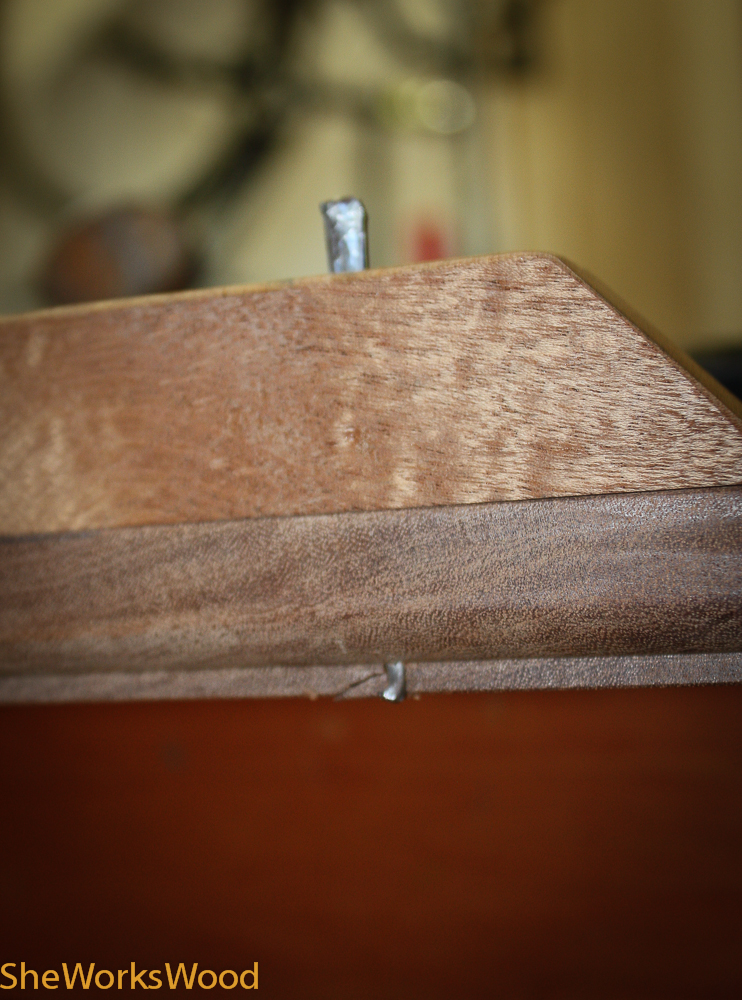
The larger nail cracked the top as I tried to insert it.
As I drove the 2 1/2″ nail through the batten and top, a piece of the top cracked and broke. ARGGGGGH!
I had to get the demo tools out and regroup.
Deepened and widened the pilot holes and I used a 2″ nail instead.
Turned with needle nose plyers and hammered in.
After switching to 2″ inch nails, enlarging the pilot holes and deepening the counter bore ->Success!!!
One other thing I’d do differently .. make the moulding on the lid bigger, say 1/2″. That way the nail is in the round over and not at the edge of the round over and in the thick part of the lid.
And heat treating the nails and sharpening the points really seemed to help the clinching procedure.


")
")
