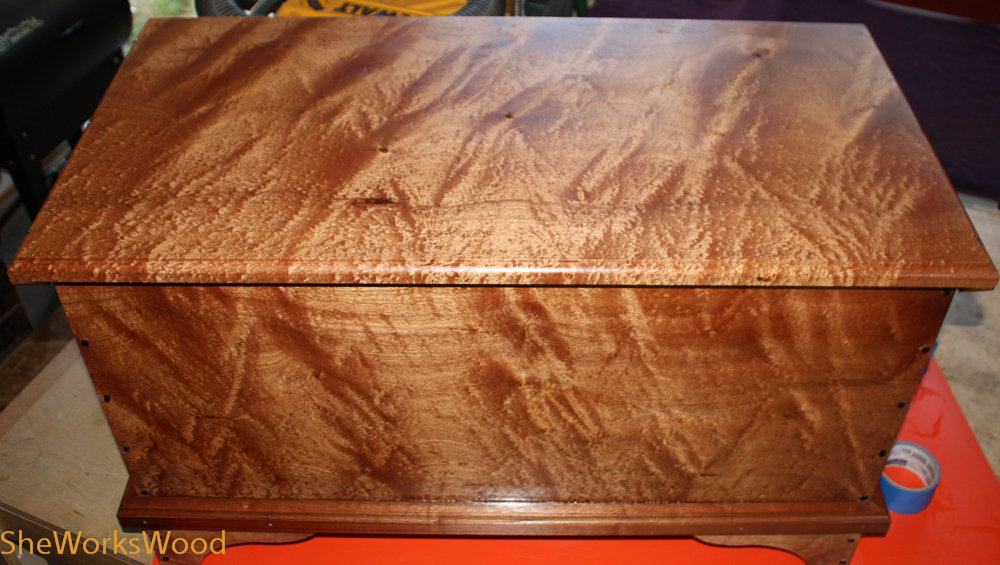
Bet you thought my next post would be about my finished six board chest. Sadly, not .. BUT for a good reason! 🙂
Months ago, I signed up for Matt Bickford’s Moulding Plane class at Port Townsend Woodworking Schooland it was this weekend. As usual, it’s always really fun to go to PT and our class was a good one. From what I can see Matt works his butt of setting up a system that works for beginners. I can’t imagine how much time he’s spent figuring out all of this.
BTW, moulding planes probably should come with a warning. There is math and visualization involved. I had a fried brain by the end of class.
I practiced with several nails before attempting to install the battens.
So it was time to attach the battens to the lid using the clinched nail technique.
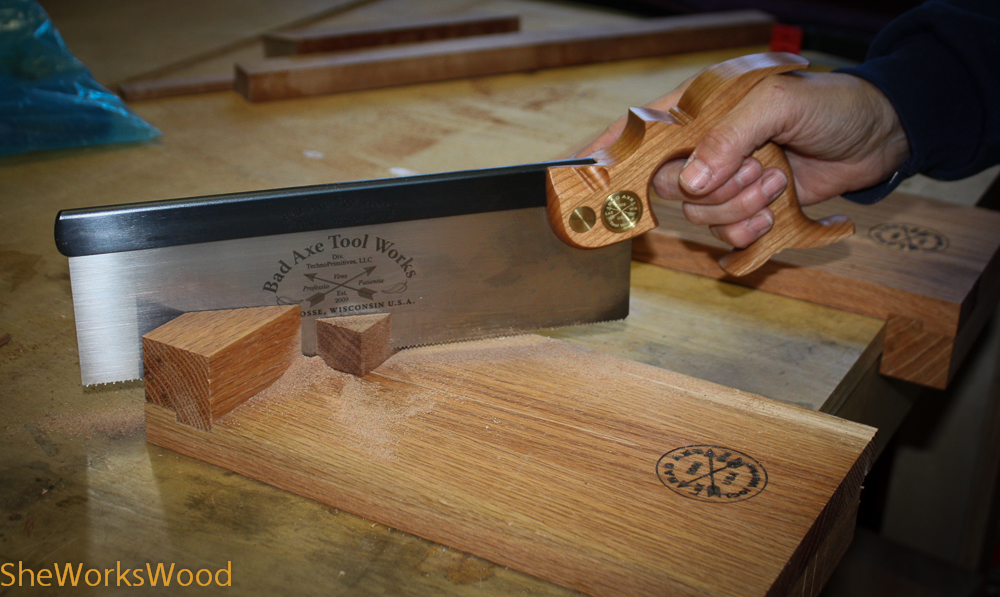
My Bad Axe saw, size small handle. This is the first saw I’ve owned that actually fits my hand.
Cleaning up the batten.
Drilled pilot holes and clamped in place.
So I cleaned up the battens, drilled the pilot holes and clamped it in place. I also ground the nail tips on the bench grinder as described below. All good to go, right?
The larger nail cracked the top as I tried to insert it.
As I drove the 2 1/2″ nail through the batten and top, a piece of the top cracked and broke. ARGGGGGH!
I had to get the demo tools out and regroup.
Deepened and widened the pilot holes and I used a 2″ nail instead.
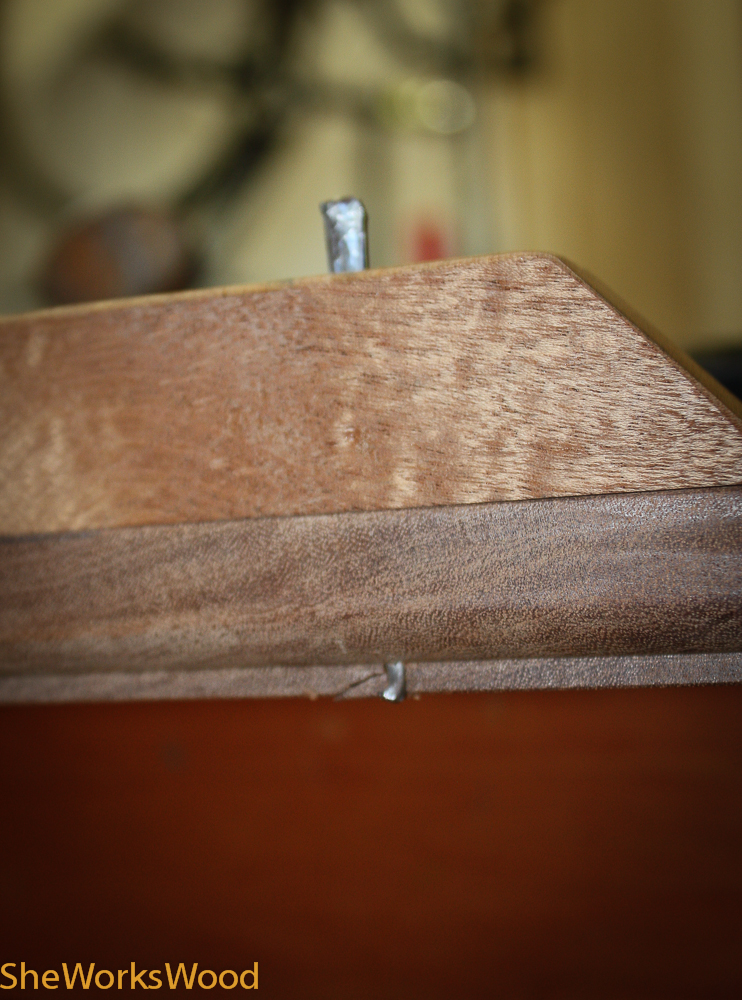
Turned with needle nose plyers and hammered in.
After switching to 2″ inch nails, enlarging the pilot holes and deepening the counter bore ->Success!!!
One other thing I’d do differently .. make the moulding on the lid bigger, say 1/2″. That way the nail is in the round over and not at the edge of the round over and in the thick part of the lid.
And heat treating the nails and sharpening the points really seemed to help the clinching procedure.
I used the following section fromChris Schwarz Six Board Chest Chapterto help me install the moulding around the chest. His process worked great, but my lack of fore sight resulted in less than fabulous results.
Wrapping moulding around three sides of a carcase is cake compared to making the full 360°. Focus on getting one corner good and tight. Then clamp those two pieces in place on the chest and mark the other corner for its miter.
With both miters cut on the front piece you can focus on getting the fit tight on the returns (the pieces that “return” down the ends of your chest).
I leave the returns long until after everything is glued and nailed in place, so don’t mess with those until you have to.
Planting moulding is an art. There are lots of ways to do it; I learned how to do it from a trim carpenter. I drill pilots for my fine finish nails through the moulding and push them into the pilots with my fingers until the tips of the nails protrude slightly (almost nothing) from the moulding.
Drilled pilot hols with nail inserted.
Another Shot.
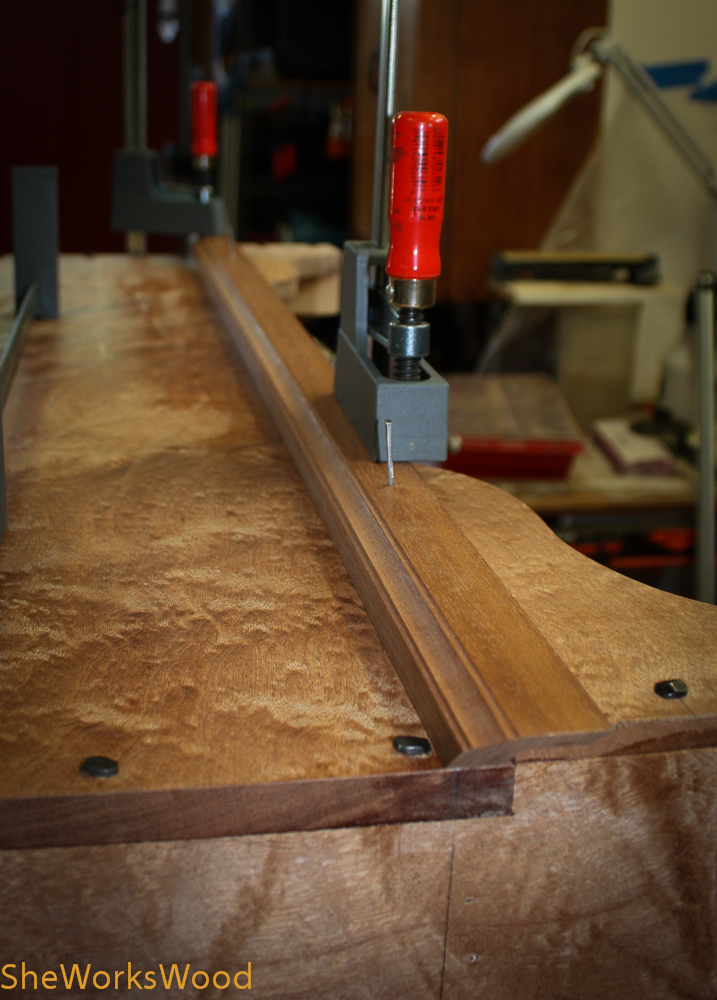
I fit the miters on the carcase and then tap the nails into the carcase so they bite the carcase. Then I remove the moulding and add glue to the moulding. Glue the entire front of the moulding. On the returns, only glue the miters and the front one-third of the moulding to the ends.
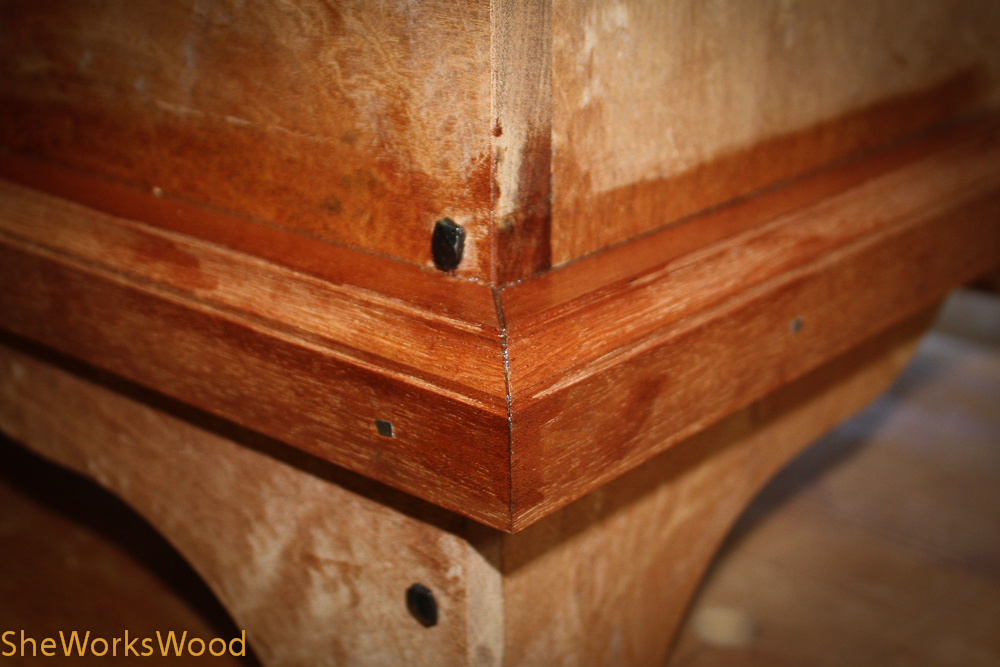
Moulding glued and nail driven in.
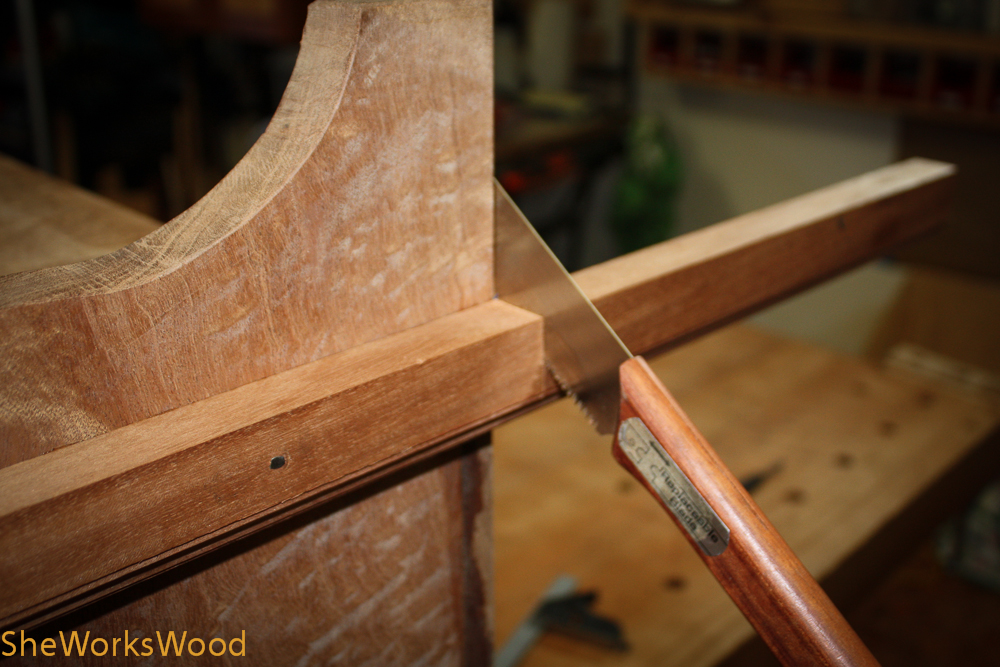
Press everything in place for a minute or two. Then drive the brads. The moulding should not shift. Set the brads. Then saw the returns flush at the back of the carcase. The base is complete.
Returns trimmed.
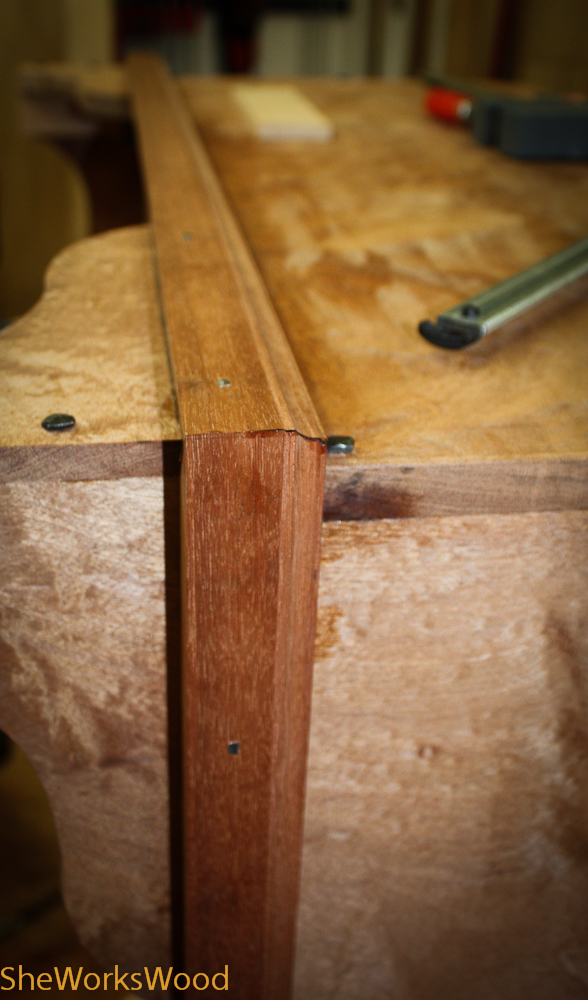
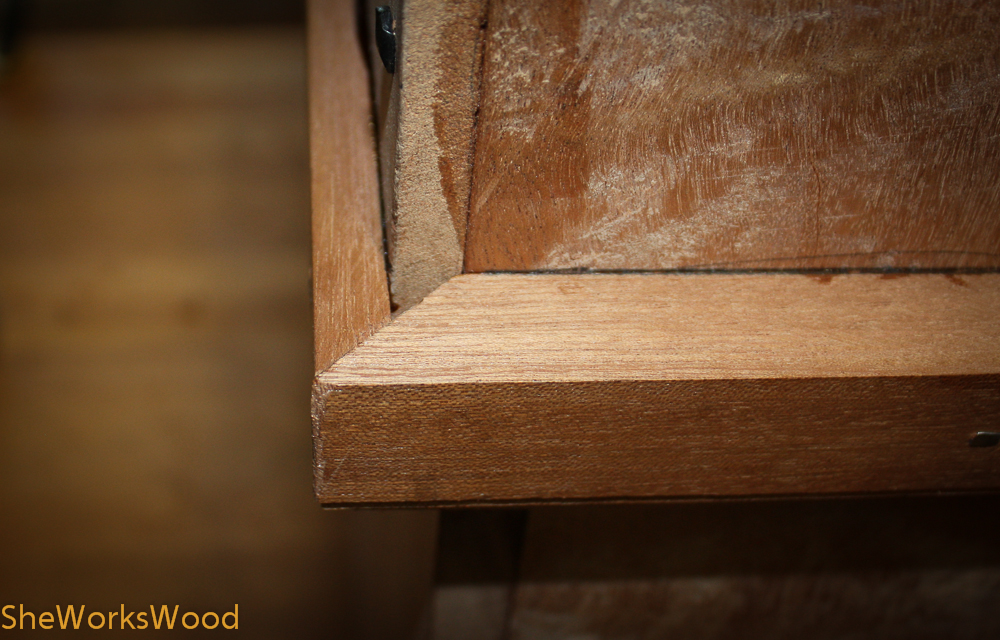
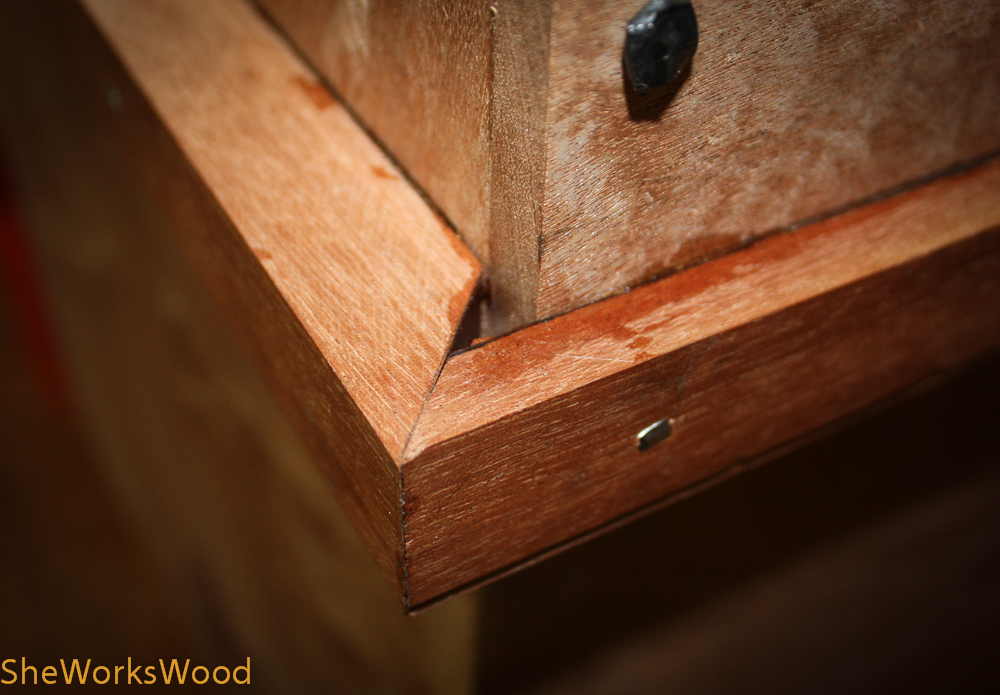
So why didn’t my mitres close up? I didn’t get my case exactly square and once the nails were in, I was’t able to fix it. Doh!
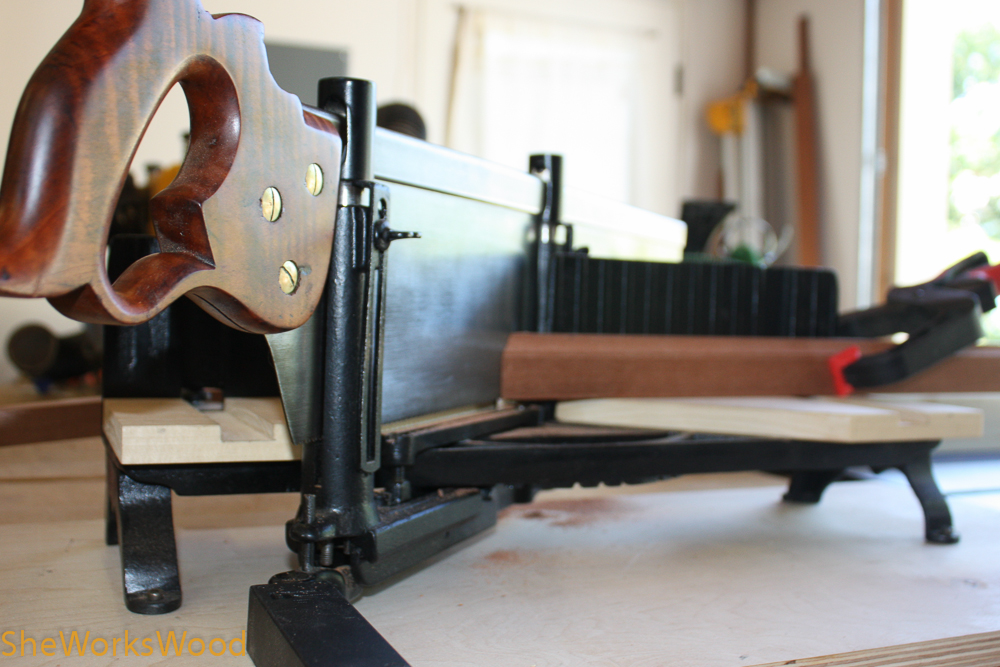
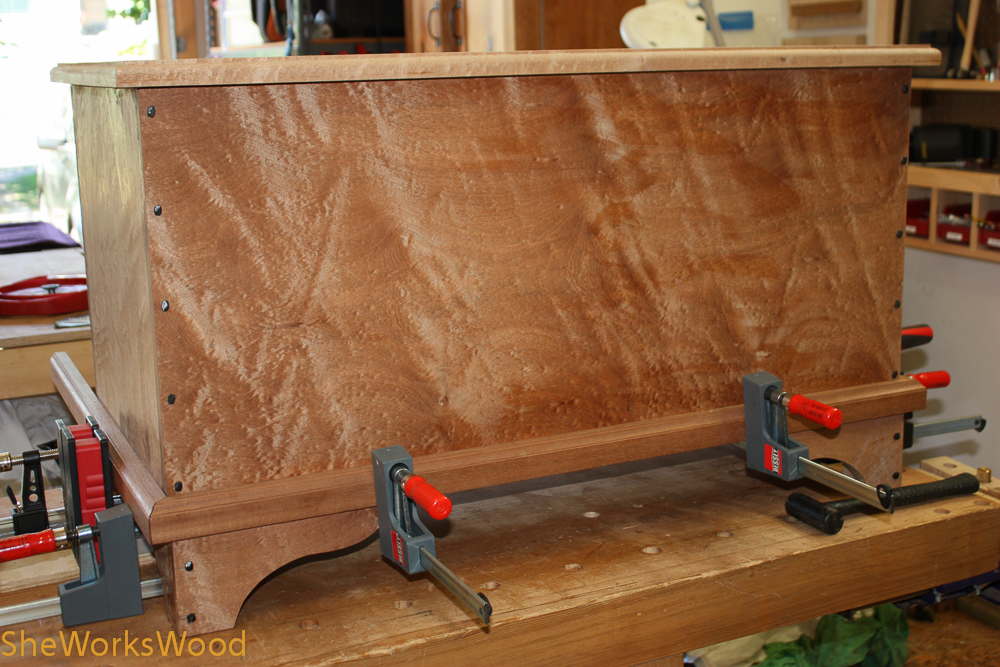
I decided to go with the 1 1/2″ moulding and start fitting to the case. This gave me a nice opportunity to whip out the mitre saw that I restored and cut the wrap around pieces. Once the moulding is on all I have left is the battens and the hinges. The end is in site.
")
")
")
")
")
")
")
")
")
")

")
")
")
")


")
")