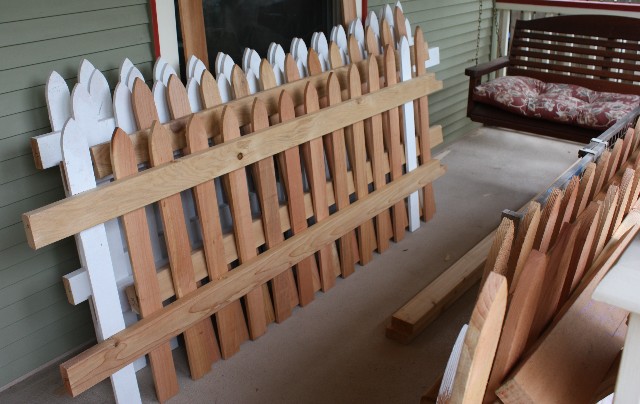
Here’s a few shots of how the fence work is progressing. The fence needs a coat of primer and a top coat so it’ll be awhile before we actually get the fence up. In the meantime, here a bit on how I’m putting things together.
I used a giant jig to lay out the panels and screwed the rails and post together. Then used my track saw to make short work of trimming the fence to size.
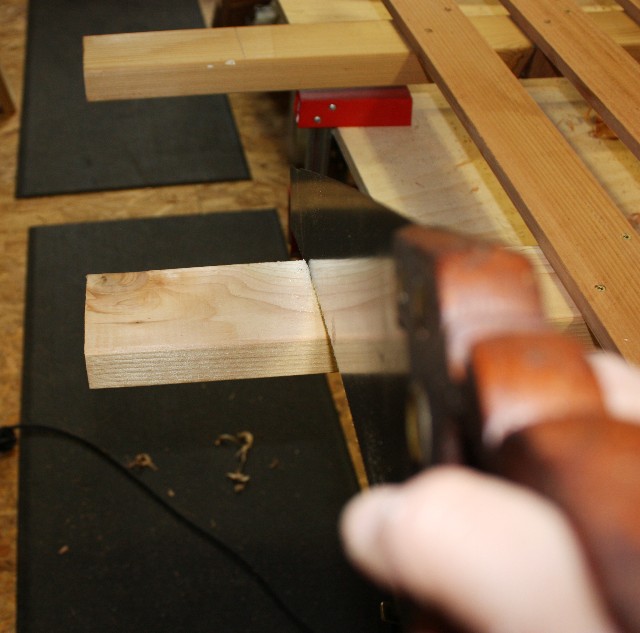
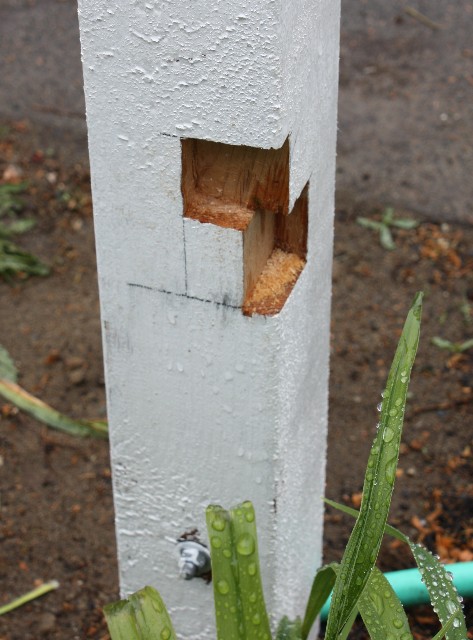
I also got lots of sawing practice timing the rails and used my block plane, of course, to trim the rails to fit the mortises.
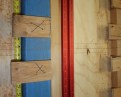
I had the contractor install the fence posts so that my arms wouldn’t fall off installing the 16 posts needed to construct the fence. Then, I used my power router to make mortises/dados for the rails.

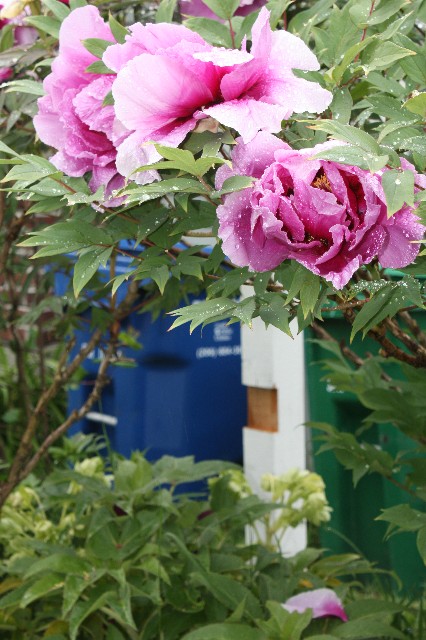
Gratuitous flower shot with fence pole mortise in the back ground.
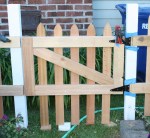
 I started working on the second small gate and used my story stick to transfer the dimensions to the wood. It worked really nicely also for laying out the picket spacing on the jig. Just line up the center mark and wa la .. your pickets are centered on the gate. I used the same method on the first gate.