Tonight I got to test drive both my new re-furbed jointer and my bench. Both worked superbly!
What fun!
And here’s a close up of my new jointer (Thanks Mike! And Mike, this video clip below is for you if you’re still thinkin’ that you want you jointer plane back ;o))
This is my original MDF topped workbench that I made before I started using hand tools.
Once I started using handplanes, I decided to shorten the legs on the workbench so that I could plane more easily.
Here’s the new shorter bench still with the MDF top.
Then I replaced the MDF top with a laminated 3 1/2″ fir top that I flattened with my handplanes.
When Marc started his Robou workbench in the guild, I decided to rebuild the base and add a leg vise. So off to the lumber store to pick up some maple.
I rough cut the lunber with my Festool track saw.
First the legs.
Mortises in the legs were made with my router.
This is the layout for the new leg vise, the most important addtion to the new bench.
The shape of the vise was then cut out on the bandsaw.
The leg vise guide is made of Movingui mahogany and drilled to allow for the pin.
Then the sides of the chop were cleaned up with a block plane.
A rasp was used to shape the bottom of the leg vise and finish out the shape.
And then the parallel guide was attached with drawbord pegs.
A shot of the completed leg vise.
The tenons were cut to fit the mortise. Chalk worked well to help with the fitting.
Side legs are completed with drawbore pegs.
Long stretchers were attached with breakdown bolts.
Then the top was flippled to located the mortises for the base.
Rabbets were then cut to make ship lapped shelf pieces.
45 degree deadman track cleaned up with the small scraper.
The same scrapper was used to cleanup the bench and deadman.
A close up of the completed deadman.
Filled in the holes from the old vise with epoxy and saw dust.
Finishing with boiled linseed oil.
The top after re-flattening and removing the old finish
Back to the workbench! (yippee!) First the layout, of course.
After cutting the overall shape on the band saw, I used my newly installed leg vise to start the final shaping. First using the spoke shave to get out the unevenness created by the bandsaw blade.
There was a nasty knot right in the middle of both sides, but my small scraper did a really nice job of cleaning it up.
After that it was on to the rasp. (Commentary: I discovered rasps when I made a handsaw in Mike Wenzloff’s class and I’ve found them incredibly useful.)
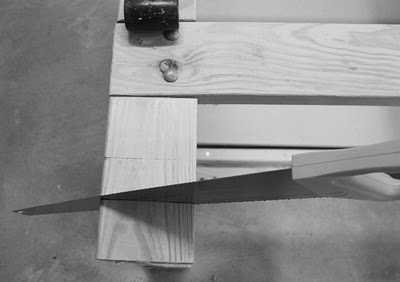
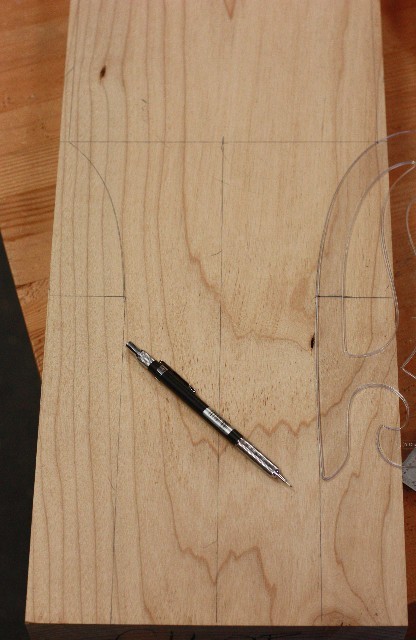
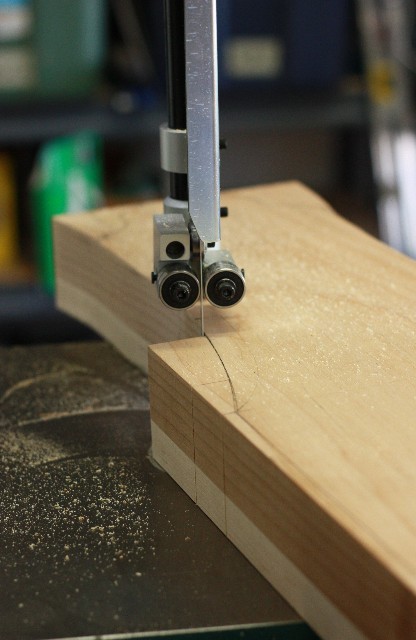
So, now I needed to cut the second side of the track for my deadman and I decided to do that with my rip saw (note: this is probably a better experience when its not 90 degrees in your shop). I marked out my line and created a V with my chisel and started ripping.
I put the board straight up in my vise and did a fairly decent job of staying on the waste side of the line.
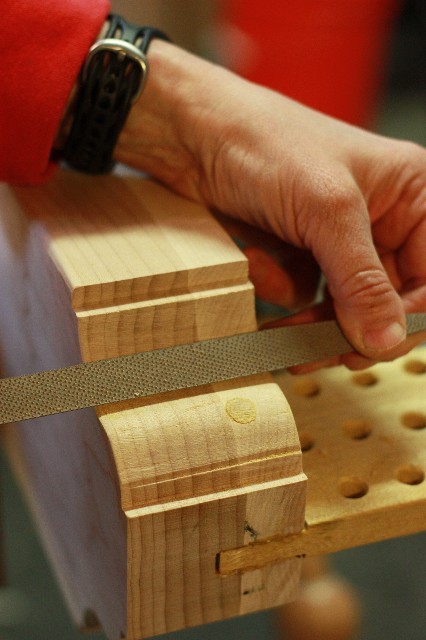
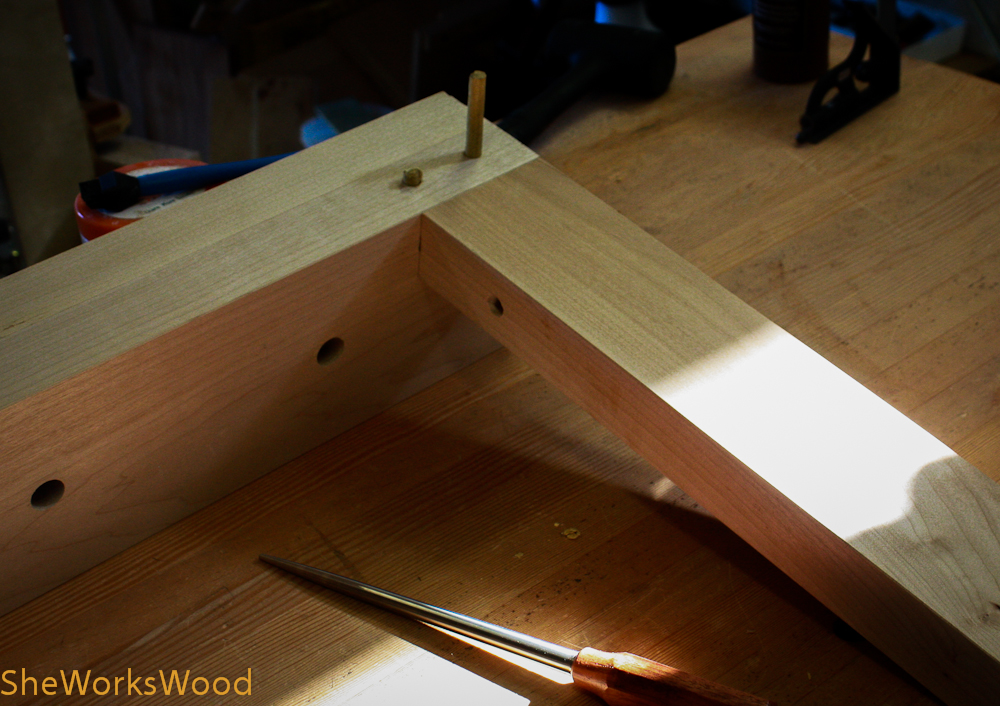
This all worked pretty well until I got to the last 2 inches. Then I had to get a little creative.
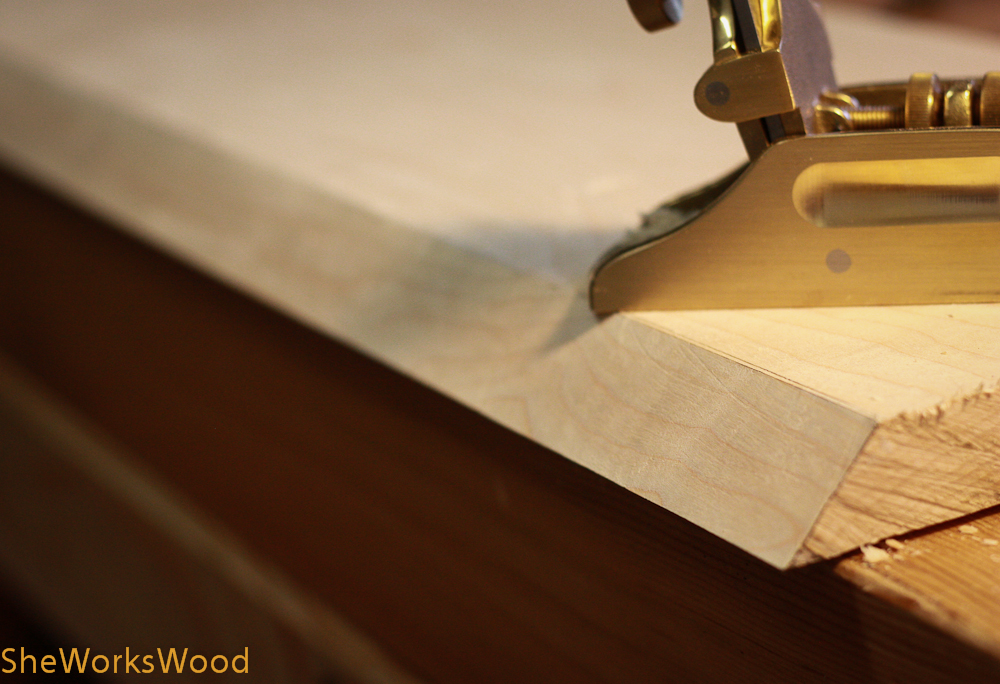
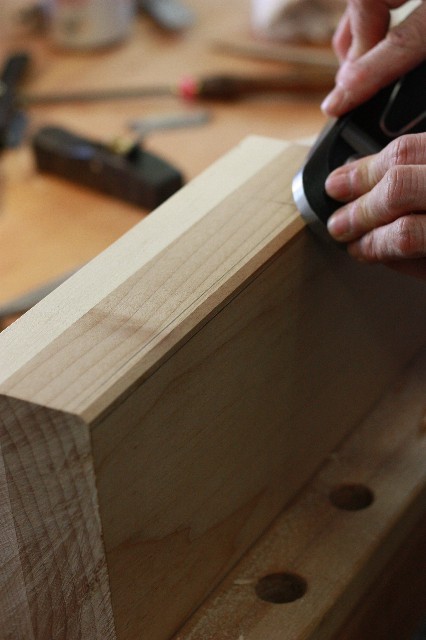
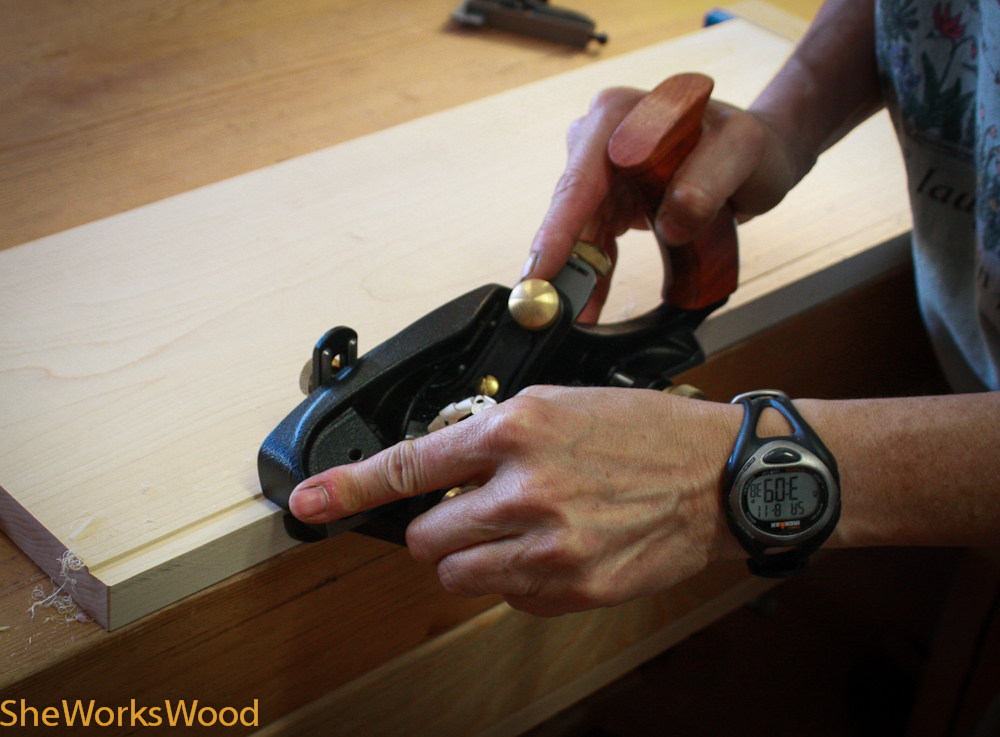
Now I had to figure out how to clean up the new edge I had just created. I tried sticking it to the very edge of the work bench with turner’s tape and using my Jack plane. That worked OK.
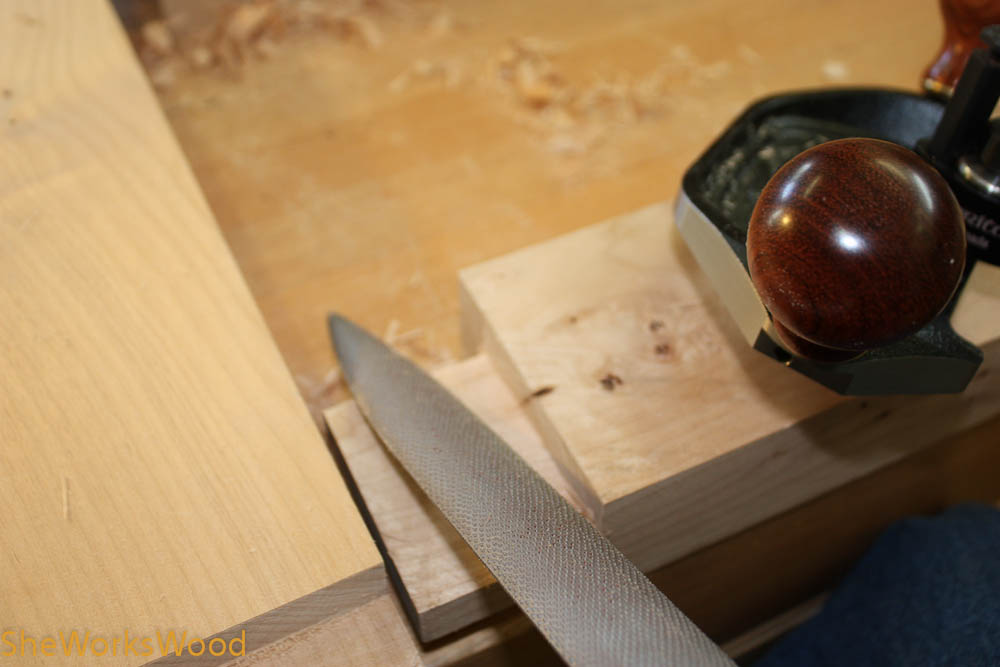
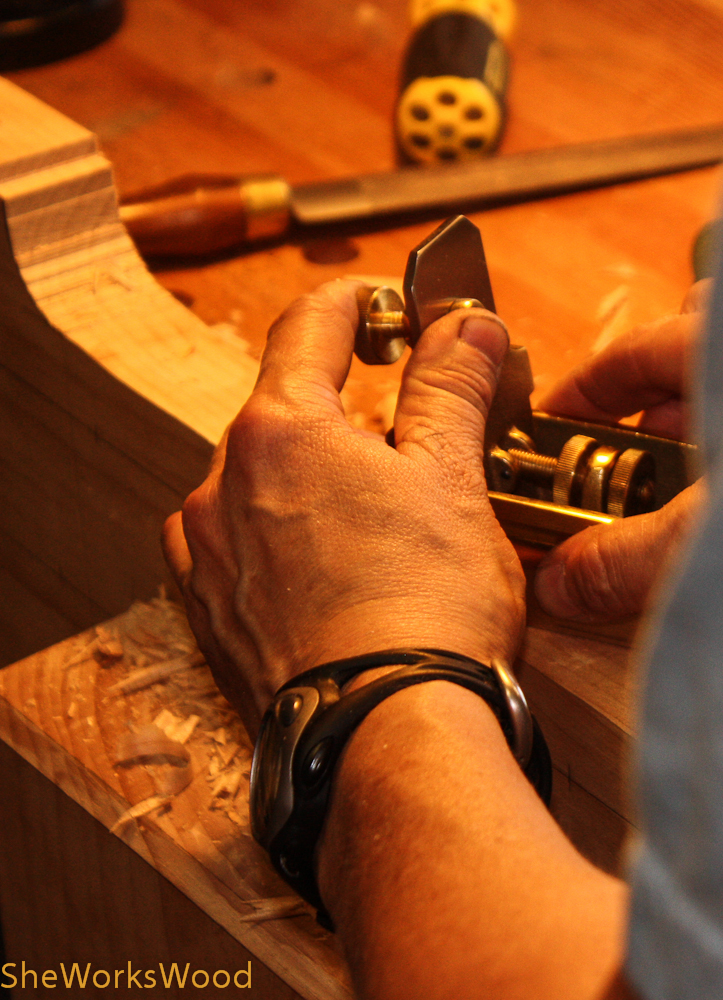
The best method was using my bench dog with my surface vise and using my block plane to clean things up. Fortunately, I didn’t need to remove a lot of material, just clean away the saw marks.
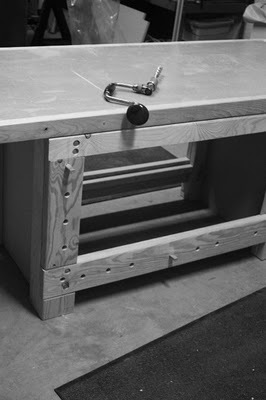
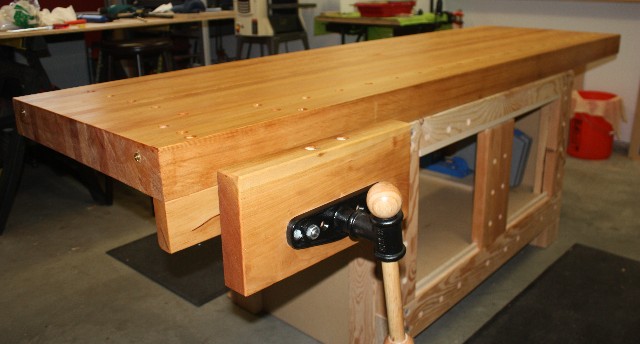
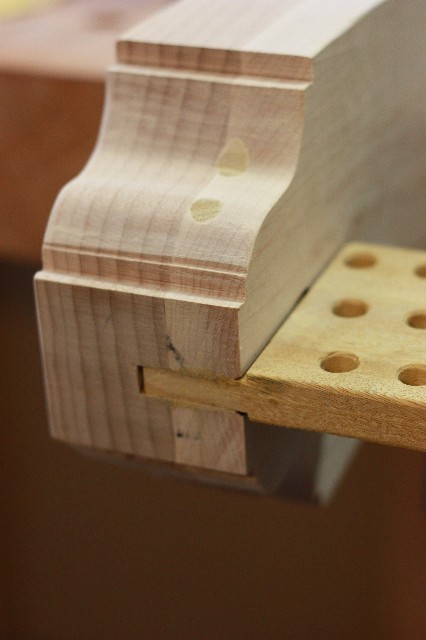
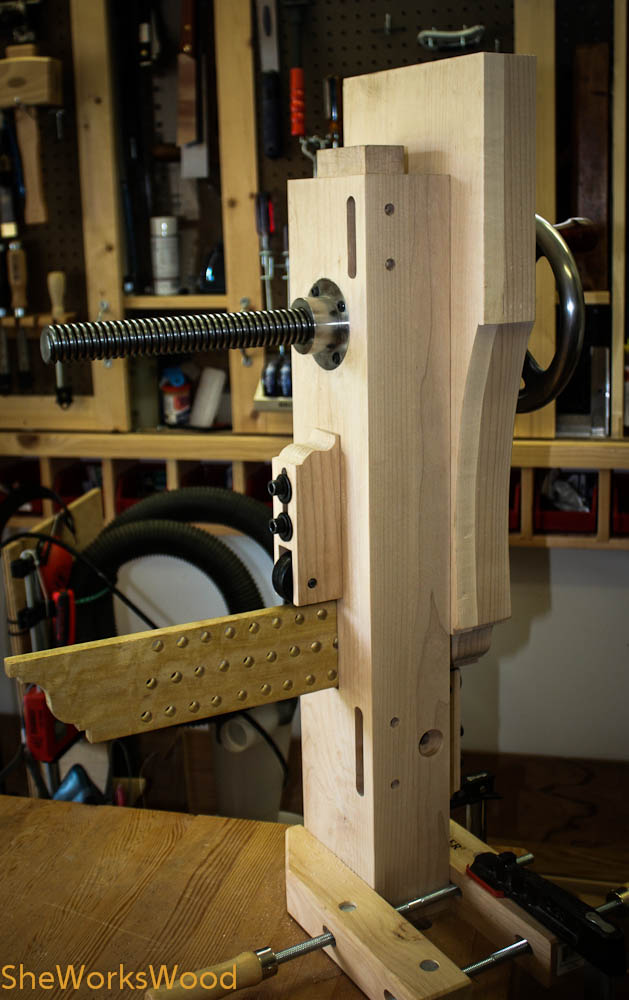
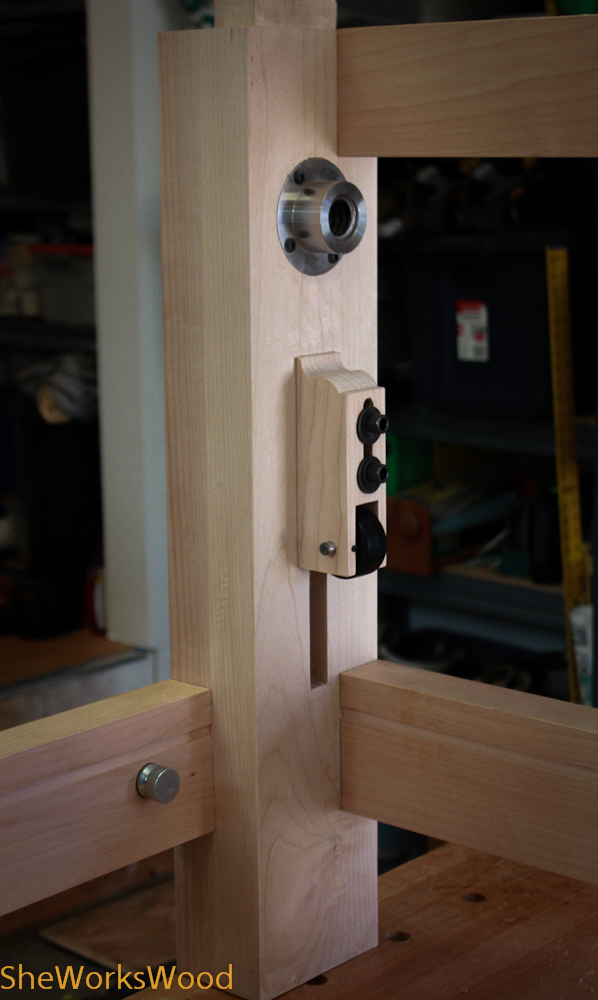
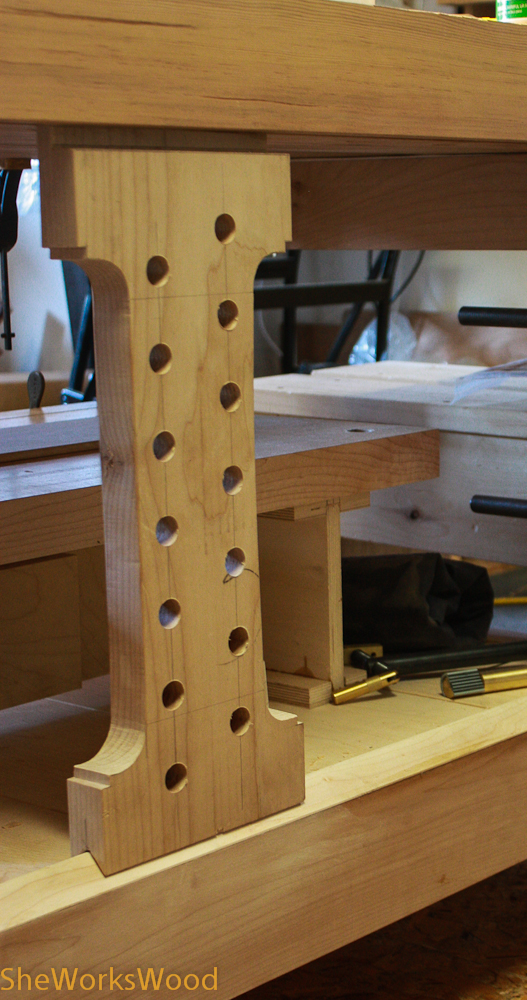
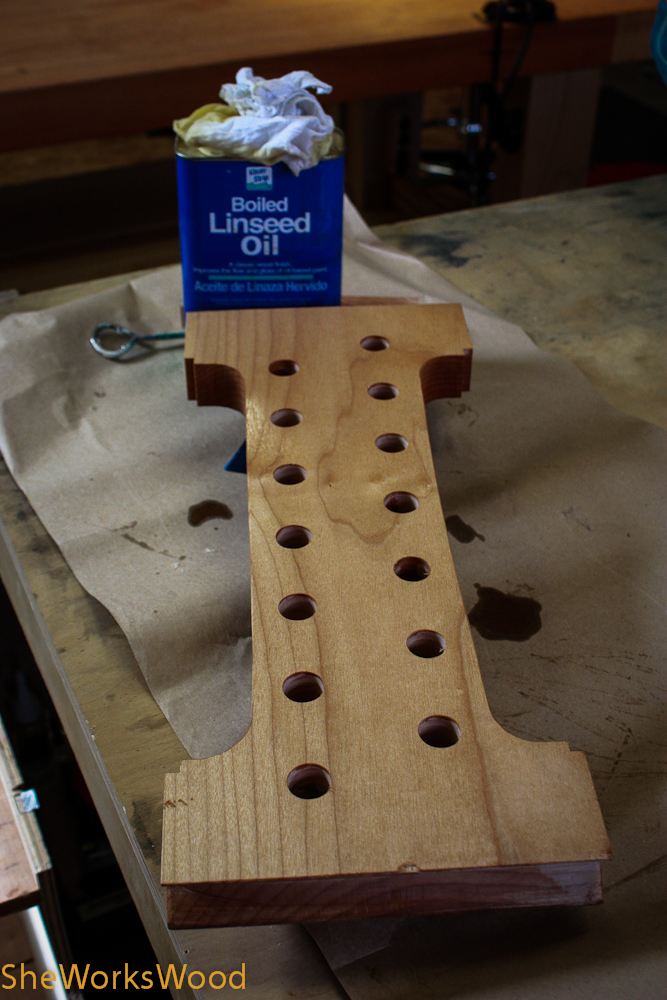
An voila! I had a stick the right size and shape for my track.