I can do this right???

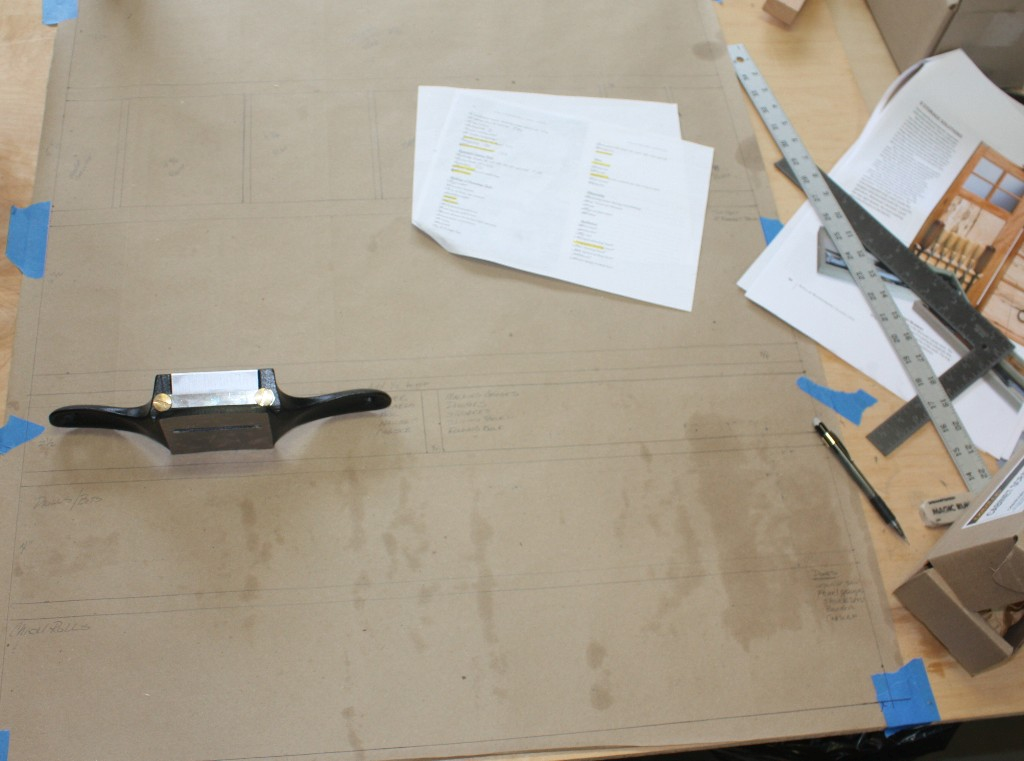
This afternoon I started laying things out.  The tool cabinet poster went up on the wall where the real cabinet will ultimately reside.

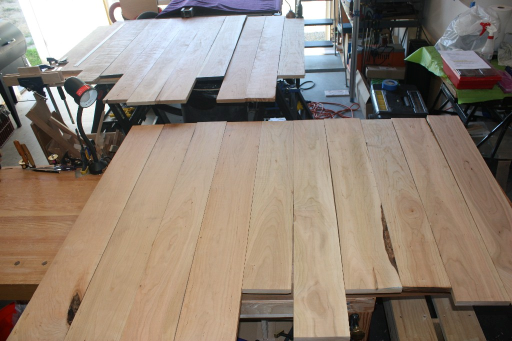
I started laying out all the cherry and trying to match up pieces for gluing.  Most sides of the cabinet will require gluing 3 boards together and the shelves 2 boards. Four sides and FIVE shelves.

Then there’s the back which will use up the remaining tongue and groove fir I have left.  And then there’s five drawers to be made.

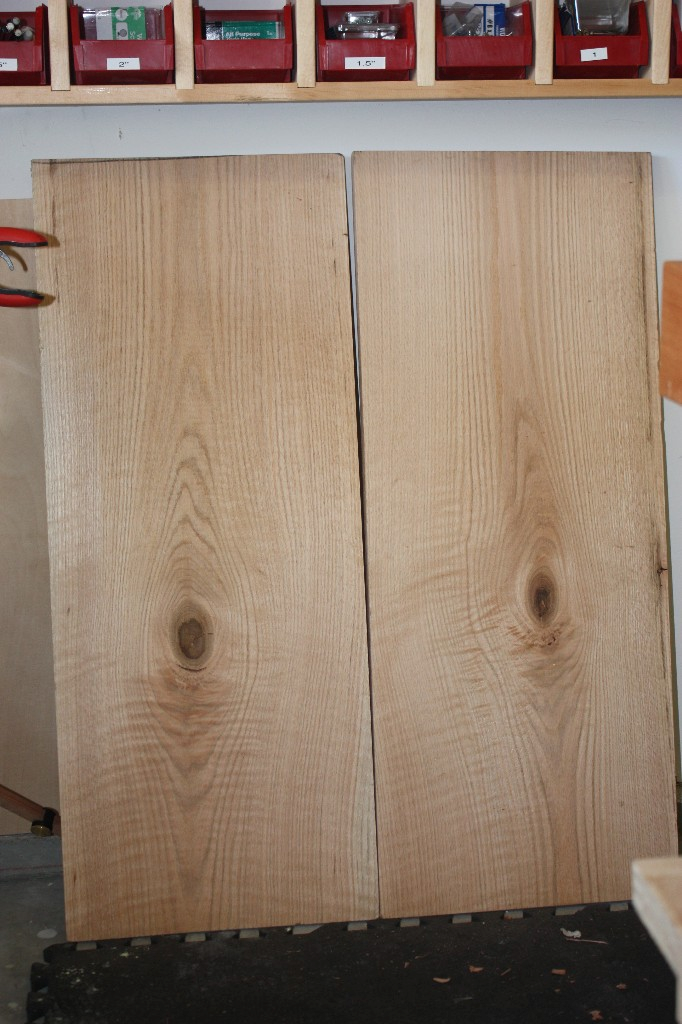
And finally I got out the panels for the door fronts.  These are book matched oak and 3/4′ thick that I’ll need to take an 1/8 to 1/4″ off of so they’ll be proper door panels.

By the time it was all over, I was starting to feel a bit overwhelmed.  So I ran upstairs to look at the newly completed bathroom wall cabinet .. I think I can, I think I can ….

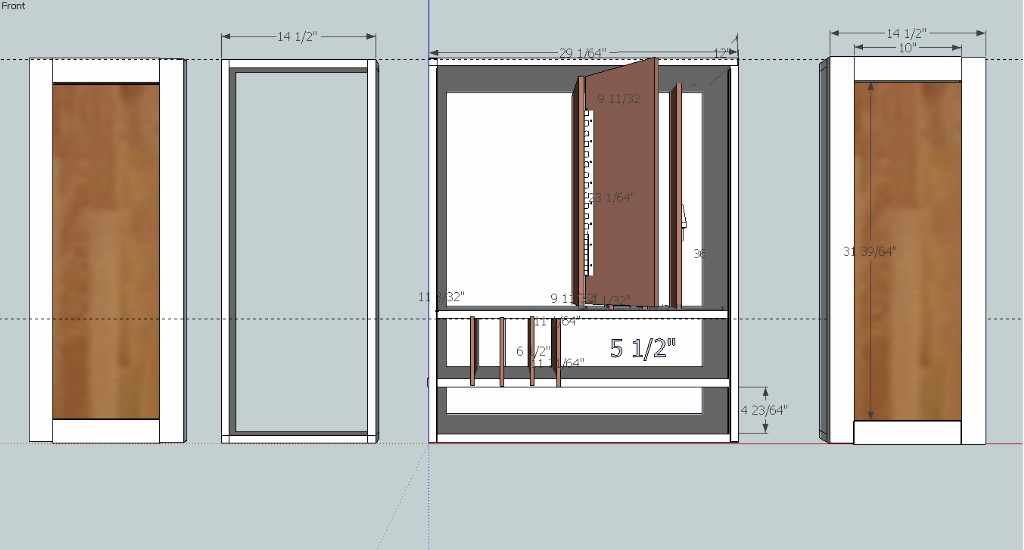
This is the final design.  The bottom 3 slots will have drawers in them (not drawn).  Cubbies on the second and third shelf will go all the way across the cabinet (not drawn out) and are spaced for individual planes.

Panel gauge complete

Arm is made of cherry and head is made of maple.  This was a Hand Tool School project and something I was missing.

There are a ton of mistakes here.   I’m still learning to not be so greedy with the plow plane.  Cuts that are too deep tend to blow out the sides.  The pencil holder needs fixing cuz the arm is too low to fully hold up the pencil and make it stable.  And I broke off a steel screw (that I think wasn’t really steel) that I used to pre-drive the holes for the brass screws in the head, etc. Oh and don’t polish the brass after its in the wood, it turns the wood grey.

One thing I did right was listen to Brian over at Galoototron regarding rounding out the bottom side of the arm to make it sit stable.  I used my chair maker’s scraper to make the shape on the bottom of the arm.

I think it was a fun project …

No more procrastination ..

I’ve not been likin’ the  wasted space in my tool cabinet design.  So I took as step back and redesigned.  I took a second look at the Chris’s wall hanging tool cabinet and this is what I’m callin’ my final design.

Some light tools will hang on the doors, but most will reside in drawers so I can carry them to the work bench, which is actually further away than I’d like.

I also drew it out on paper and laid tools in their spot.  I used my Anarchist Tool Chest list to visualize where the tools would go. 

I’m declaring this done and am finally going to start building.

Distraction

Bought a board yesterday to complete the desk top I’ll be making some time in the future.  I already have two 12 to 13″ quarter sawn mahogany boards and need one more to finish out the top. The great news is my bench handled this easily as I had planned it would.

I’m still working on the tool cabinet sketch up.  After discovering that my slanted platform wasn’t going to work, I started redesigning.