Last week, Josh Clark put out his latest tools for sale list and there was a pretty sad lookin’ No. 3 Stanley up for sale. I’d been lookin’ for a smaller plane and have been having a lot of fun rehabing planes. In typical Josh fashion this “good user” showed up and was indeed a good user.
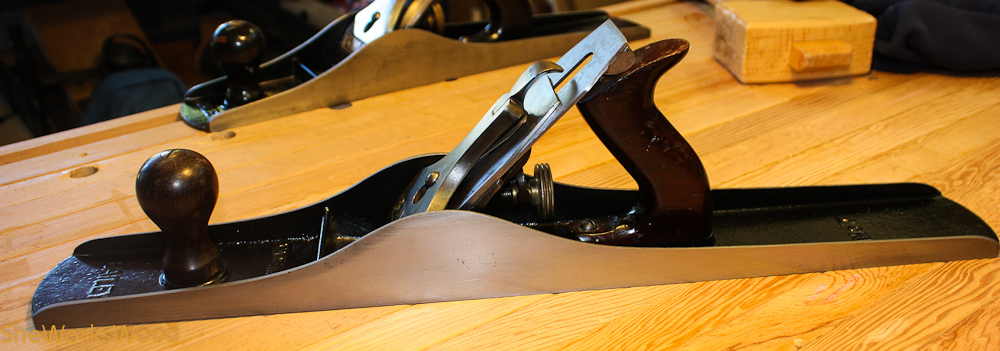
So here’s the before and after photos and a gallery of how I got there. I installed a Ron Hock plane blade and chip breaker as well as a new handle from Hardware City Tools (Bill Rittner). I have a couple of his handles on my Veritas planes.
")
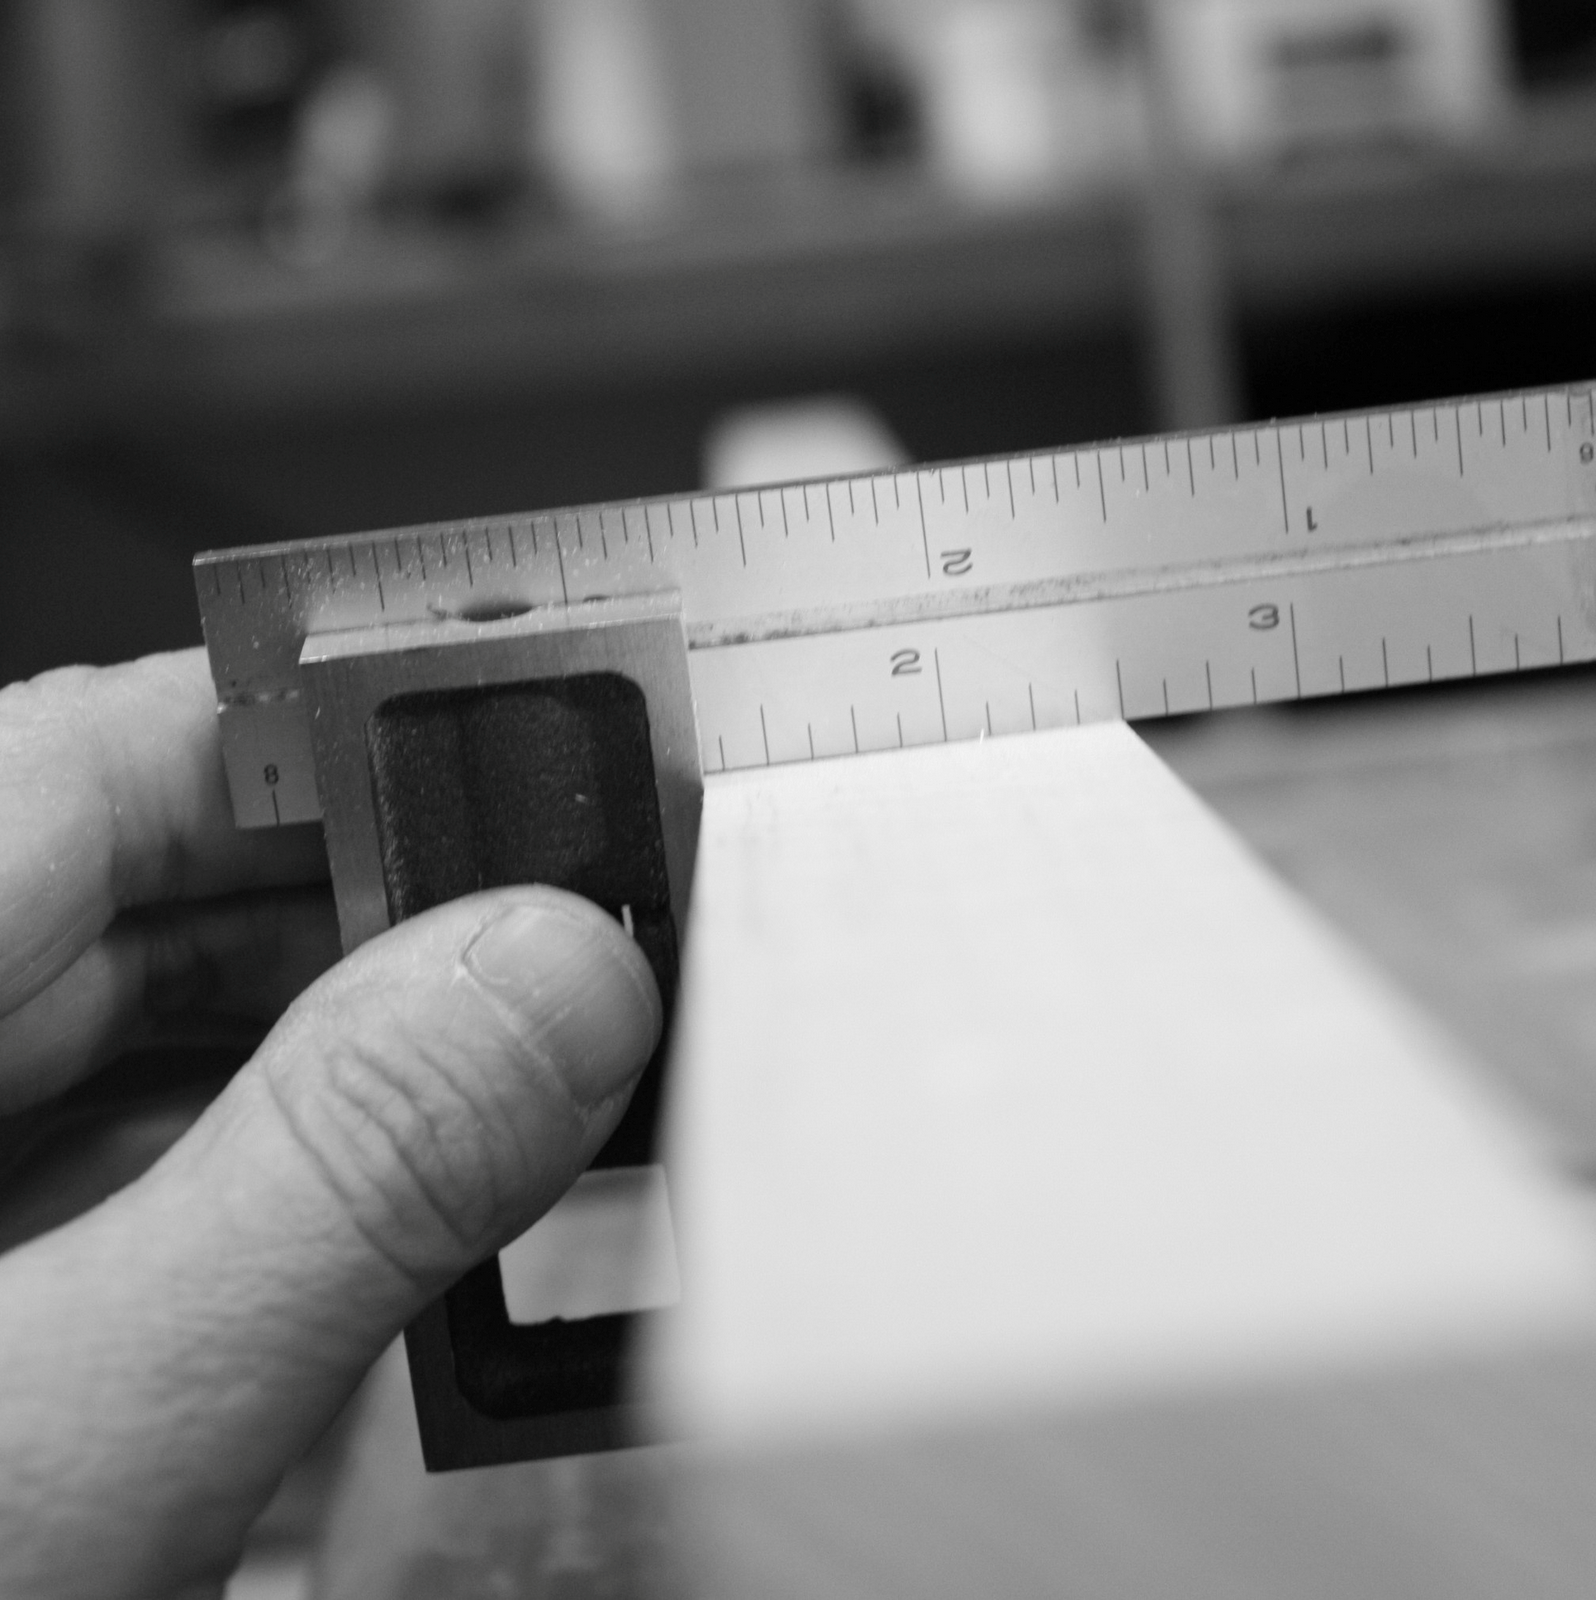
") This plane has some significant pitting at the toe and in a couple of places along the side. But I just need a good user since I’m not a collector.
This plane has some significant pitting at the toe and in a couple of places along the side. But I just need a good user since I’m not a collector.
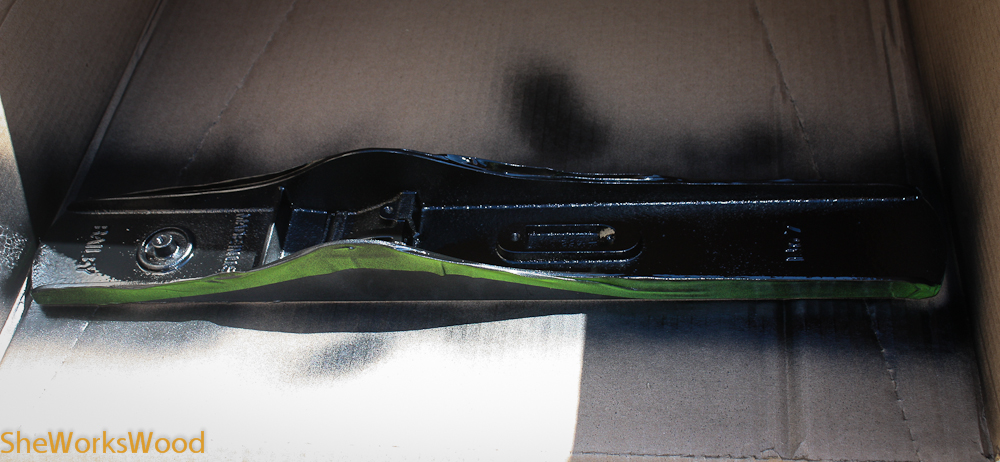
- After
")
")
")
")
")
")


")
")
")
")
")
")