Today I got the main part of the desk glued up and started finishing. I’ll let the sneak peeks speak for them self.
-2")
Main desk glue up.
")
")
")
Today I got the main part of the desk glued up and started finishing. I’ll let the sneak peeks speak for them self.
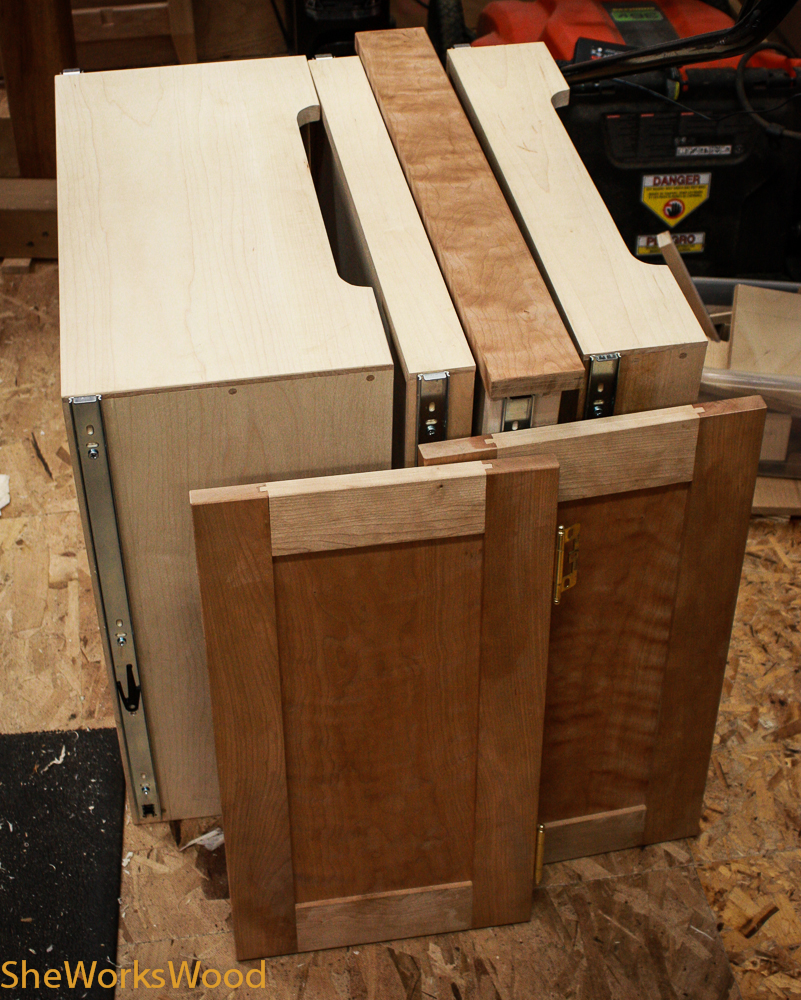
I finished up all my drawers and fitting them into the cabinet today. I’m going to finish these parts while working on the main desk.
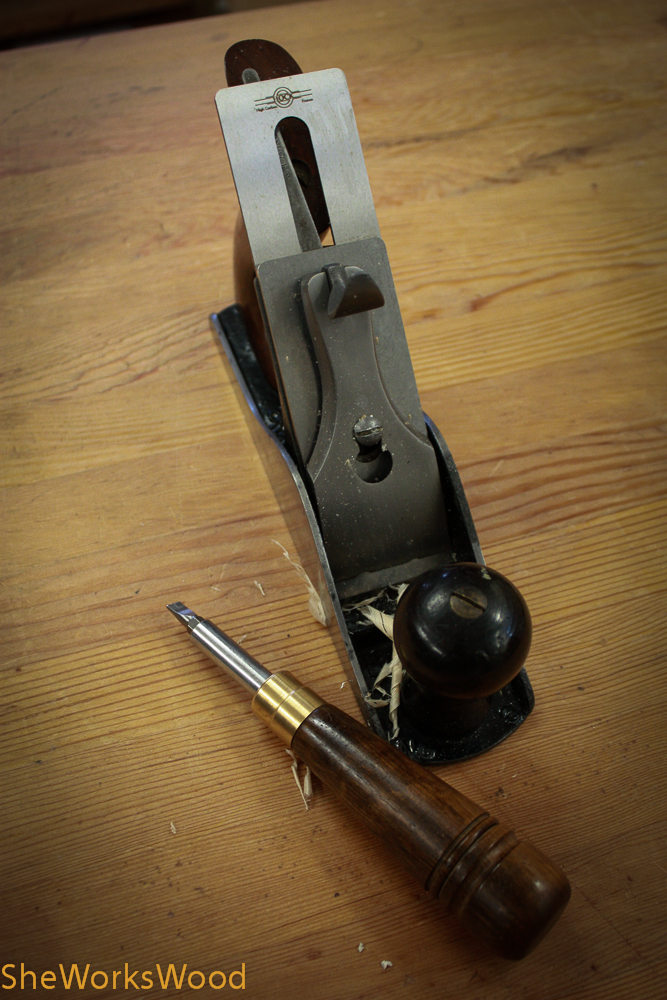
Gratuitous Tool Shot below.
We’ve had really nice, warm weather here. Translation, the garden is demanding to be tended. But I’ve been sneaking into the shop and working on my drawers .. no! not those drawers silly, these.
")
")
-2")
One more drawer to go and on to assembly.
") I jointed two 10″ wide pieces of cherry together to ensure a tight joint.
I jointed two 10″ wide pieces of cherry together to ensure a tight joint. ") Then glued them.
Then glued them. ") Once the glue had dried, I squared up the edges on the shooting board.
Once the glue had dried, I squared up the edges on the shooting board. ") Then I plowed a groove in the end boards.
Then I plowed a groove in the end boards. ") Then I drilled holes through the grooved bread board ends.
Then I drilled holes through the grooved bread board ends. ") I trimmed the end on the main board to prevent spelching.
I trimmed the end on the main board to prevent spelching. ") My Veritas Jack Rabbet plane does a nice job of making a rabbet on the main board. Rabbets on both sides of the board create the tongue for the bread board.
My Veritas Jack Rabbet plane does a nice job of making a rabbet on the main board. Rabbets on both sides of the board create the tongue for the bread board. ") Here are the shavings from the Jack Rabbet.
Here are the shavings from the Jack Rabbet. ") I used my brad point bit to mark the holes to be drilled in the tongue and moved in 1/32″.
I used my brad point bit to mark the holes to be drilled in the tongue and moved in 1/32″. ") I also elongated the end holes to allow movement.
I also elongated the end holes to allow movement. ") I glued only the center hole to allow the ends to move.
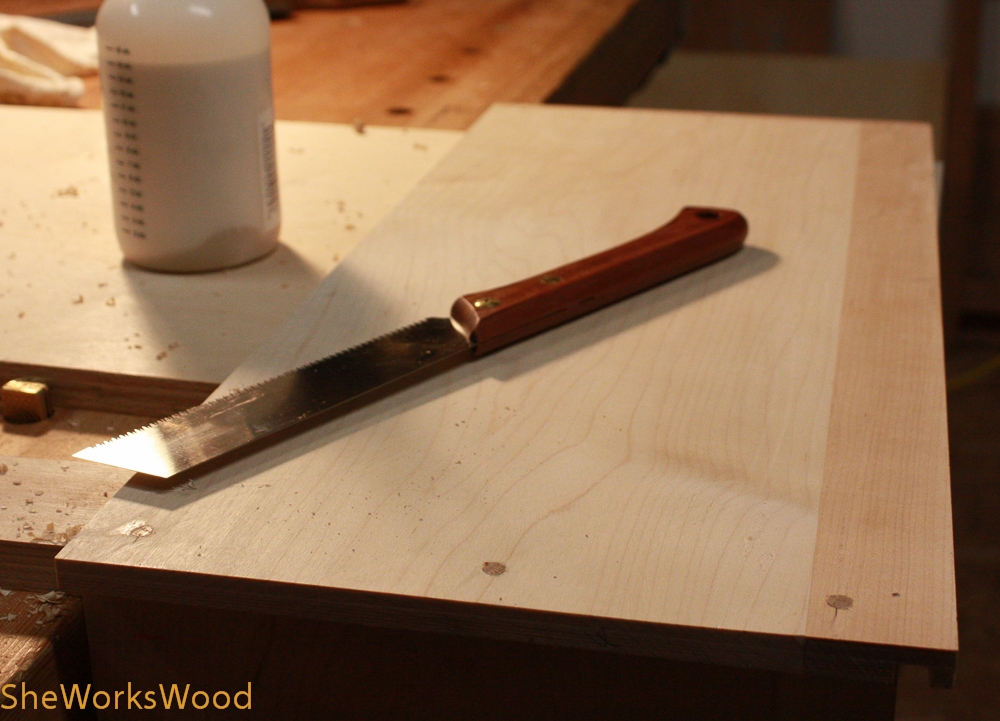
I glued only the center hole to allow the ends to move. ") I sawed the edges of the waste to be removed to the proper depth.
I sawed the edges of the waste to be removed to the proper depth. ") And chiseled out the waste using a chisel smaller than the slot and then a crank neck chisel.
And chiseled out the waste using a chisel smaller than the slot and then a crank neck chisel. ") I finished up using my router plane with some more chiseling to prevent tear out.
I finished up using my router plane with some more chiseling to prevent tear out. ") Last I put the runner in the groove and planed it to fit smooth.
Last I put the runner in the groove and planed it to fit smooth. ") Then I did final clean up on the pull out surface.
Then I did final clean up on the pull out surface. ") The pull out surface installed.
The pull out surface installed. ") And with a coat of shellac.
And with a coat of shellac. ") Shellaced bread board ends.
Shellaced bread board ends.
Above are all the steps I used to make the pull out work surface for the desk. Next I’ll make the three drawers that will sit in the cabinet and then I’ll be finished with the case.
