I’ve been putting grooves in the internal frames pieces and finishing up the frame and stile parts for the case sides.
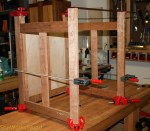
I needed to cut the angled feet. The gallery below tells how I cut and finished the feet.


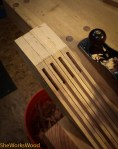

I’ve been putting grooves in the internal frames pieces and finishing up the frame and stile parts for the case sides.
I needed to cut the angled feet. The gallery below tells how I cut and finished the feet.

I hope to be making a lot of progress over the Christmas break.
I just got my February 2013 Fine Woodworking magazine and they were talking about fitting tenons. It was a good article, but I do something a little different (not necessarily better) at least for the tenon cheeks. Their fitting involves using a shoulder plane for the shoulder and a skewed rabbet plane for the cheeks.
Chris Schwarz talks about it a bit here (since I can’t share the FW article).

So for what it’s worth, here’s the way I do it.
I’ve been making slow but steady progress on the desk. I’ve been making lots of tenons and doing lots of fitting into mortises. 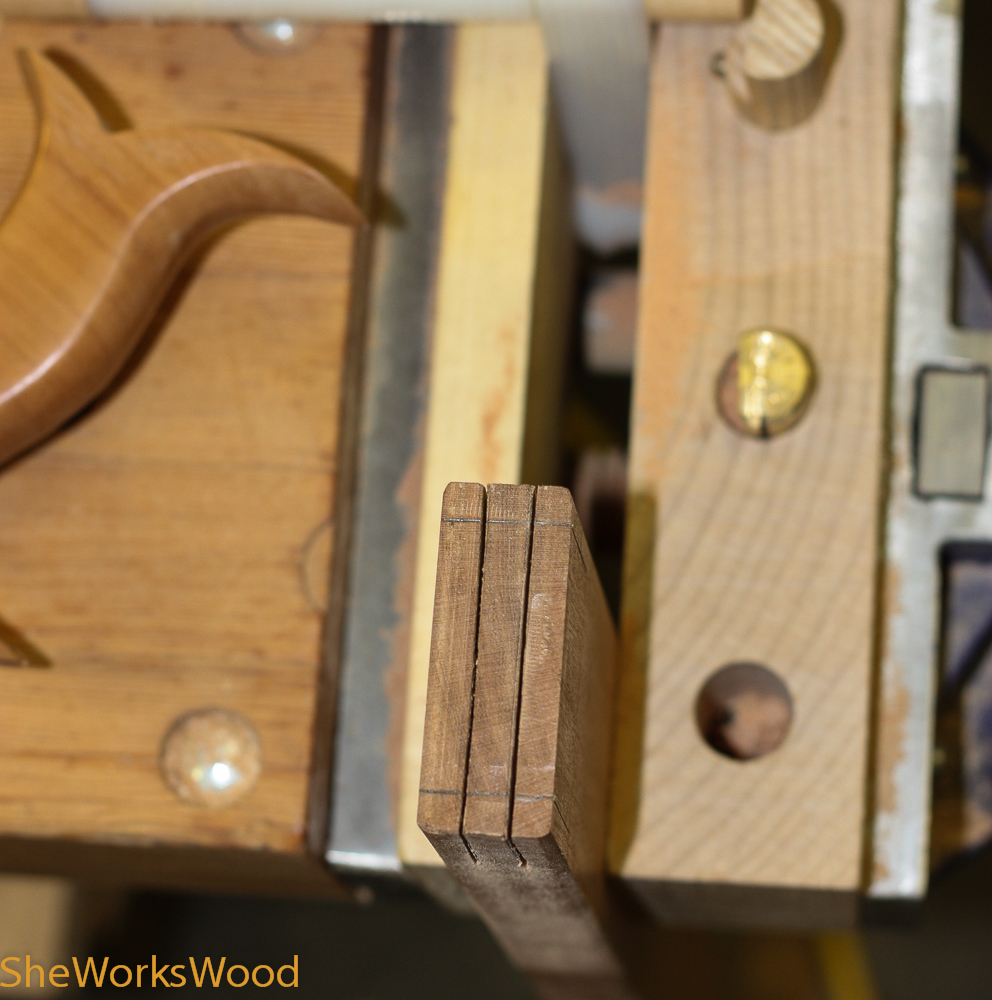
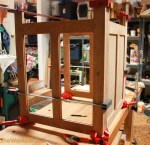
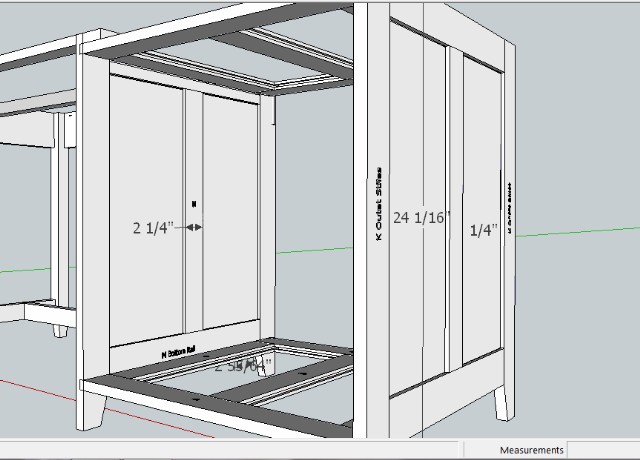
The two side case panel frames are together. I still need to make one for the back panel and then on to the internal frames so I can finish up the internal joinery slots for the internal frames.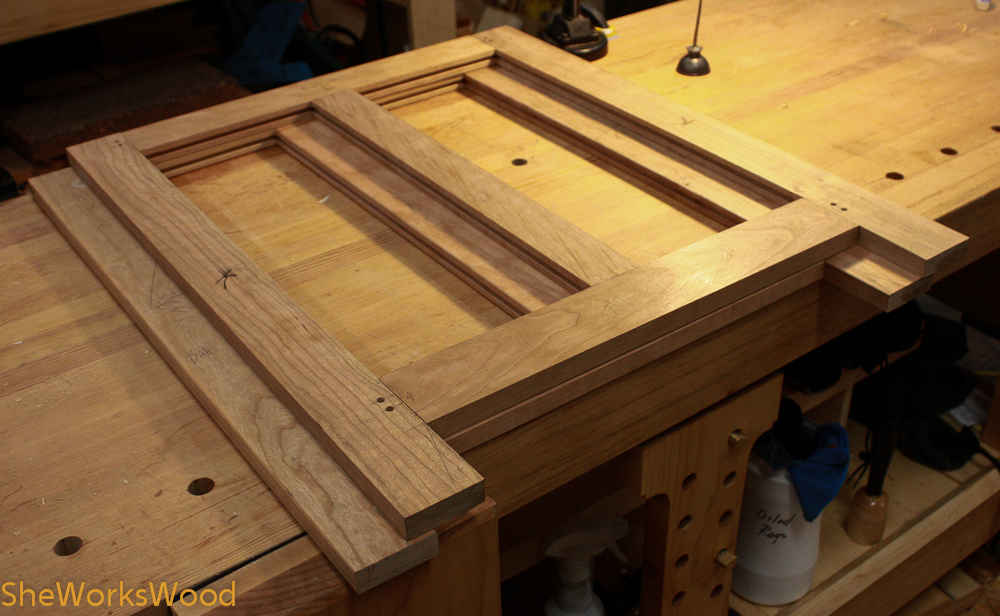
I was really struggling with this mostly because I couldn’t figure out how to hold the work while planing the work. Then I remember this:

This is a photo of Chris showing us how to shoot an edge on the bench .. apparently a french method for getting square edges on their boards. Its also a classic picture of Chris hammin’ for the camera.
I wasn’t really wanting to rub my big No. 6 that I use for shooting across my bench top, so I decided to make a longer shooting board. It’s made of 3/4 inch baltic birch plywood with a maple stop. Oh and I put wide Nylo-Tape Friction Free Drawer Slide Tape in the slot where the plane rides.

And wa la square edges!!

