")
Door parts.
")
Planed to final thickness and smoothed.
")
Marked the bevel lines.
")
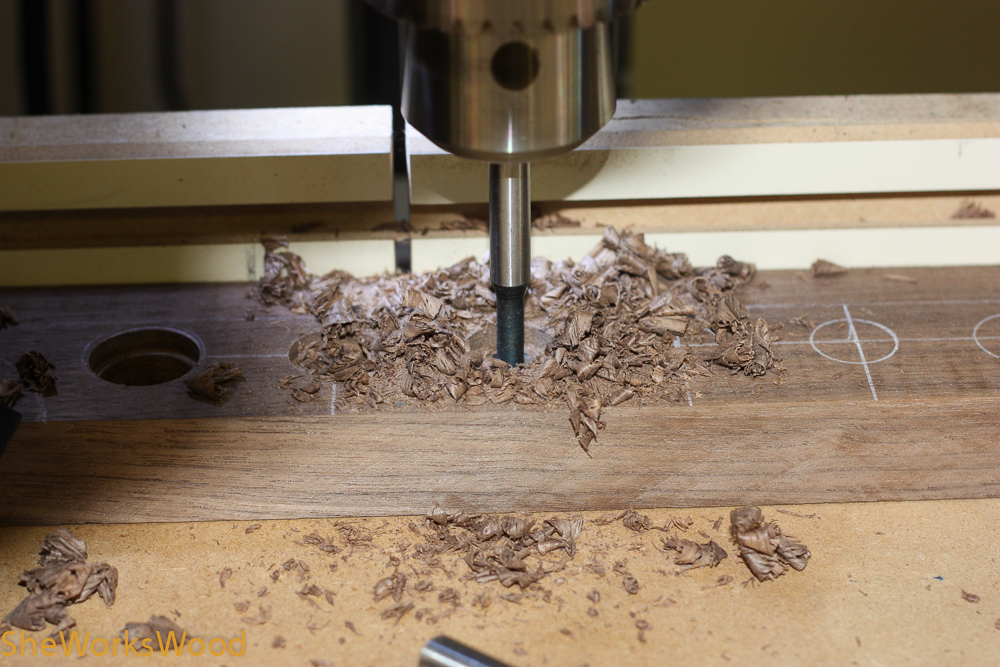
Beveled the edges.
")
Fit the beveled edges in to the rail and style grooves.
")
Finished beveled panel ready for glue up.
")
Glued panel.
")
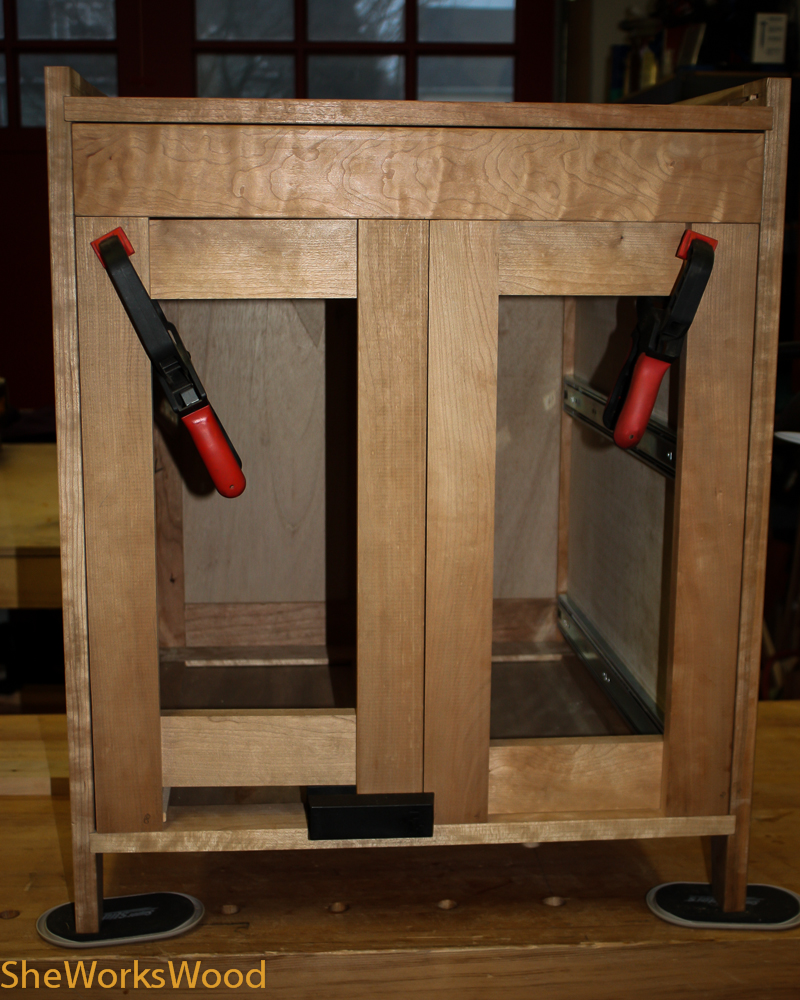
Case with door set in next to the top with its final coat of finish.
Above are the steps I went through to finish up the doors. Again the doors are simply set into place using the hinges as spacers. I thought I was going to be able to get to the hinges today, but no luck.
Next hinges, 3 more drawers, the pull out shelf, the key board shelf and then on to assembly.
Many miles to go before I sleep.
")
")
")
")
")

")