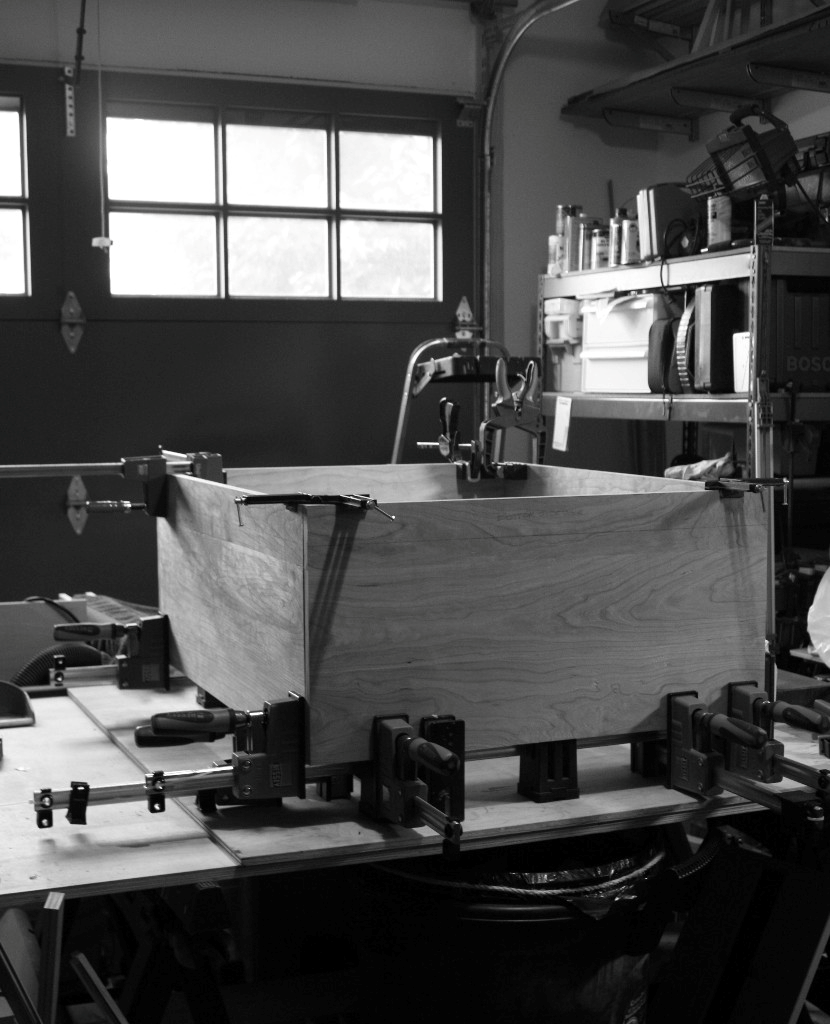
Well at least the tails are.
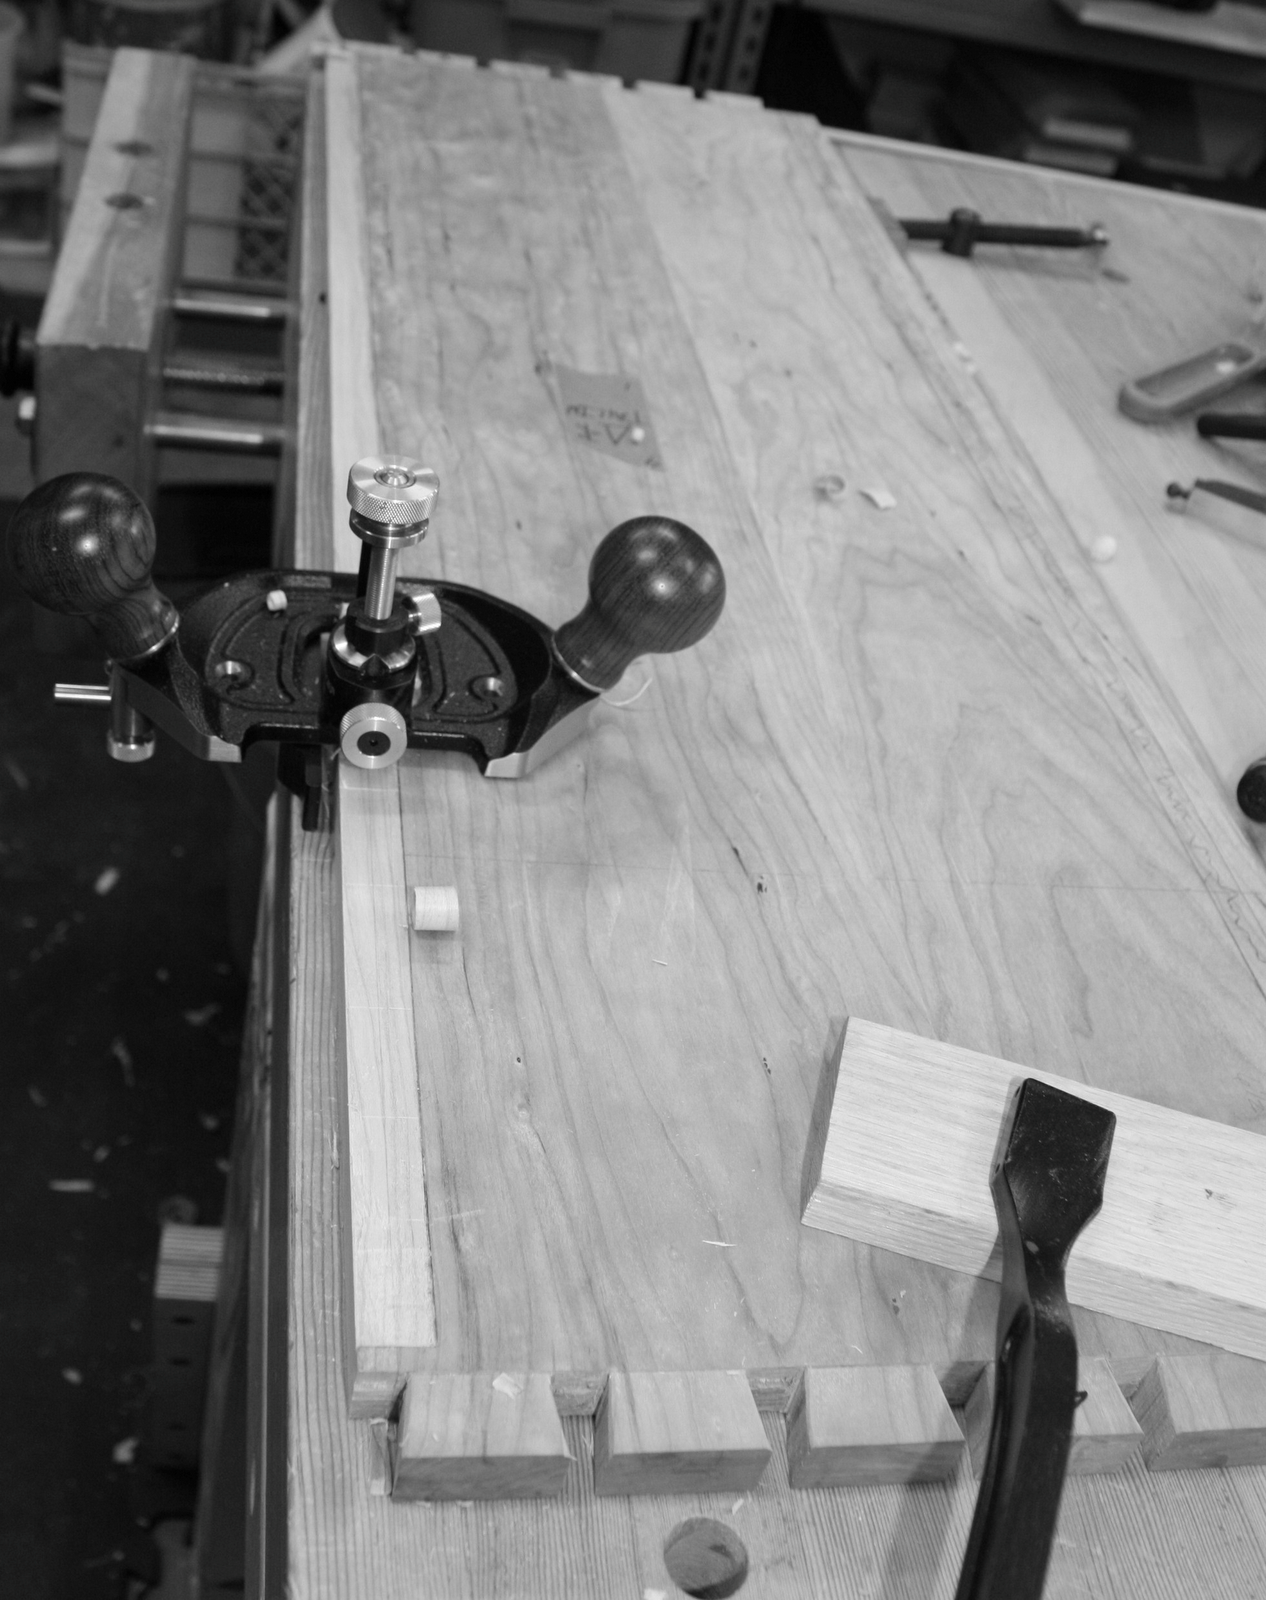
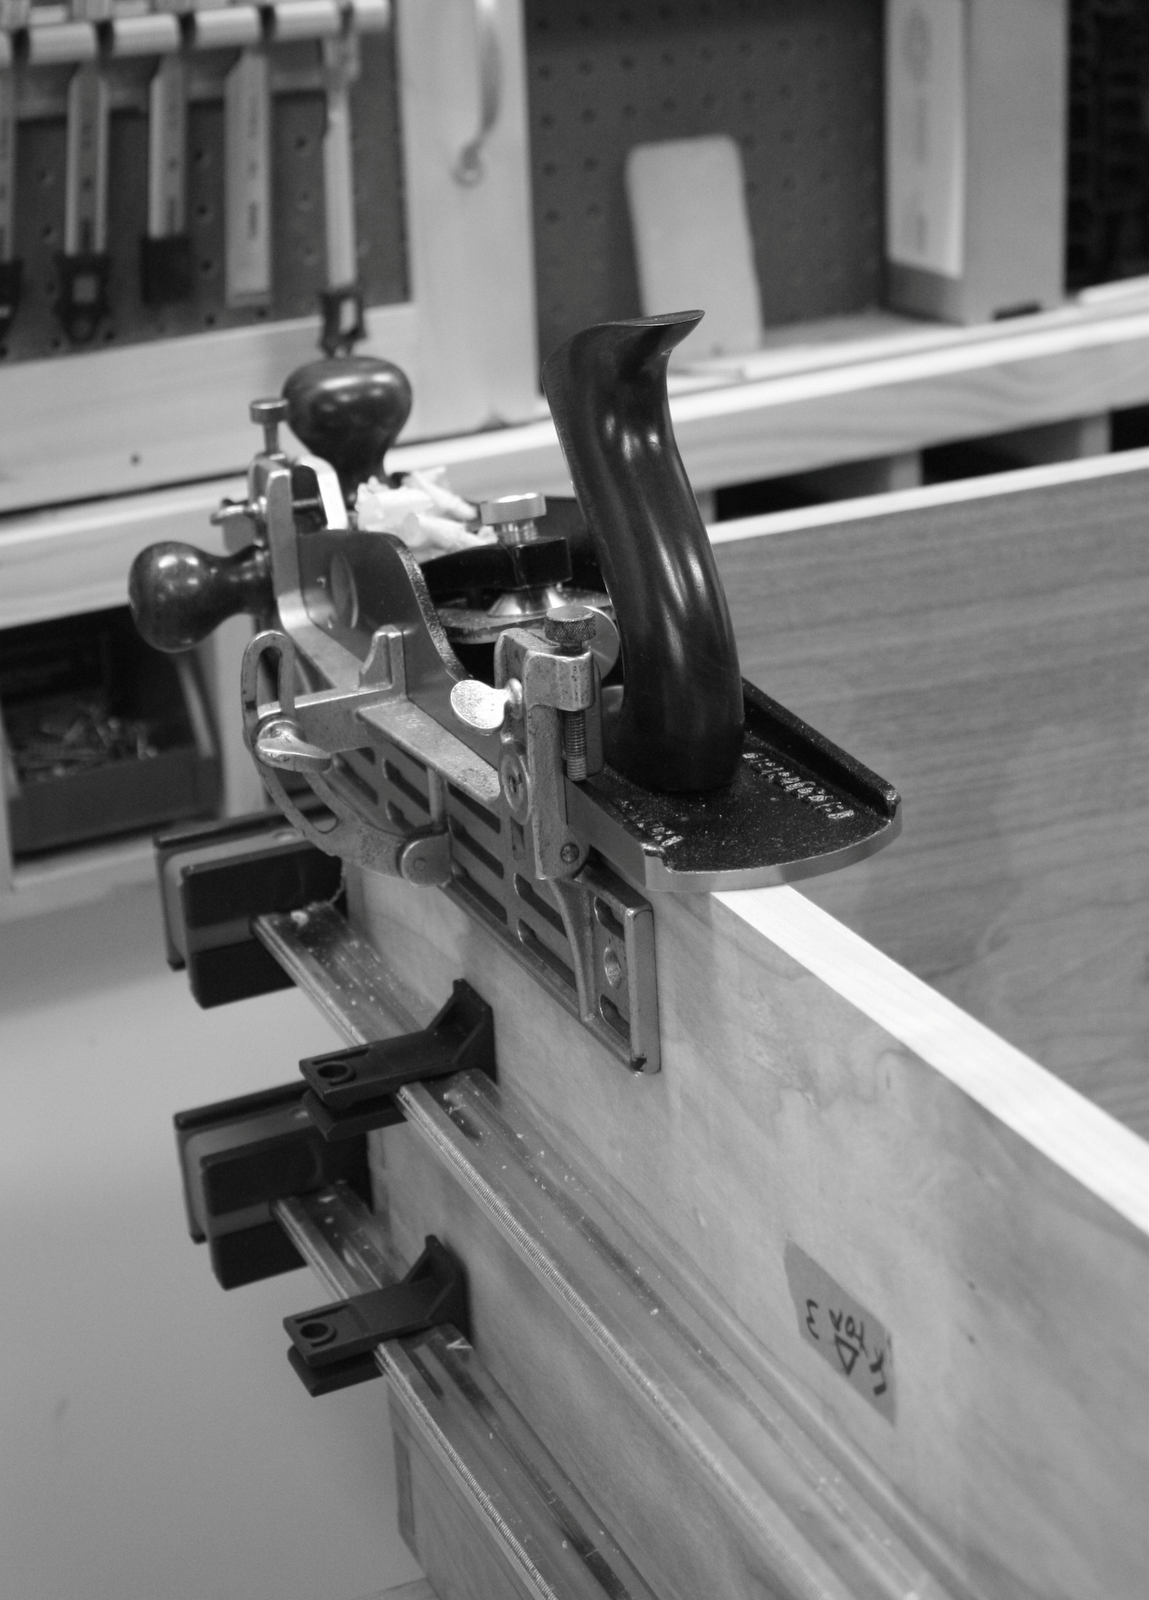
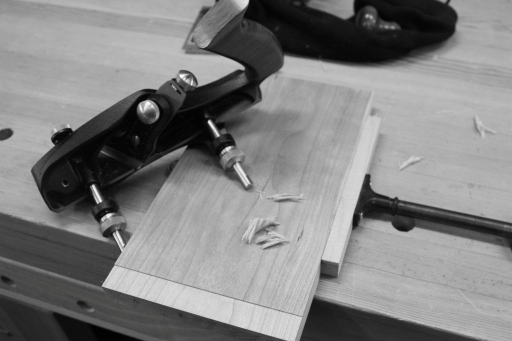
I also used my newly acquired knowledge from my Handtool Essentials class to tune up the Skew Rabbet Plane. Man, someone needs to do a video on that one. First time set up is pretty tricky, but now it works wonderfully.
So here’s what I did to tune up the skewed rabbet plane:
1. Sight down the bottom of the plane and line the blade up with only a small bit of the blade showing. The blade should be proud of the the body by about 1/32″ so that the fibers don’t push back and mess up the path of the plane (Chris talks about this here.)
2. Make sure the lever cap is snugged but not too tight.
3. Adjust the small blade set screws in the side of the body to keep the blade from moving side to side. It may make a lot of sense to take a quick peek at the instructions for the plane at this point.
4. Now … since the blade is poking out slightly proud of the body, you need to line up the nicker with the proud blade. I (and Chris) use the a small straight edge to line these up. The nicker can be moved by unscrewing the front fence rod and get a tiny screw driver to move it. I actually use my Silver Sharpie to color the blade so I can see it.
So in theroy, when this is all done, the plane should work beautifully, but it took a lot more going back and forth between the steps. Oy!

I’ve also been rearranging the shop. I pushed the workbench up against the wall. I wanted it to be closer to the new tool cabinet which will hand on the wall to the left of the bench. I’m also converting my current cabinet to a most used hand tools set up (it had mostly power tool stuff in it before).