Deadman complete

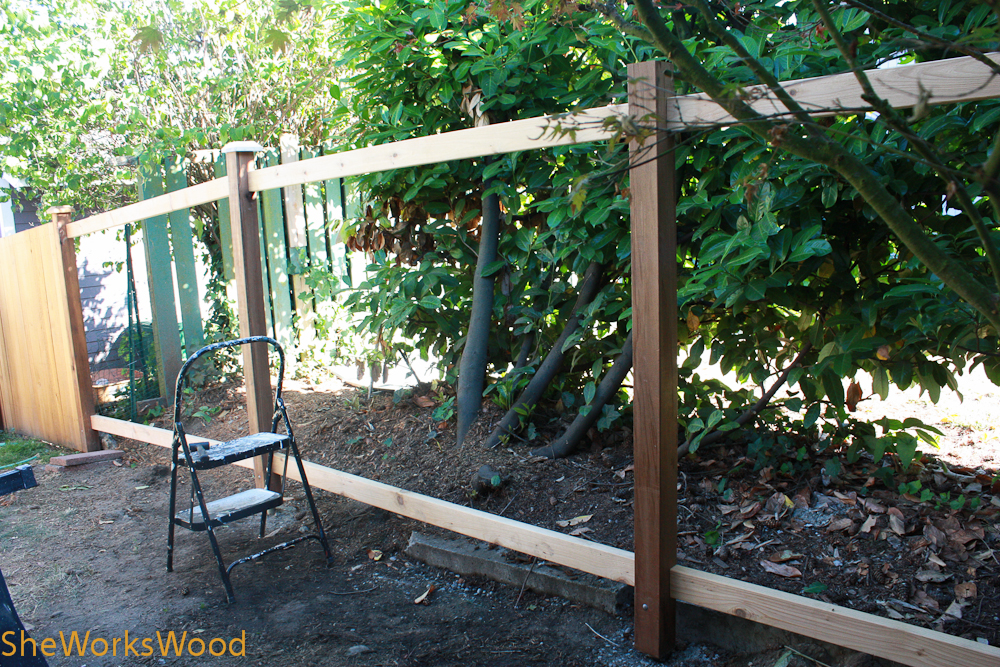
Back to the workbench! (yippee!)  First the layout, of course.

After cutting the overall shape on the band saw,  I used my newly installed leg vise to start the final shaping.  First using the spoke shave to get out the unevenness created by the bandsaw blade.

There was a nasty knot right in the middle of both sides, but my small scraper did a really nice job of cleaning it up.

After that it was on to the rasp.  (Commentary:  I discovered rasps when I made a handsaw in Mike Wenzloff’s class and I’ve found them incredibly useful.)

The final product prior to pencil line removal.

The Gallery

The fence .. again

We talked our back neighbor into cutting down a VERY large fir tree that had crept into our yard and was blocking the property line.  So now we needed to put up the last three sections of the fence.

So I installed the posts in the remaining gap.  And then on to the laser guided joinery.  (Thanks for the tip Chris Wong).

Yes, I clamped a board to the saw blade to make sure I lined up the cut correctly.

Then on to the traditional joinery.

As for trimming the post to the right height, it was Festool to the rescue.

Rails in and now on to the slating.

Workin’ a bit more on the corrugated jointer

I worked on the corrugated jointer.  I decided to replace the blade to eliminated chatter and make for a better cut.  First, I needed to open the mouth just a tiny bit more to allow the thicker blade to fit through the mouth.

Surprise, surprise .. I found that the mouth was a bit crooked.  (Perhaps that’ll inspire a name for this plane – cock-eyed corgi?).

So I used my file to adjust and about a 1/32″ wider opening.

This was better.  But I had to do a little bit more work once the blade was in.

And now for nice shavings.

The blow by blow  from the beginning below.