Starting the Desk

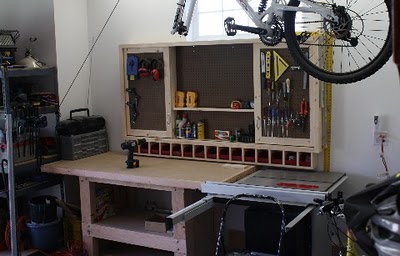
I started working on the desk now that the work bench is complete.  We need a desk something awful.  Right now, all the “desk” work is getting done on a worn out scratched up old table.  Here’s a quick pic of what the desk will look like.

I don’t know about you, but at this point of the project I always feel a bit overwhelmed.  I know that I need to break the project down into small steps and work to complete those.  I have to tools, the plans and help if I need it, but never the less I seem to always feel this way at the beginning.

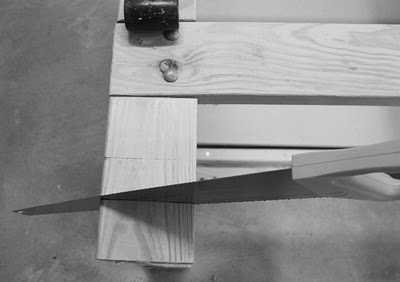
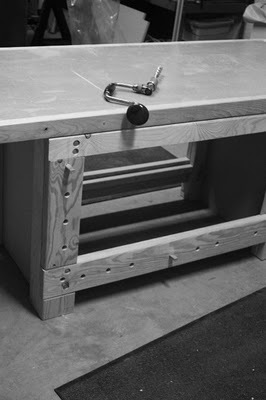
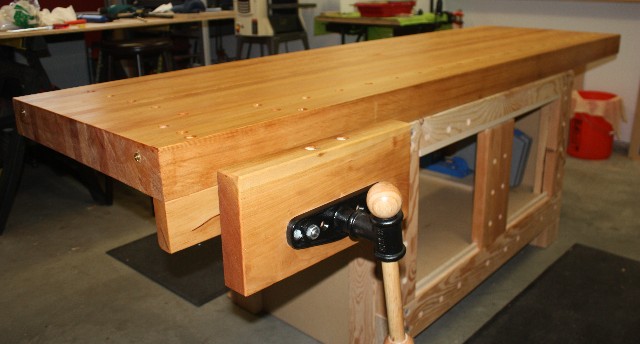
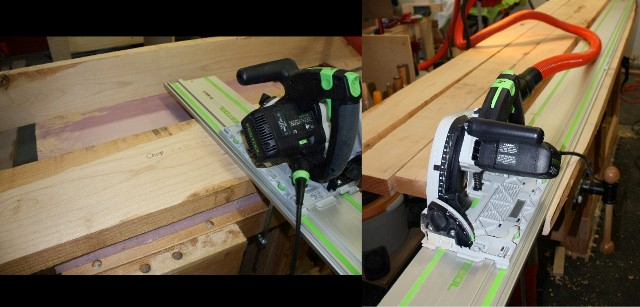
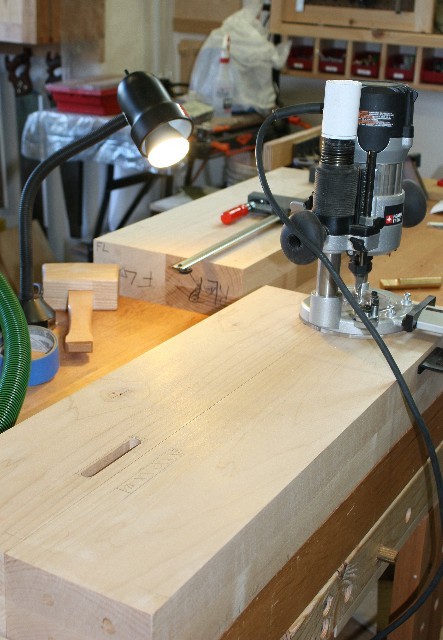
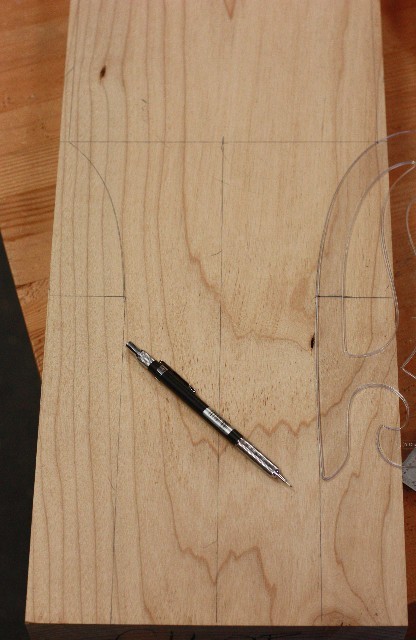
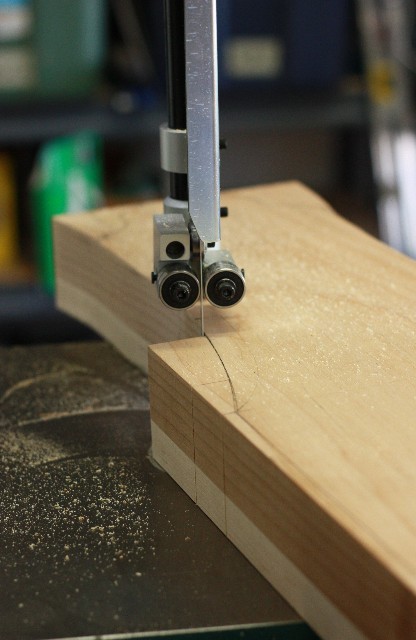
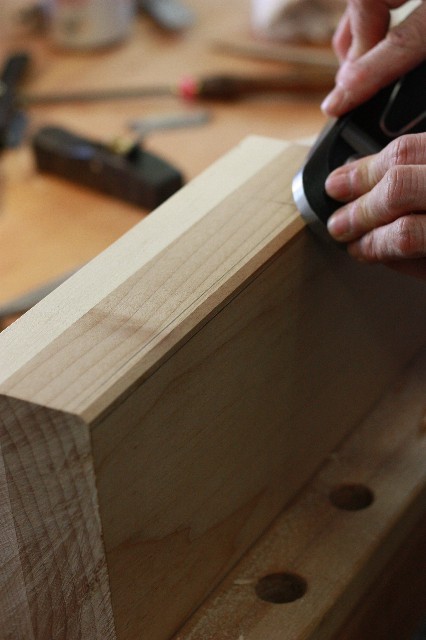
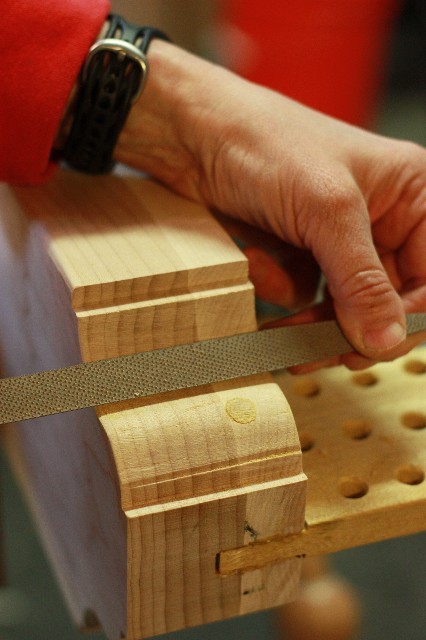
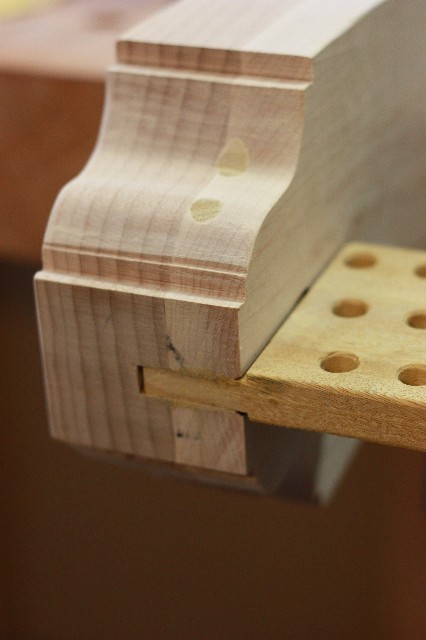
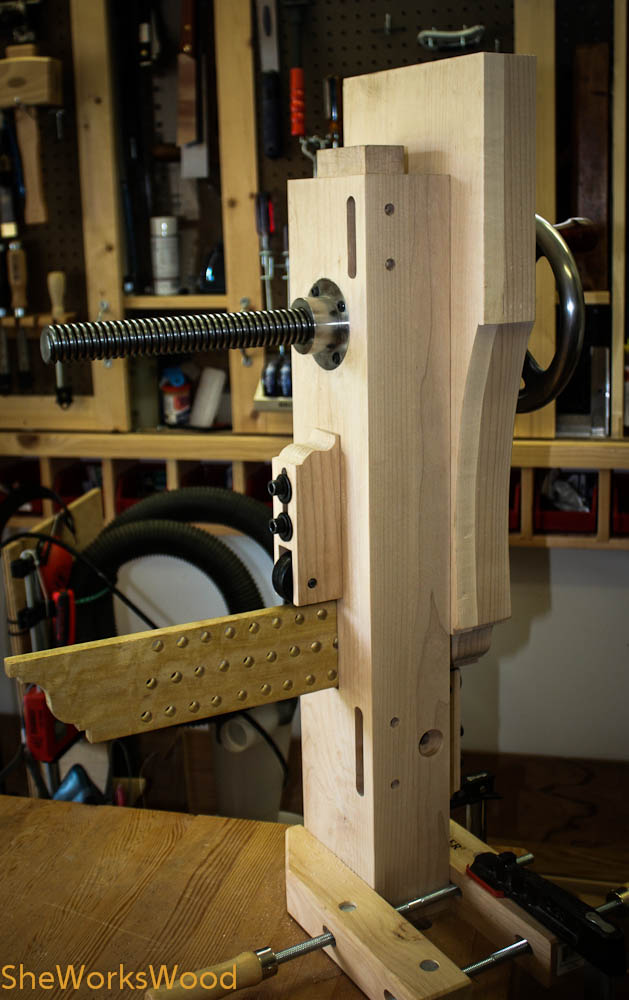
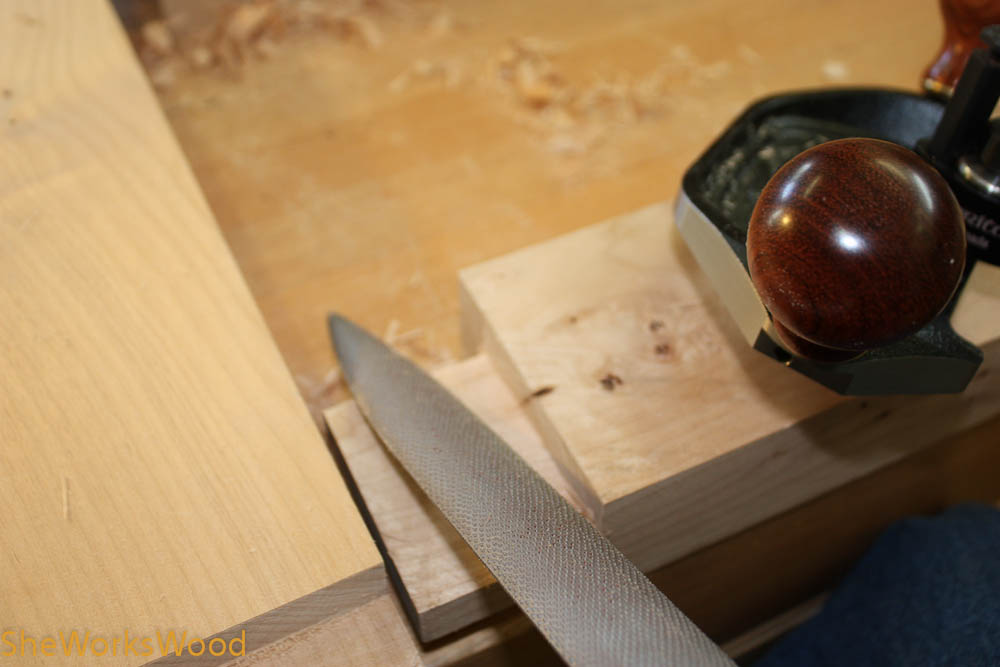
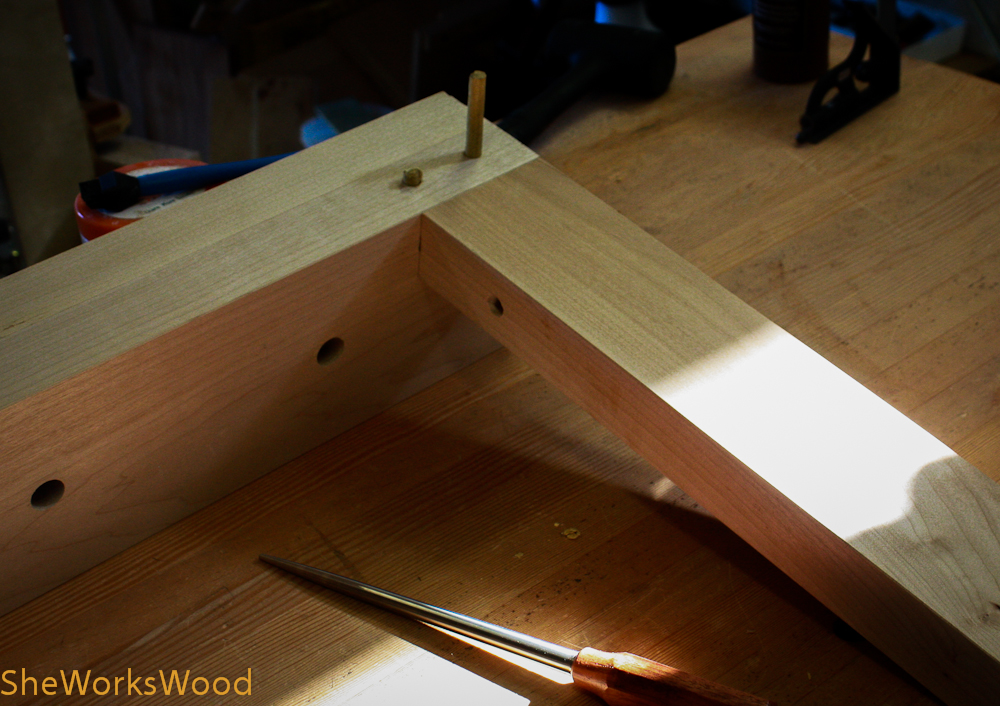
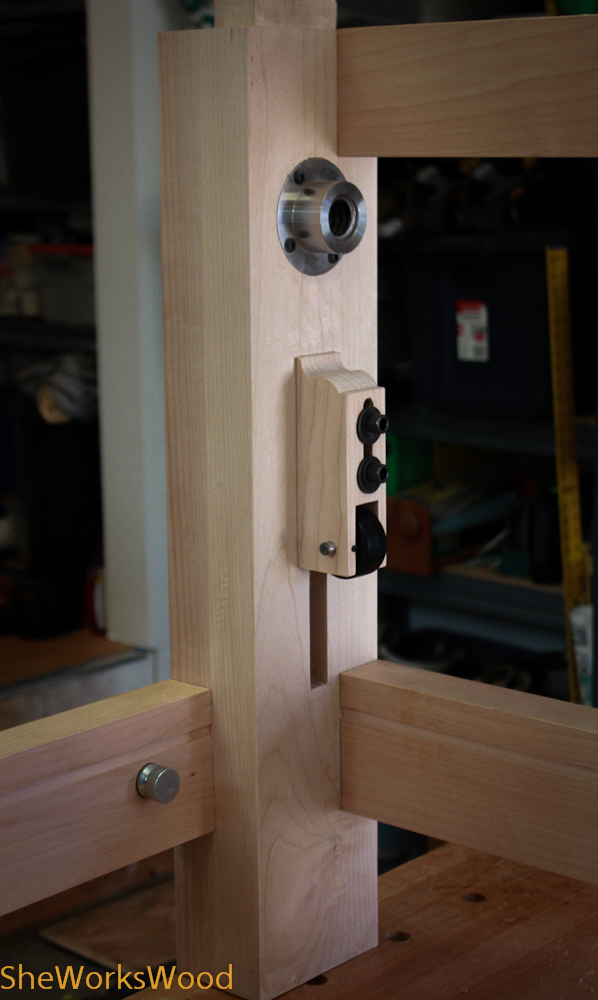
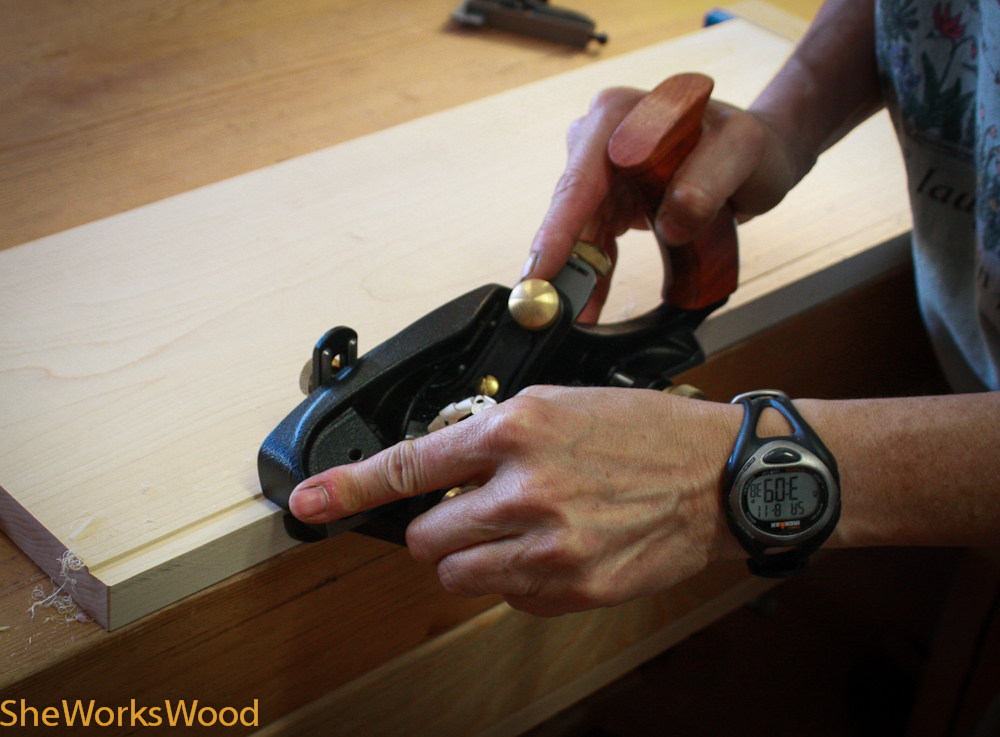
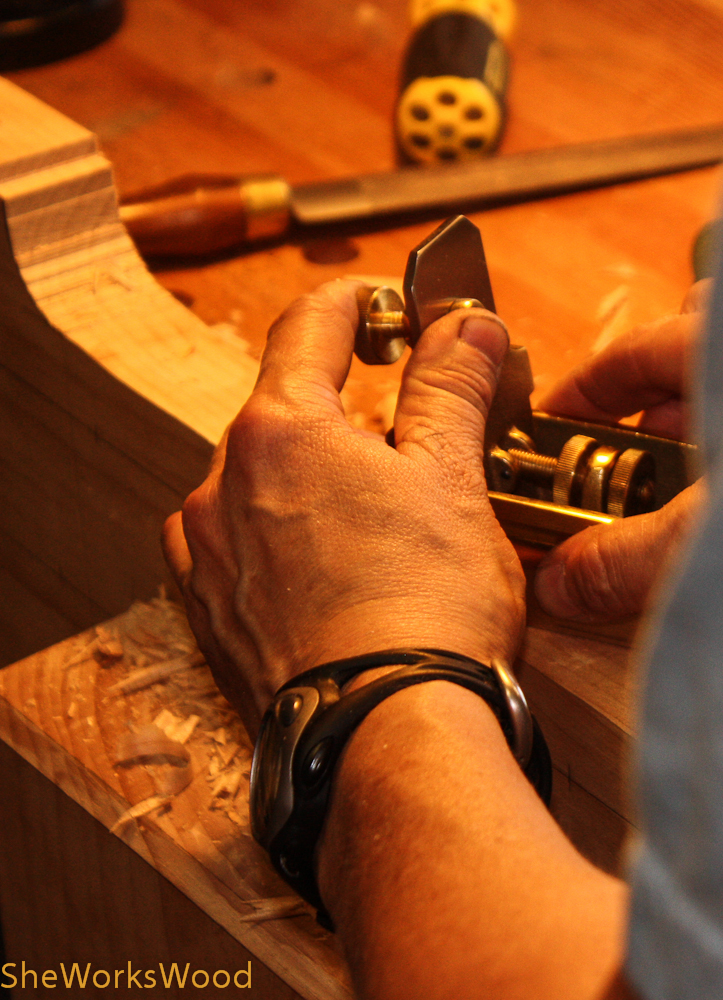
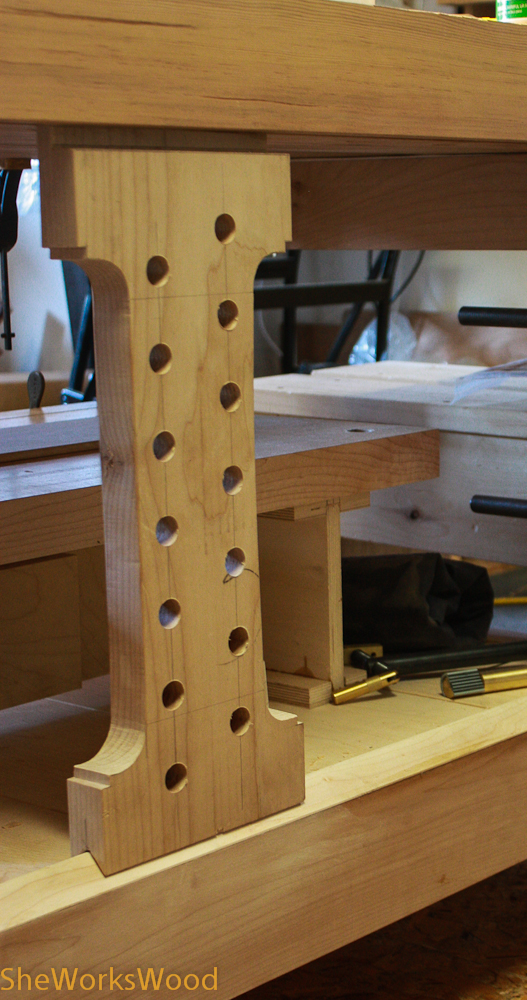
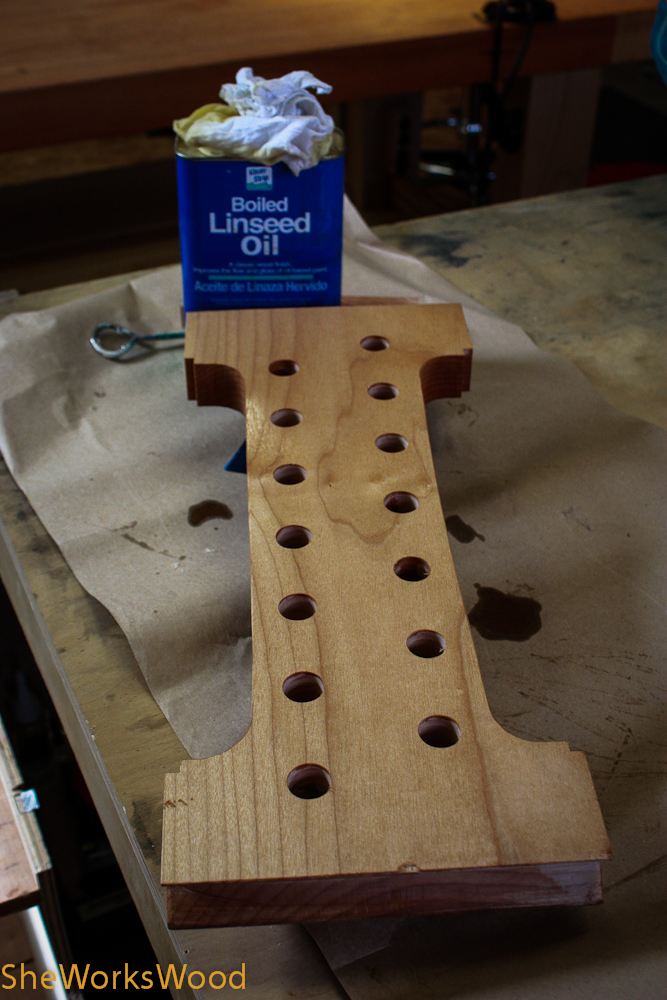
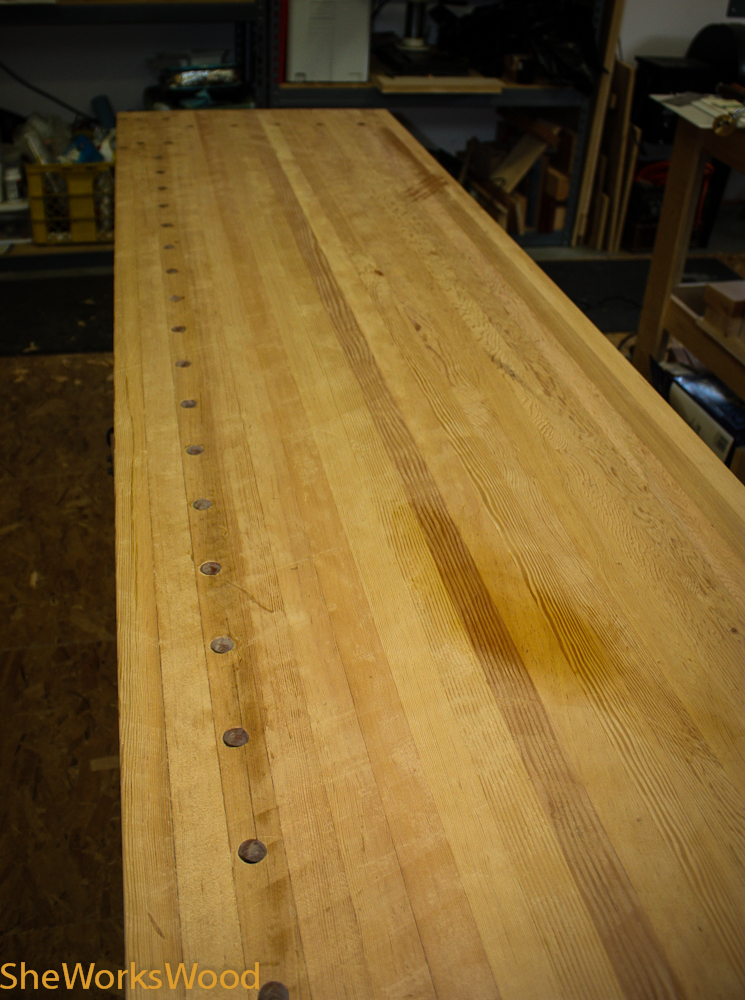
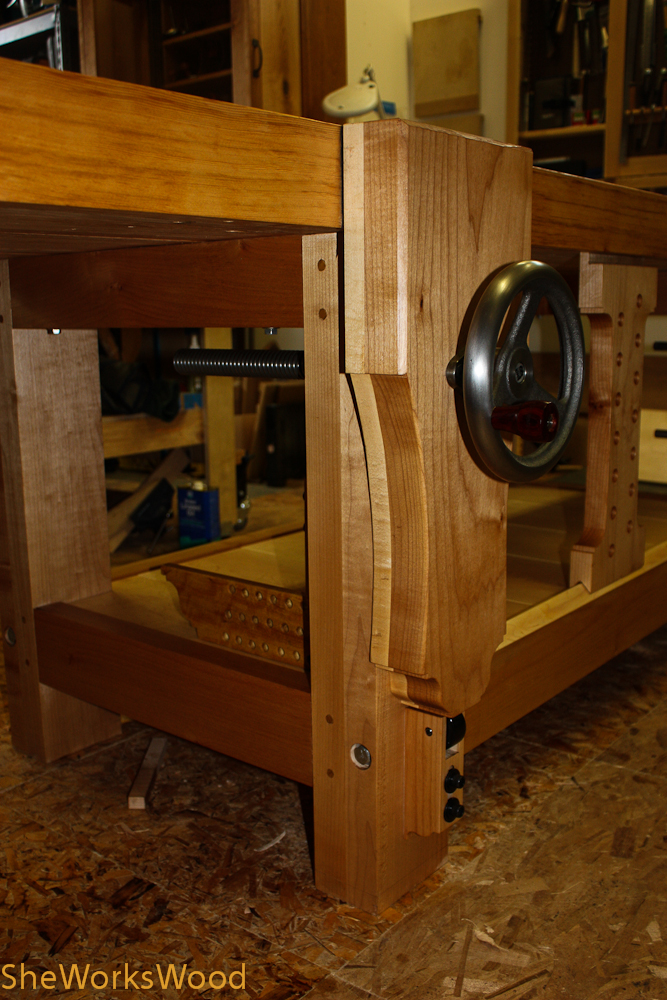
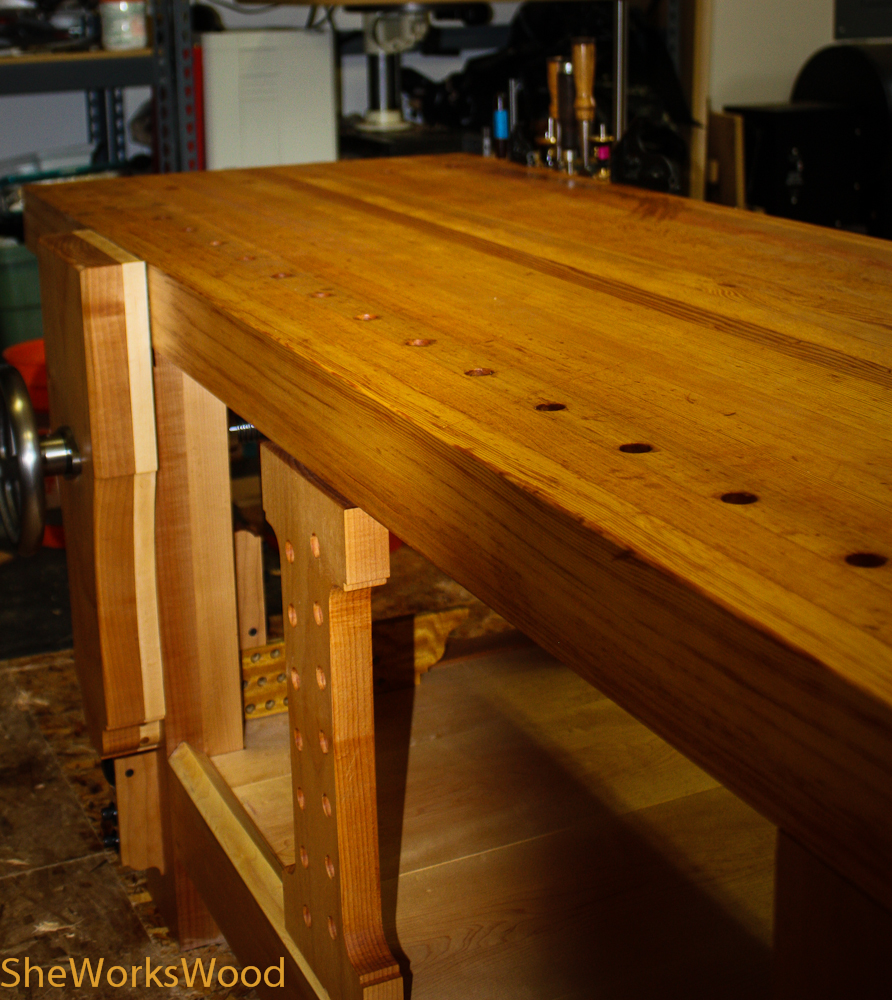
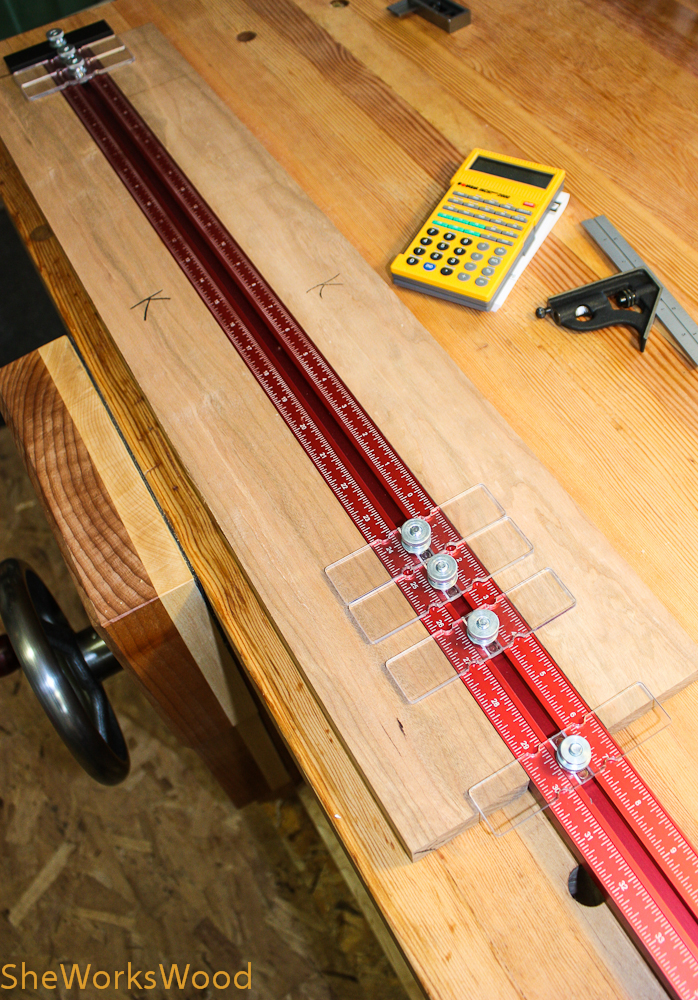
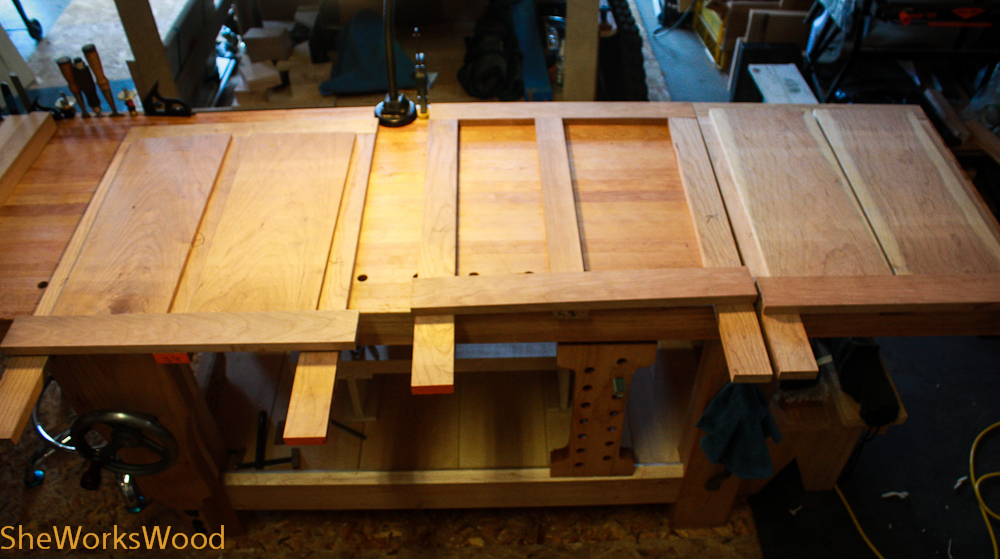
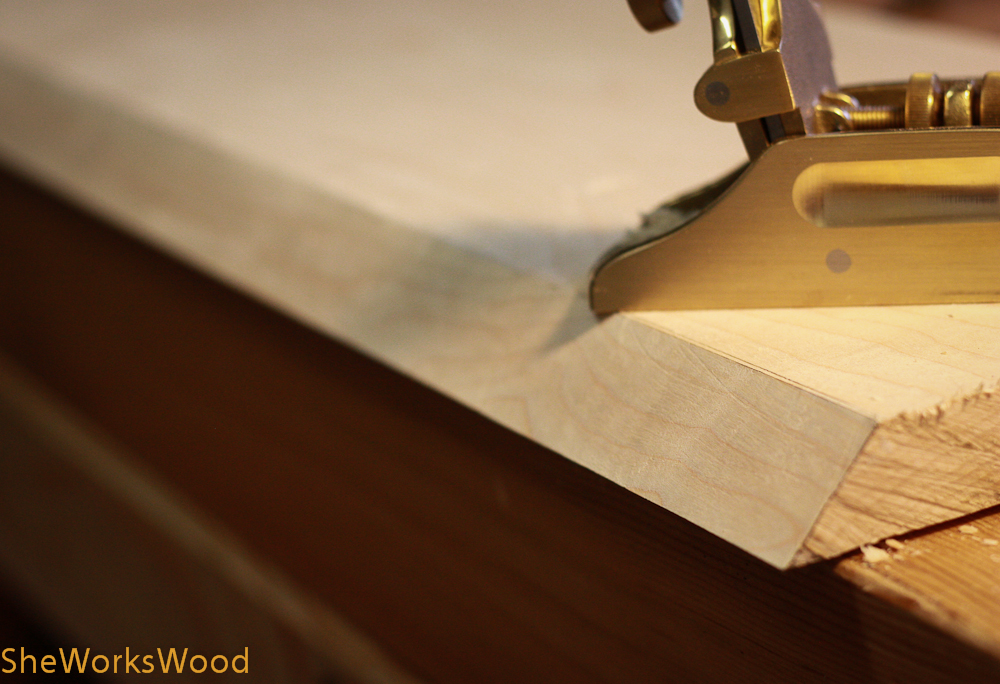
Here’s a quick gallery of what I done so far.

No. 3 Stanley Rehab

Last week, Josh Clark put out his latest tools for sale list and there was a pretty sad lookin’ No. 3 Stanley up for sale.  I’d been lookin’ for a smaller plane and have been having a lot of fun rehabing planes.  In typical Josh fashion this “good user” showed up and was indeed a good user.

So here’s the before and after photos and a gallery of how I got there.  I installed a Ron Hock plane blade and chip breaker as well as a new handle from Hardware City Tools (Bill Rittner).  I have a couple of his handles on my Veritas planes.

This plane has some significant pitting at the toe and in a couple of places along the side.  But I just need a good user since I’m not a collector.

After

Continue reading “No. 3 Stanley Rehab”

Flattening the workbench top

I wanted to talk a little bit about my workbench flattening and why I did it.

So the why first.  I built this top about a year and haven’t done THAT many projects on it so that it would need to be flattened again.  But there were two other reasons to re-flatten at this time.

  1. I’m better at using my handplanes now and could get a flatter top AND
  2. I’d put a poly wipe on finish on the top and, in certain, areas black spots that look like wood mold had started to show up (see picture below).

Here’s the now I’m better at planing part.  My workbench is about 7 1/2′ long and 26″ across which is a bit further than I can comfortably reach with my plane.  As a result, I think, I ended up with a high spot in the middle.  I was planing from both sides and I wasn’t apparently keeping my weight over the plane.  So, you can see the hump in the middle that resulted after my first couple of passes across the work bench.

Initial planing reveals the hump.

And here it is all flattened.

And finally,  the top with with its new coat of boiled linseed oil.

Ding dong! The Workbench is done!

Here’s the final picture and the gallery to go with it.

All post can be found here:

My Workbench Journey